Early Access for Patreon Supporters – This review will go public a month after being published.
Introduction
During my last trip to Carinthia I had the opportunity to take a closer look at the PHANTOMLEAF Wasp II Z2 pattern, the semi-arid/transitional variant of the company’s civilian line up. Because of its colours it is also suitable for Autumn environments. Needless to say I had to find out for myself and write about it.
For those who are interested: There is already an exclusive video with drone footage available for the Tier 3 supporters of Pine Survey. More Info can be found here.
PHANTOMLEAF Wasp II Z2 features the same pattern as Z3A with a different colour palette specifically chosen for dry environments. More background on the company and the concepts behind its civilian camouflage can be found in this article.
With that being said, let’s take a closer look at the field test.
Methodic Remarks
As always I want to point out several important aspects beforehand. First of all, I do not claim any scientific standard with my camouflage comparisons. Also, I conduct them with my best knowledge and the available resources.
For example: With this review I had no boonie or cap at hand and had to rely on a khaki Shemagh, which impacts the overall assessment.
The pictures were taken at the same locations I always use to make my camouflage comparisons. That way you can compare the various field tests I have done so far with each other.
Before I start, please consider the following – as always:
I did not edit the pictures in any special way, except the following:
- Lens correction
- Watermark
- Blurred my face out if necessary
- .jpeg compression to make it web compliant
- I always do a proper white balance to make colours appear the way they are.
A short explanation to the environment and the procedure:
The pattern was tested in a Central European environment. Information about the various locations will be stated in the subsections. The pictures portray three different positions:
- Standing in the open (to get an idea of the pattern in this particular surroundings and if the colours match it)
- Kneeling
- The prone position (to mimic basic, up to ideal concealment without using vegetational enhancements)
As always I photographed the pattern with a wide angle lens at first and then with 35mm focal length, which mimics the actual picture the human eye would perceive at this distance. Having in mind the three different positions mentioned before, I usually end up with 6 pictures of each location.
Furthermore:
Given the amount of pictures in my field tests, I will continue with my modus operandi from my previous camo reviews and not describe or comment on each picture. Instead I will give a more thorough analysis at the end of each location subsection.
With that being said, let’s take a closer look at the pictures themselves.
PHANTOMLEAF Wasp II Z2
Location 1
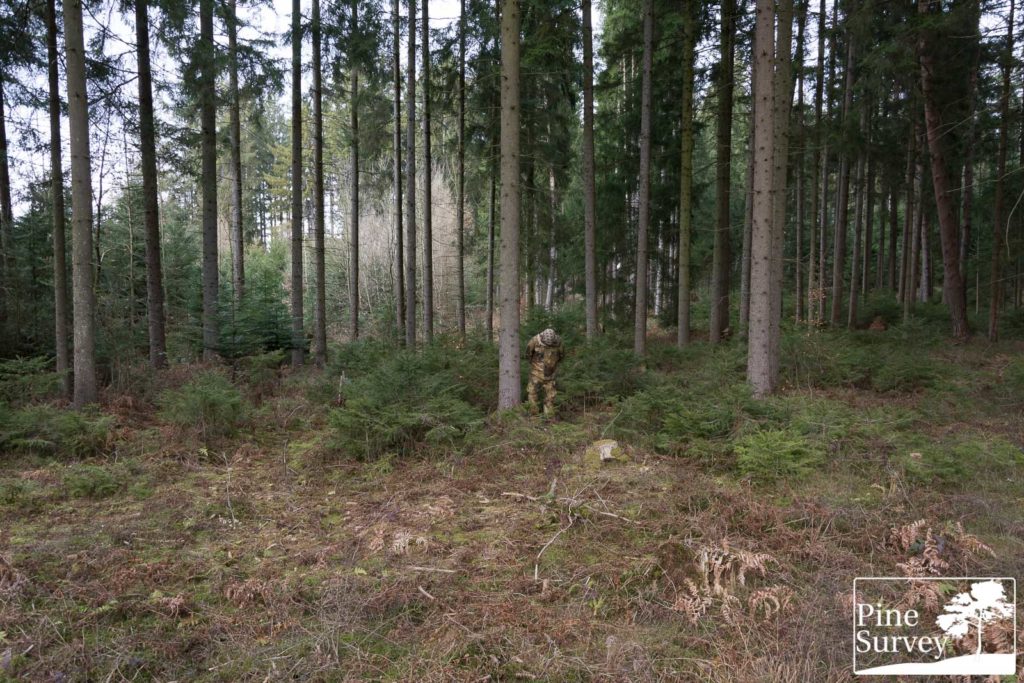
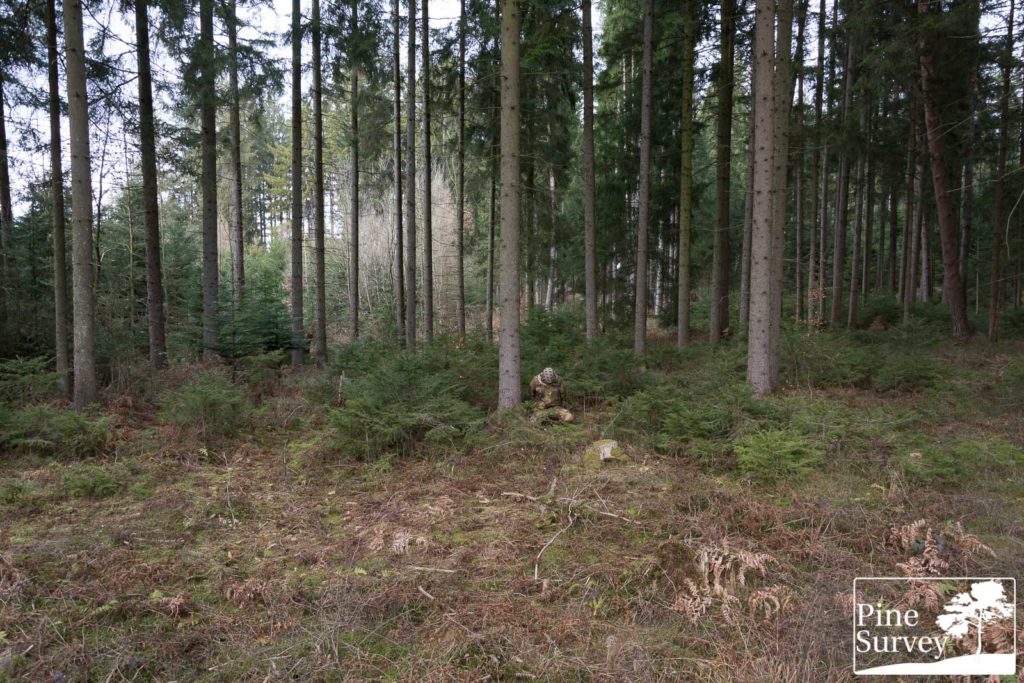
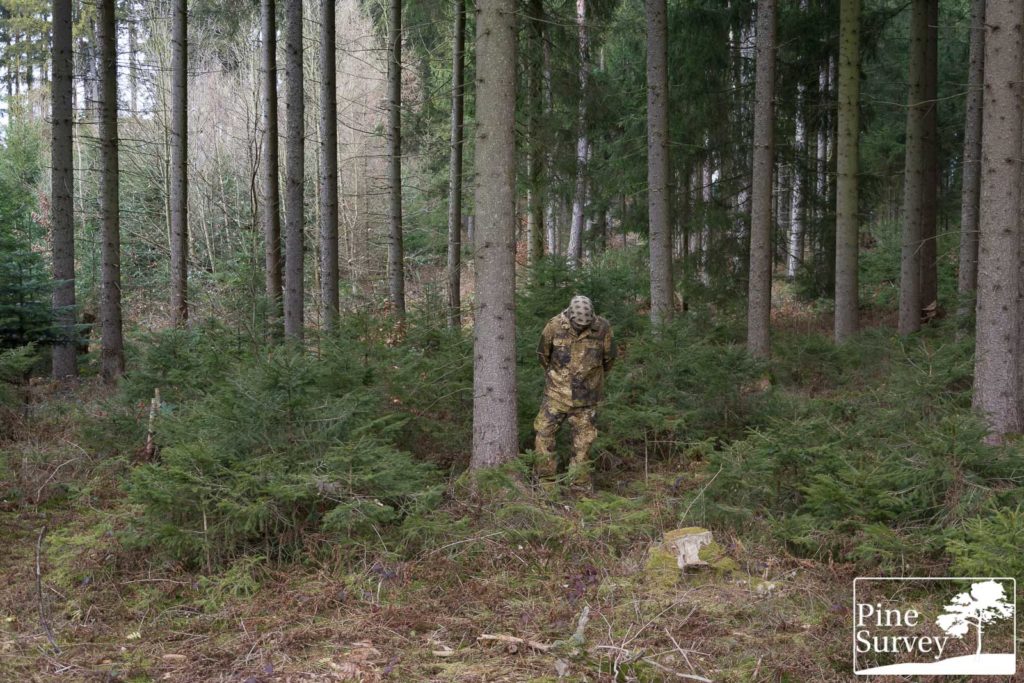
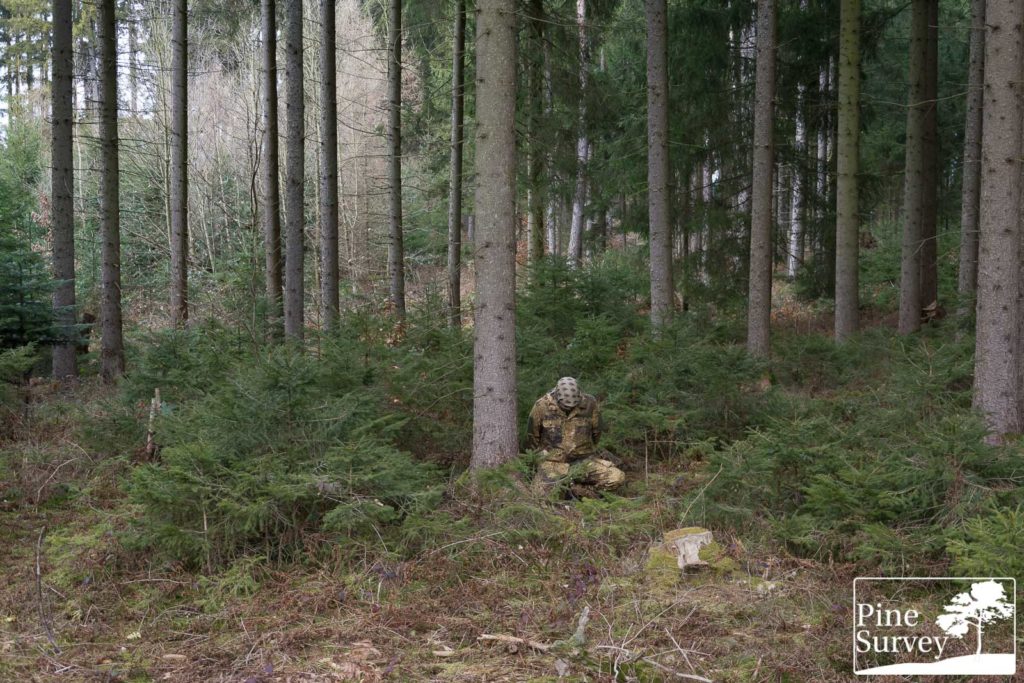
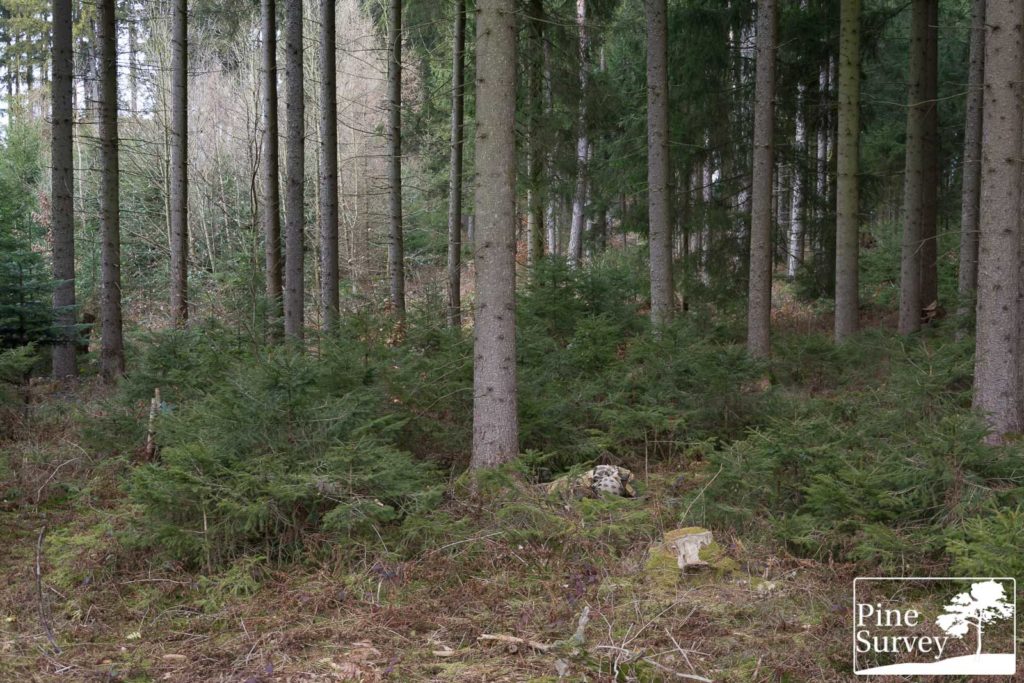
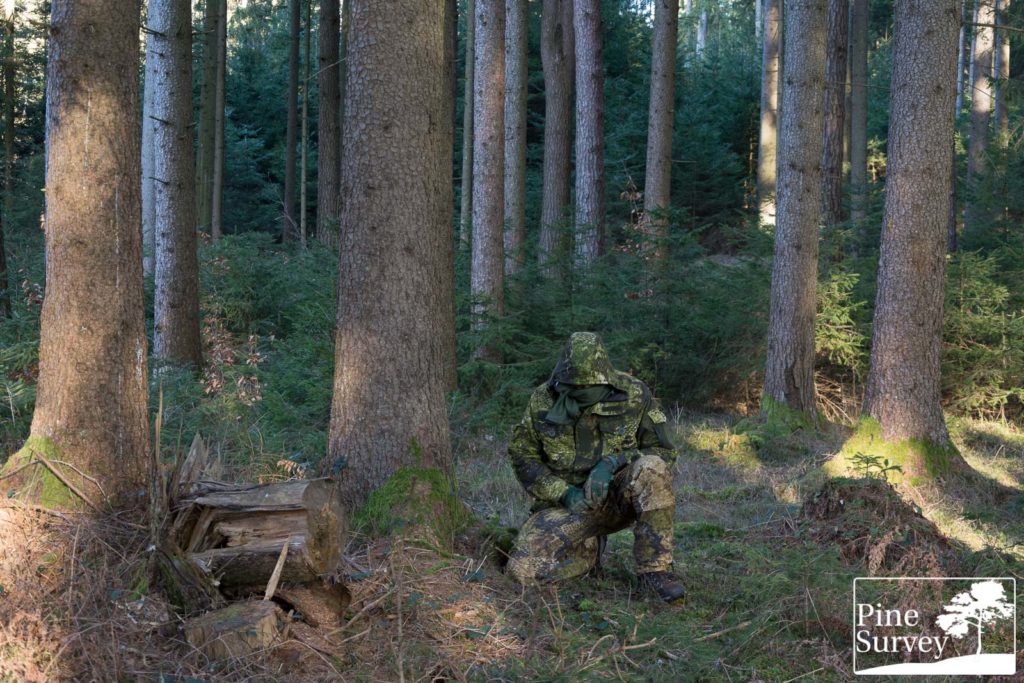
This first location is a typical European mixed forest well known to readers of my blog. It features a high foliage canopy and some basic bushes, ferns and little trees on the ground. Because of the season, most of the vegetation was dry, except the evergreen conifers. Colours are decayed and the sky was clouded, giving a soft overall light.
The camera is standing roughly 10m away from the human silhouette.
Observations – Location 1
When looking at the wide angle pictures of PHANTOMLEAF Wasp II Z2, you can clearly see the distinctive macro elements breaking up the silhouette. So while the colours match the forest floor, the blending effect against the evergreen background is not as effective for obvious reasons. This highlights an issue of dedicated Autumn patterns, or transitional patterns in general, when used in a mixed or deciduous forest. However, given the fact that PHANTOMLEAF’s concept rests mainly on disrupting, than blending, the human shape is clearly being interrupted. When kneeling, the overall concealment effect improves rapidly since the blending effect with the floor is increasing and adding to the general disruption of the macro elements. The prone position is the most effective as always and presented for the sake of completeness.
The pictures made with the 35mm lens (presenting the actual human perception) not only show the various macro-, but also midi and even some micro elements. While in the standing position the human shape stands out against the evergreen background, this changes immediately in the kneeling position, because (again) the disruption of the macro elements is supported by the blending effect of the chosen colours. The prone position, as stated above, is again an ideal setting.
Location 2
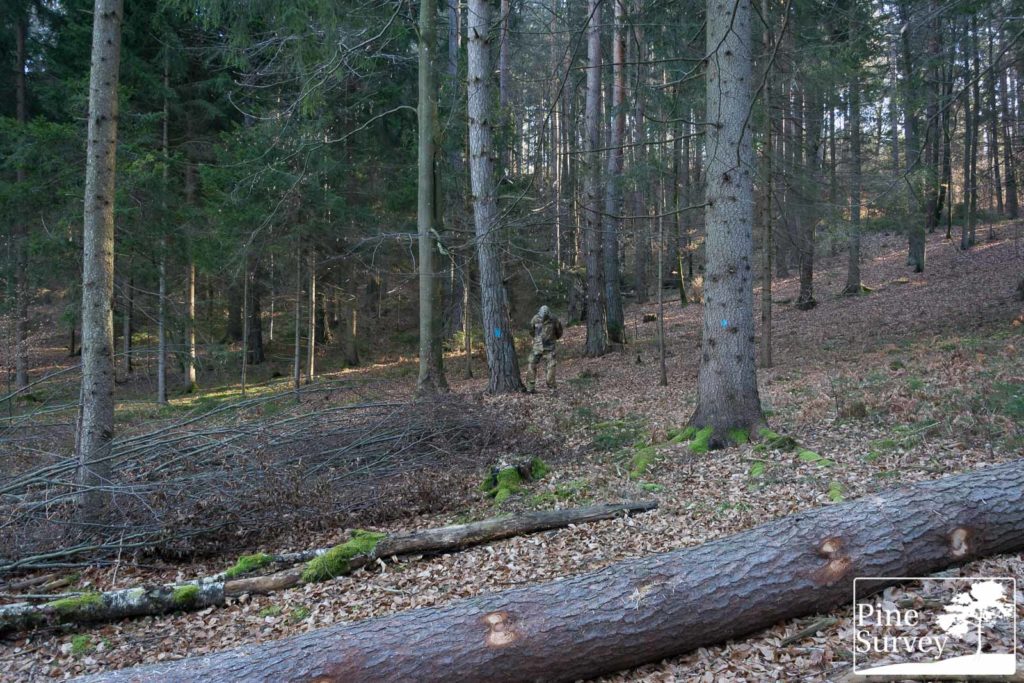
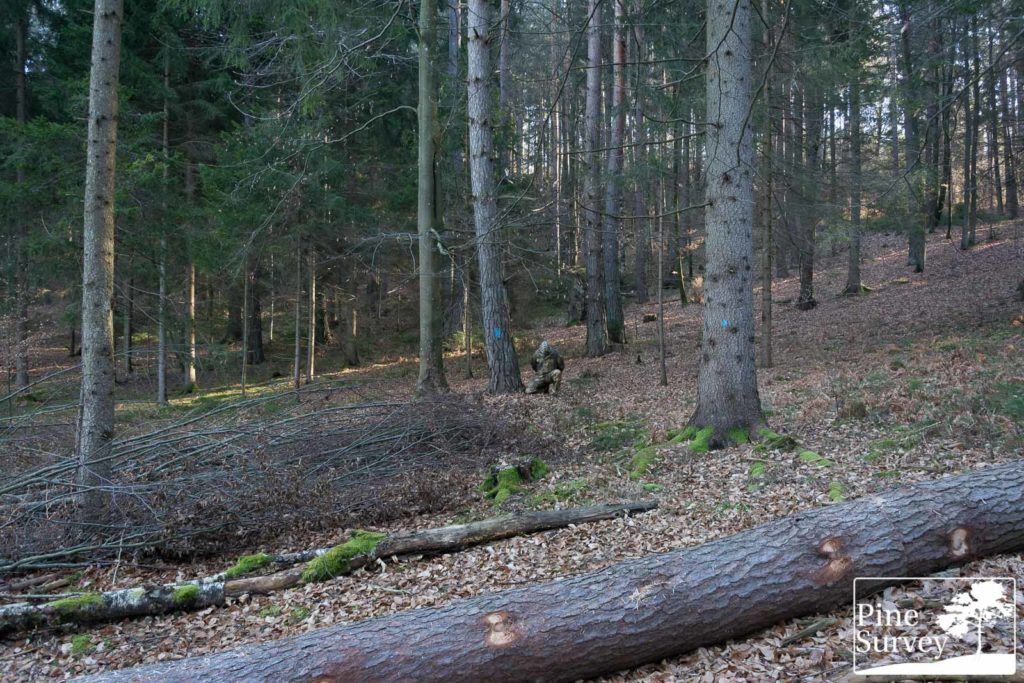
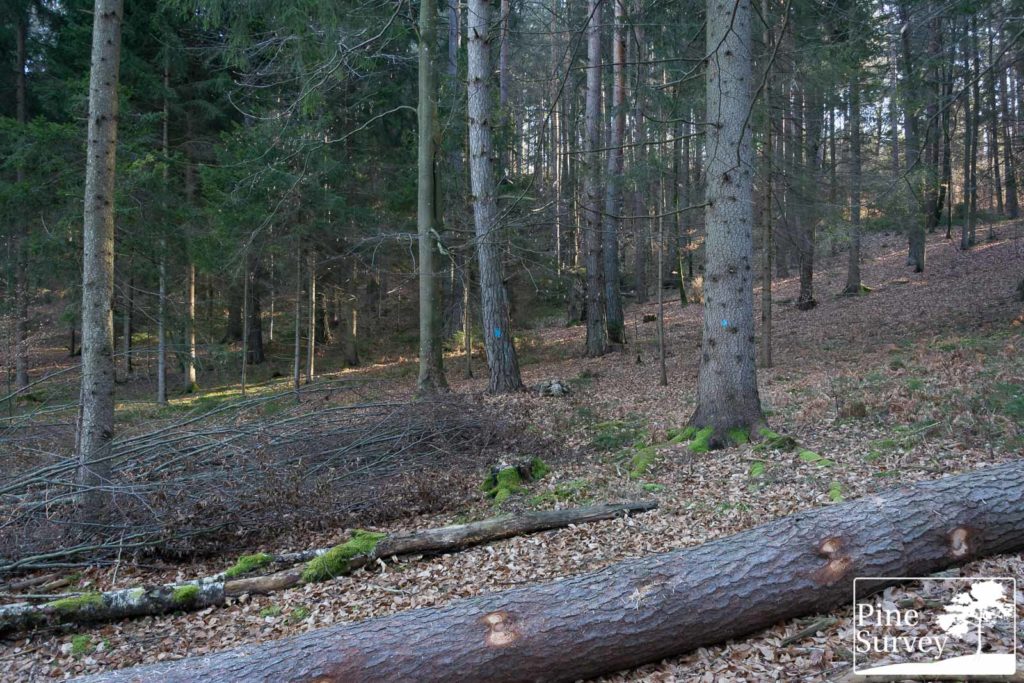
This location is a mixture of deciduous and coniferous forest. You will find stronger contrasts between brown and green vegetation, a slightly denser undergrowth and a partly closed canopy, with a clearing on the side.
In Autumn a tree fell down here, so there is additional visual distraction. Even more recently deforestation resulted in more trees being cut down, making this spot brighter than usual. The pictures were taken before noon with a cloudless sky. Some spots of sunlight break up the shadow in the background.
The camera is standing roughly 15m away from the human silhouette.
Observations – Location 2
This location is interesting, because there is no evergreen background to make any transitional pattern stand out, but at the same time a more open environment.
Starting again with the wide angle pictures, the distance appears further away as it is. In the standing position the macro elements of PHANTOMLEAF WASP II Z2 are clearly breaking up the human shape. At the same time the choice of colours is adding to the overall camouflage effect. Especially the leg area (usually the biggest give away because of straight lines) is covered well, by both blending and disrupting. When kneeling down, the interruption of the silhouette is even stronger, but the overall appearance is also darker, because of the light. But given the distinctive macro elements, it is hard to identify what is what. The prone position results in disappearing, despite the lack of undergrowth.
When looking at the 35mm focal length pictures, the actual camouflage effect becomes even more apparent. Again, especially the leg section in the standing position demonstrates the effectiveness of both the various macro, midi and micro elements as well as the chosen colours for them. The rich contrast in the elements provide a working pattern even under harsher light conditions.
The kneeling position underlines these statements. Even under different angles of light, the macro elements are doing their work. Other than that, the above statements apply. The same can be said for the prone position
As stated in the methodic remarks, only the Shemagh is impacting the overall assessment.
Location 3
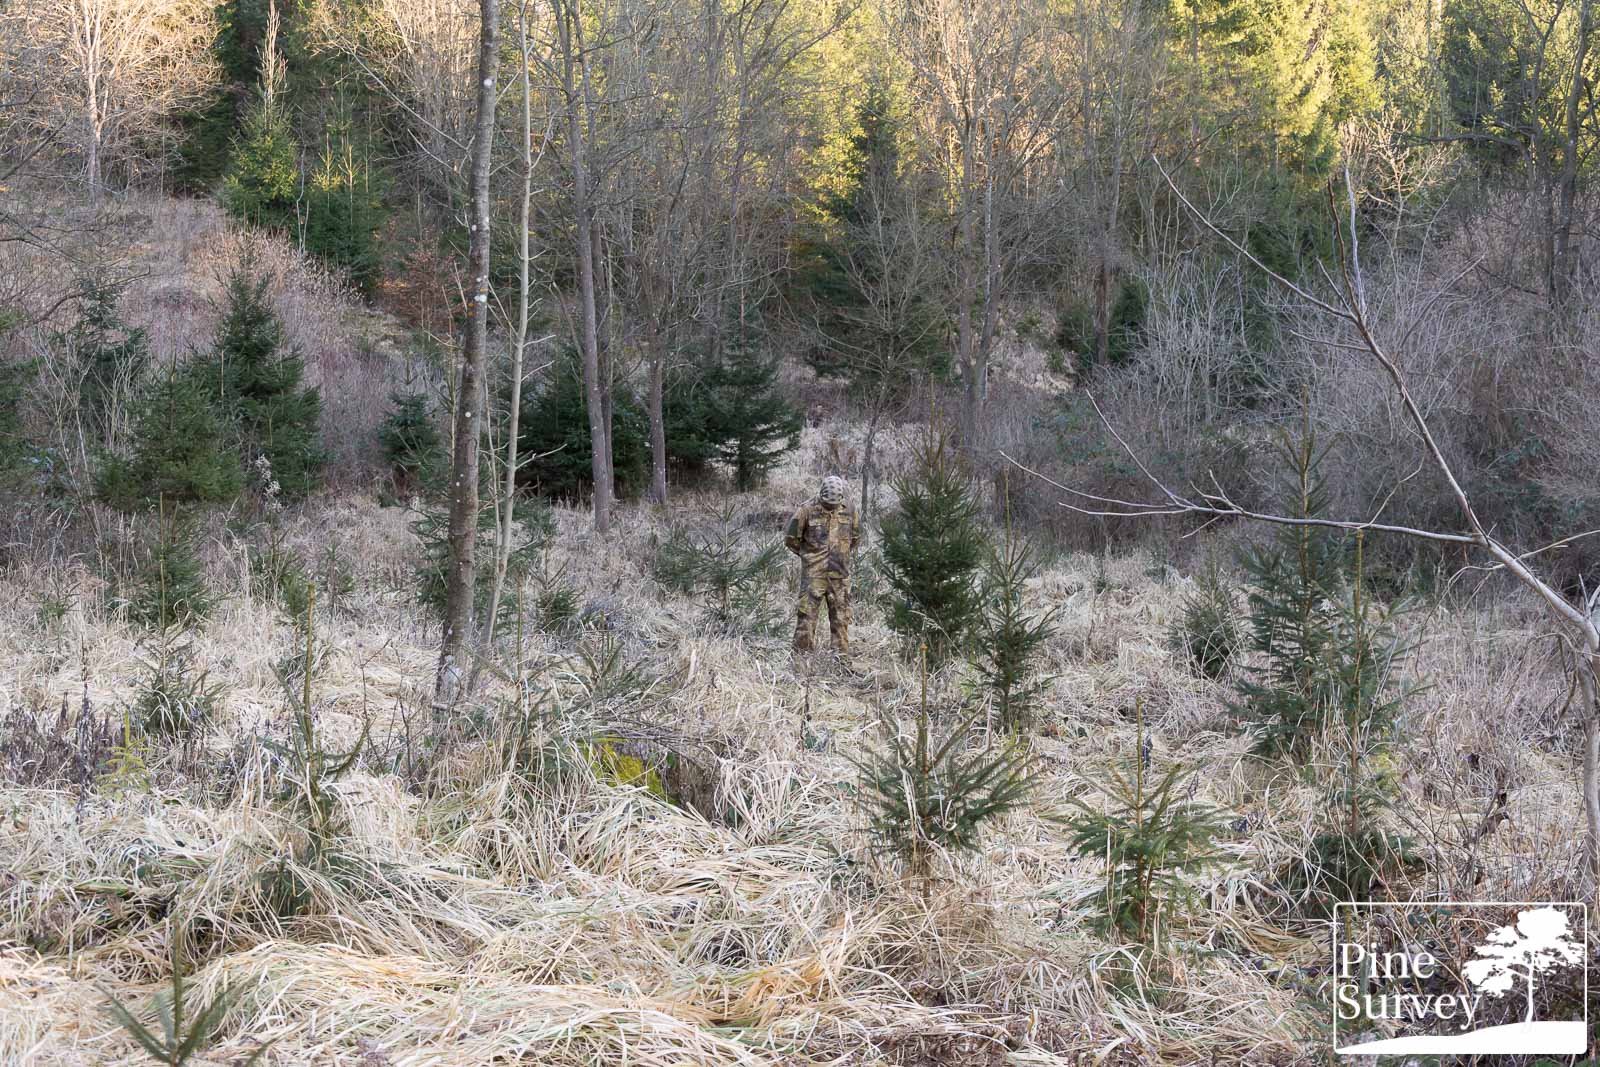
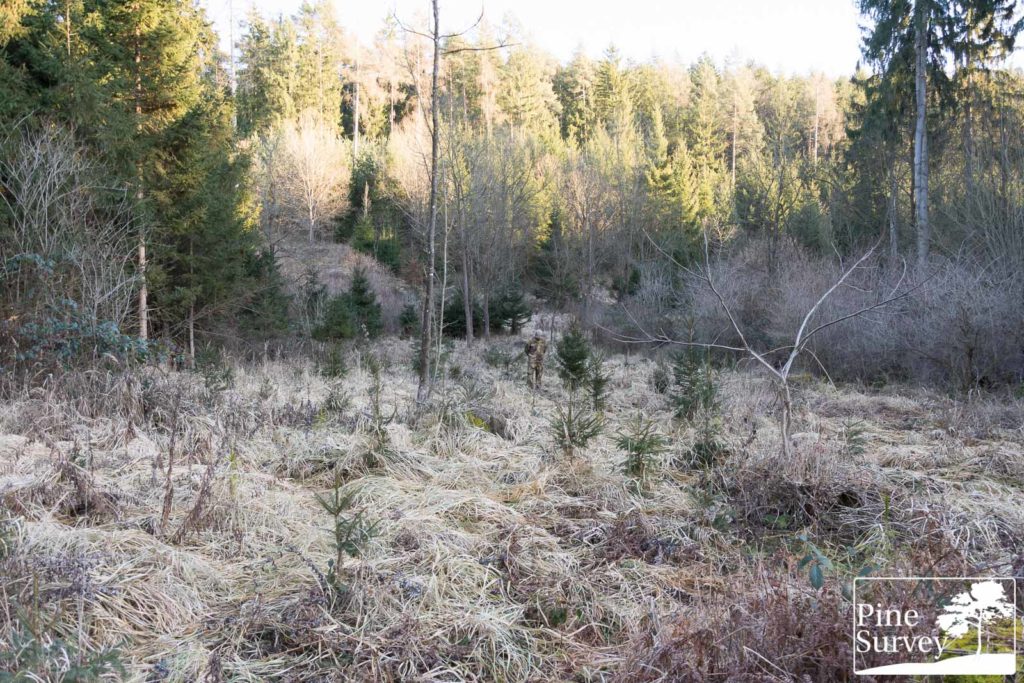
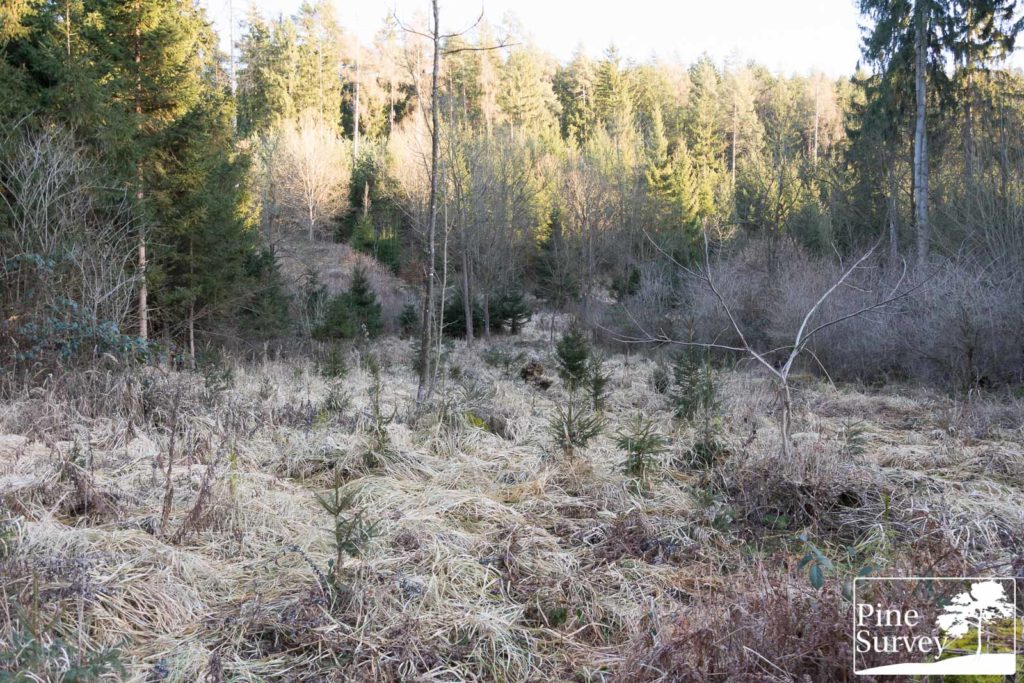
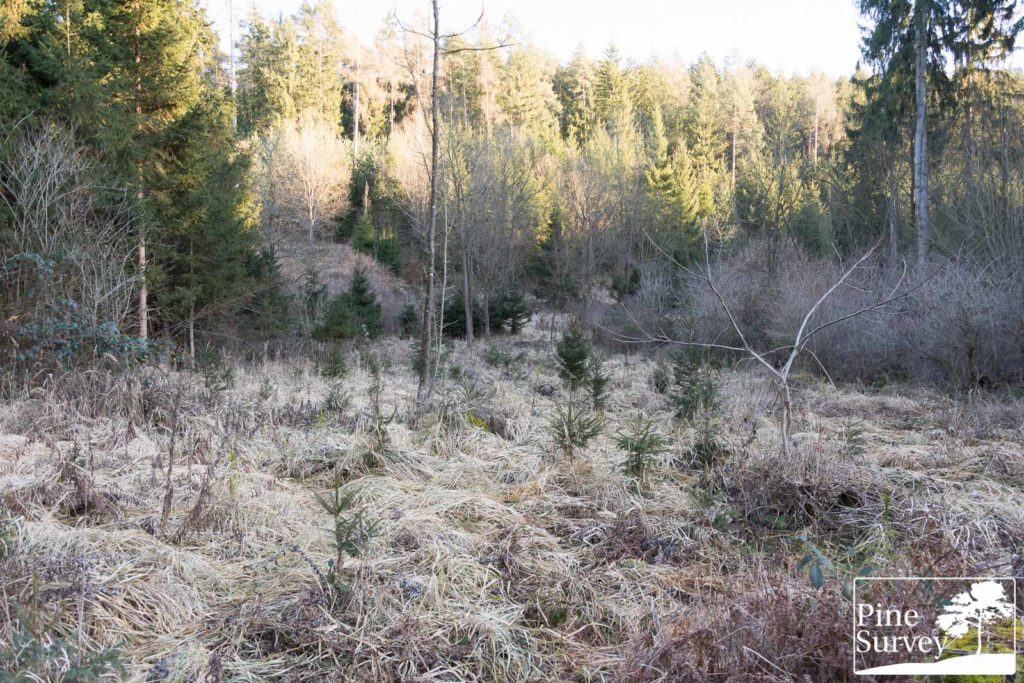
You might know this site from my recent “Eyes in the Sky” field test. It is an open field in a mixed forest, with random conifers, some deciduous trees as well as high grass. Overall the environment is decayed with occasional frost covering the area. The pictures were taken in the afternoon.
The camera is standing roughly 20-25m away from the human silhouette.
Observations – Location 3
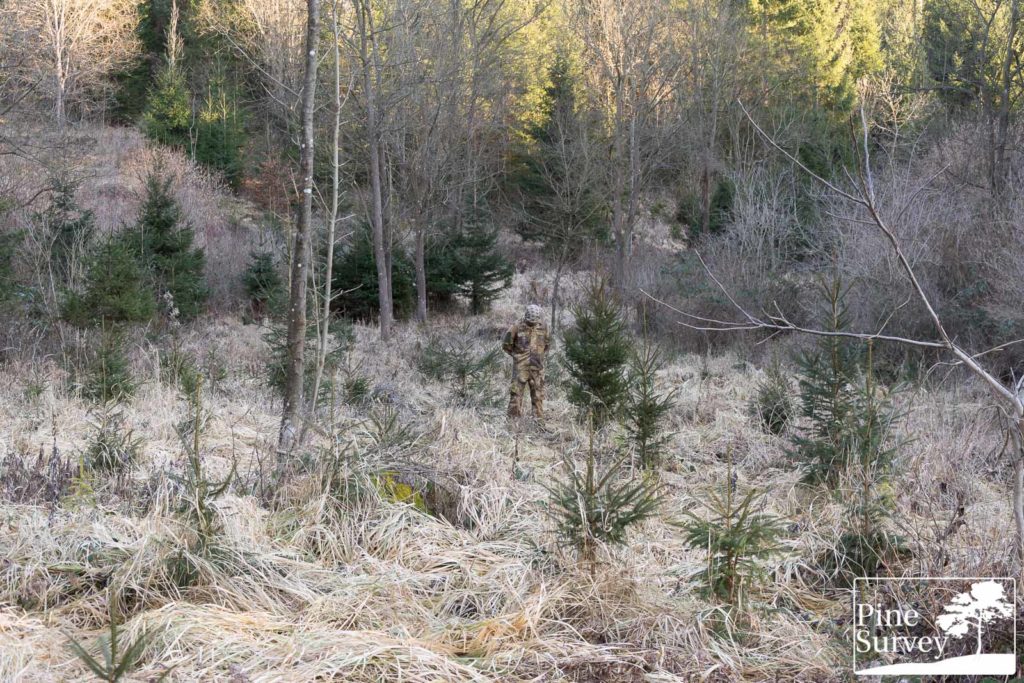
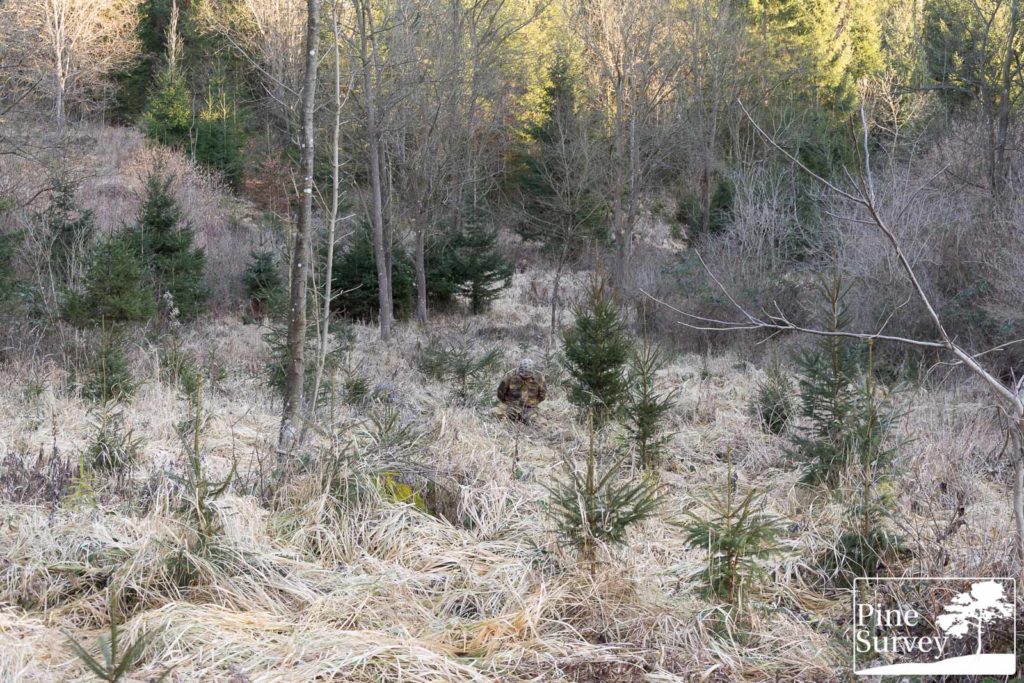
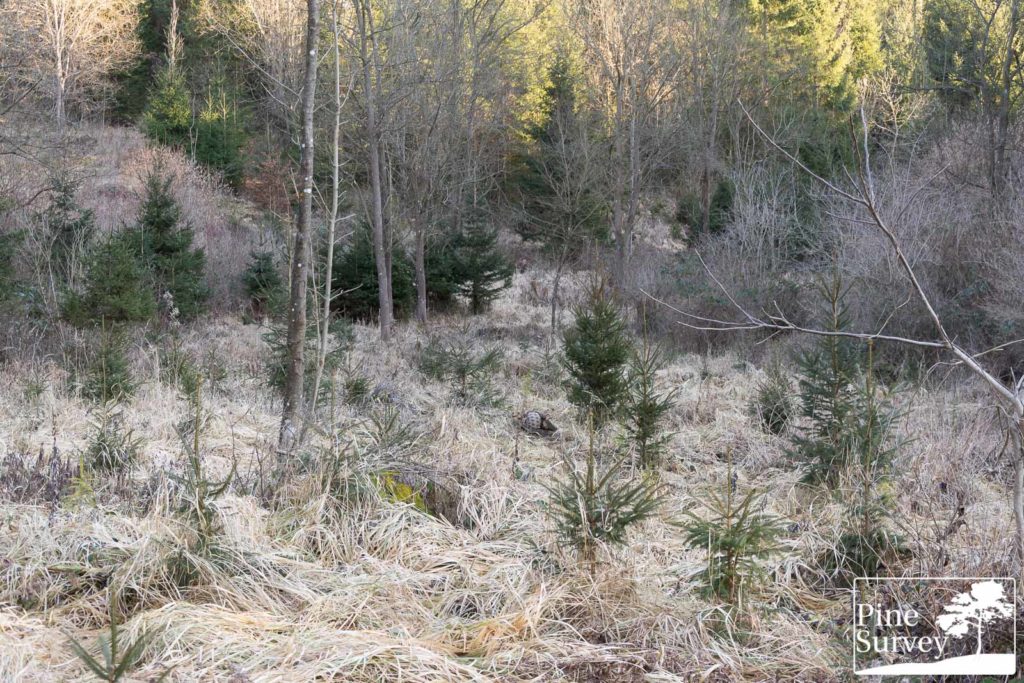
Location 3 is actually one of the environments this pattern was specifically designed for: dry grassland. However, in these pictures the grass is frost covered, resulting in a much brighter/white look. The wide angle pictures in the standing position provide already a good impression of the overall performance in this setting.
In the open under direct light, the macro elements again are clearly visible. As a matter of fact, and especially in this location, PHANTOMLEAF Wasp II Z2 is one of the patterns with the most effective macro elements. As a result the human shape is disrupted by said elements. The blending is minimized by the mentioned frost to a certain extent.
When kneeling down the overall camouflage effect becomes more effective. While the colours blend into the surroundings, the macro elements do the rest to disrupt the human silhouette. As in the previous locations, the prone position needs no explanation.
Looking at PHANTOMLEAF WASP II Z2 with the 35mm focal length, several aspects have to be mentioned. Especially at this distance the importance of macro elements becomes more apparent. While said elements disrupt, the choice of colours, as well as the various midi and micro elements create an effective blending effect with various shades and transitions. This becomes more apparent in the kneeling position, especially in the leg section. At the same time it must be also considered, that in this particular situation the darkness of the macro elements are also working a bit against the performance.
No description needed for the prone position.
Addendum:
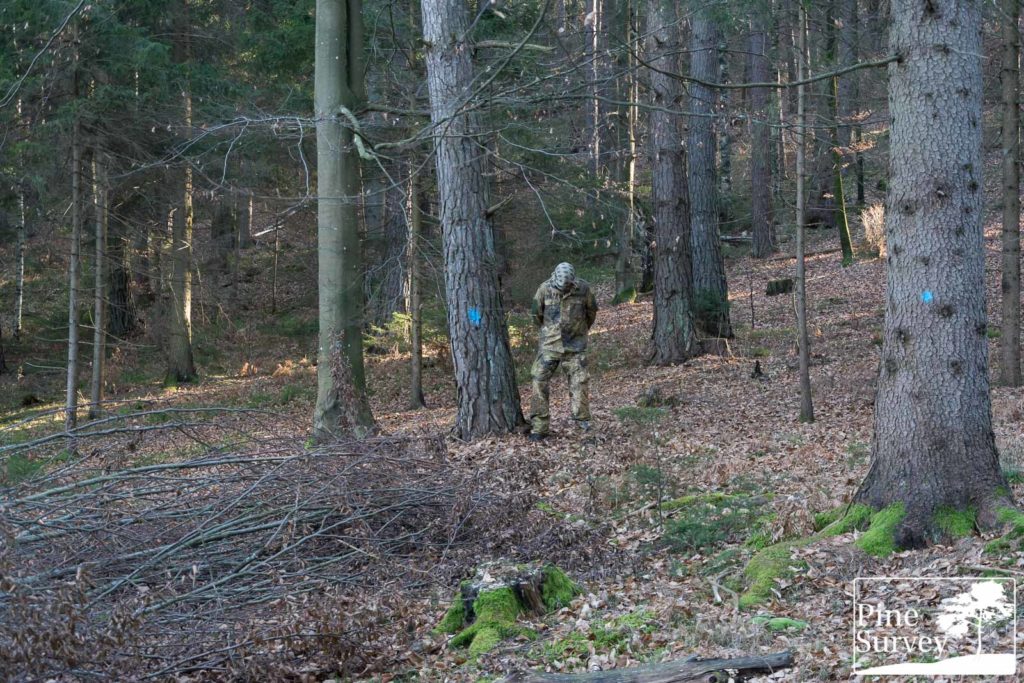
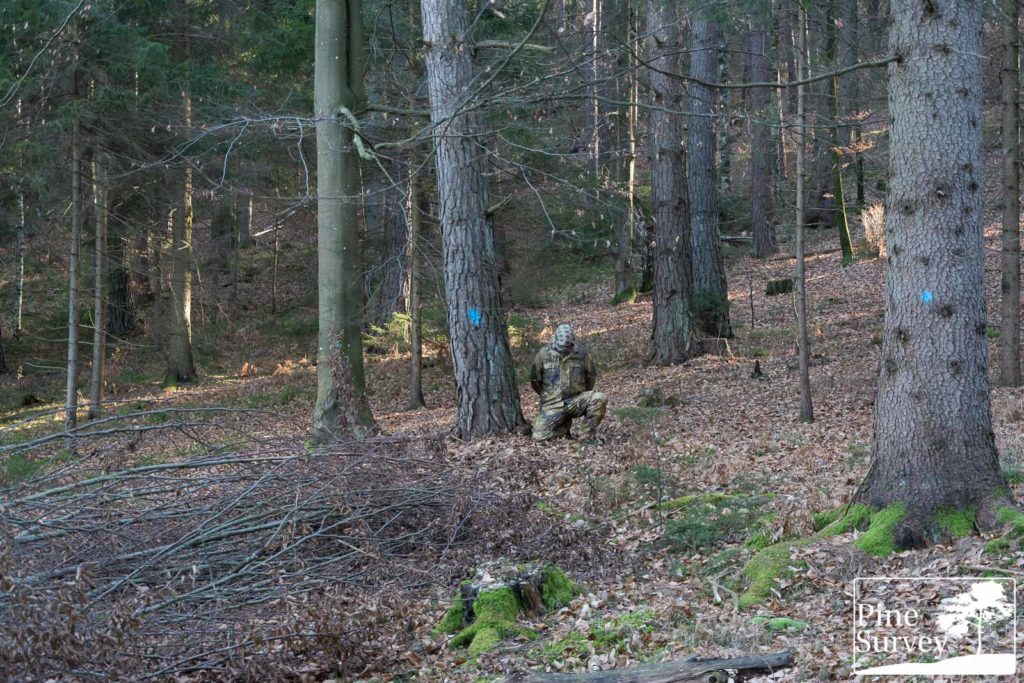
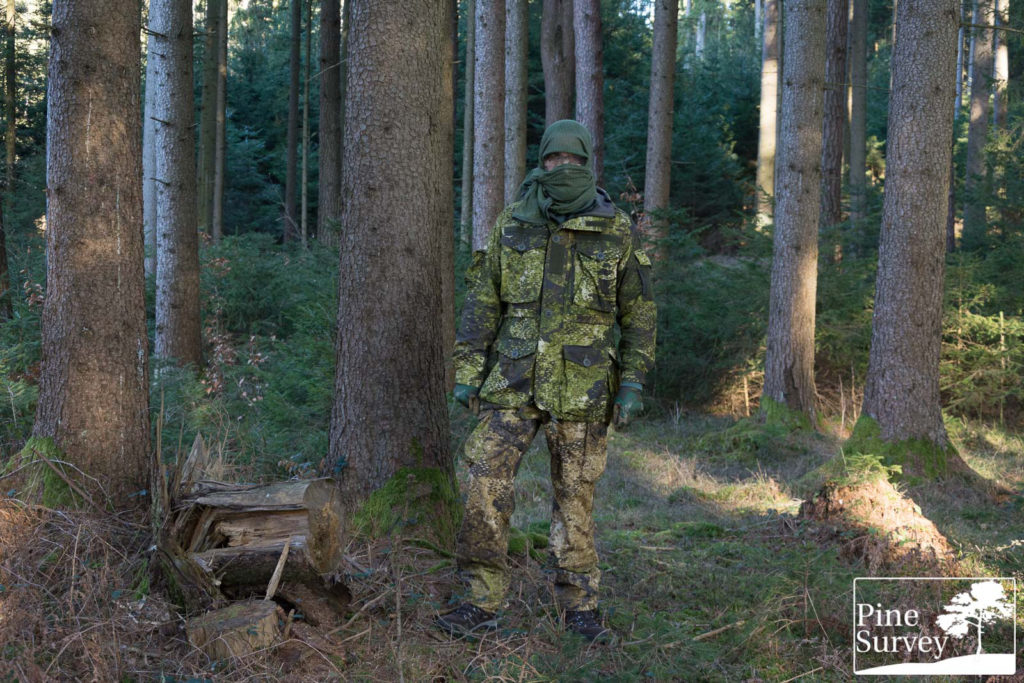
Two pictures for your consideration. Since I encountered the issue of green backgrounds and dry floors during several tests in Autumn and Winter, especially in mixed forest environments, but also because of discussions with other camouflage enthusiasts, I decided to mix PHANTOMLEAF WASP II Z3a with Z2 for two representational pictures.
The combination of woodland/transitional/desert patterns can be found in several situations, war zones, operations etc. for various reasons. It has its up- and down sides, which can be discussed another time.
However, I thought it might be of interest to see both patterns work together in a mix. The thought was to use a green top to match evergreen backgrounds/trees and brown pants to match the ground floor. With that being said I will leave the following two pics uncommented for your consideration.
Phantomleaf WASP II Z2 – a Conclusion
With that being said I want to come to an end. PHANTOMLEAF Wasp II Z2 proved to be an interesting and effective pattern in an Autumn/Winter environment. Especially when having in mind that it was initially created as a typical transitional pattern for semi-arid locations.
As with its green Z3A sibling, Z2 shows the importance of macro elements at longer distances.
Contrary to most transitional or semi-arid patterns, PHANTOMLEAF Wasp II Z2 does not seem to suffer from Isoluminance (a lacking contrast, resulting in a solid colour effect).
This excellent performing macro elements also proved to be very important when being observed from the air. More on that will follow in a separate “Eyes in the Sky” field test. As mentioned in the beginning, a video showing its performance is already available on the blog for Tier 3 Patrons.
Coming to an end it is safe to say that it will be interesting to see how Z2 will be embraced by the community. In that regard I hope I was able to give you a decent impression of the overall performance of the pattern, its intended areas of use and my personal observations.
Many thanks to PHANTOMLEAF for the cooperation!
Thank you for reading!
Take care!

I like the high contrast within the pattern. So many current patterns lack contrast and start to blur (or „blub“) too easily.
This seems like one of the first transitional patterns which might actually work as intended. I’m especially looking forward to gear in Z2 to match with different color schemes. I can imagine that the more universal Z2 will match better with Z3A and Z4 than, say, Z3A with Z4.