Introduction
In my first review on ConCamo Green (CC) I promised to provide you with additional footage, comparing CC with other available camouflage patterns. Given the fact that at that time plenty of similar articles were being published, I put it on hold and focused on different reviews.
With some time gone now, I think it would be interesting to show you my findings from last year, when I had the chance to compare the various camouflage patterns.
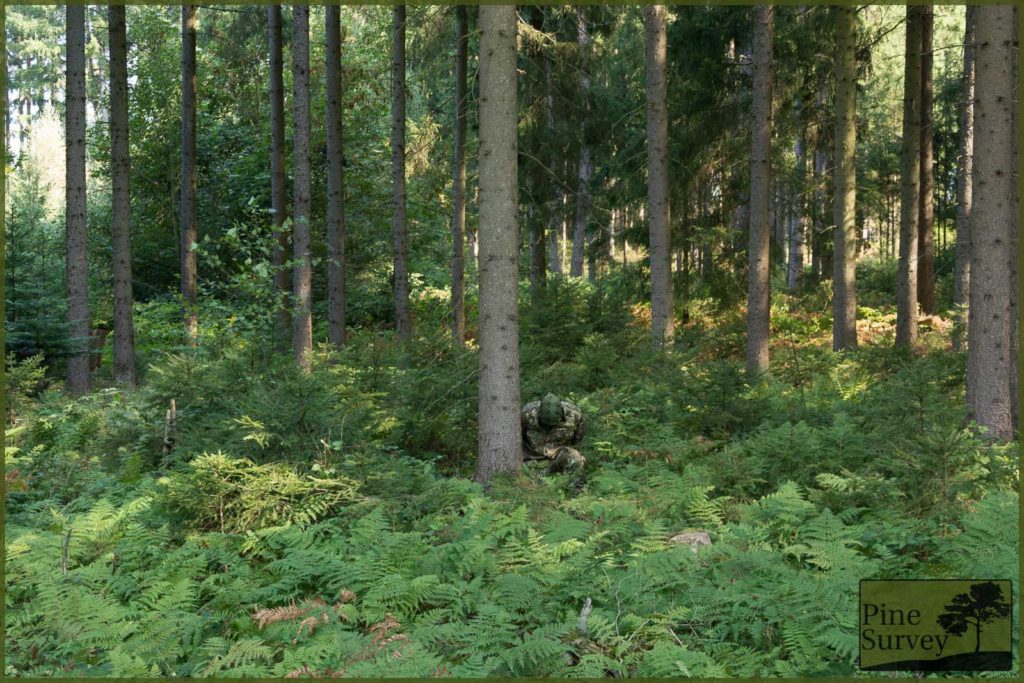
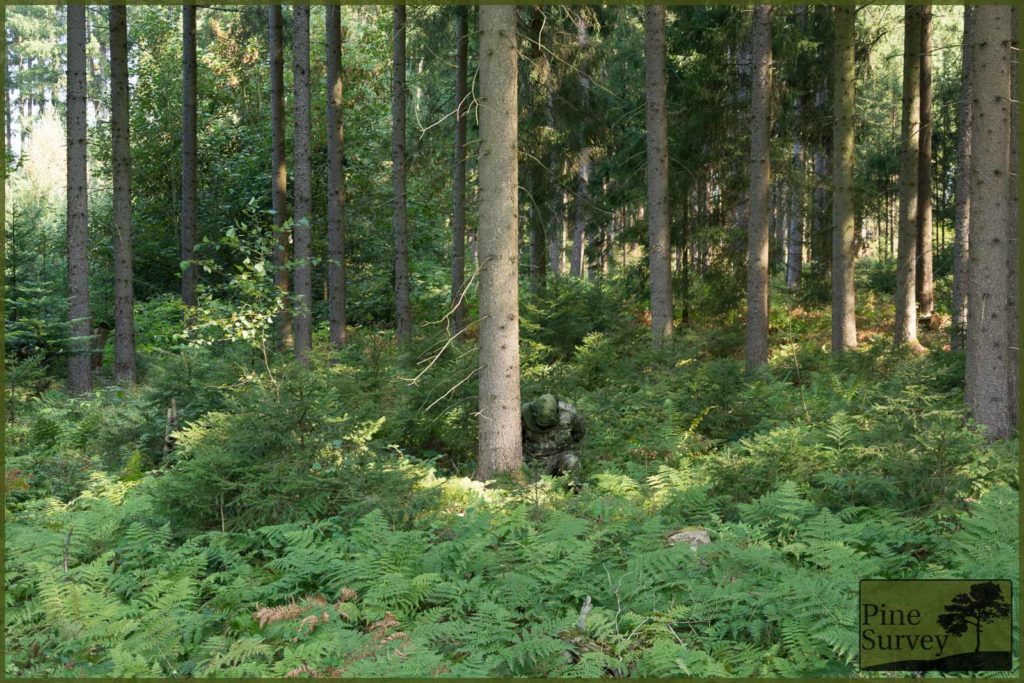
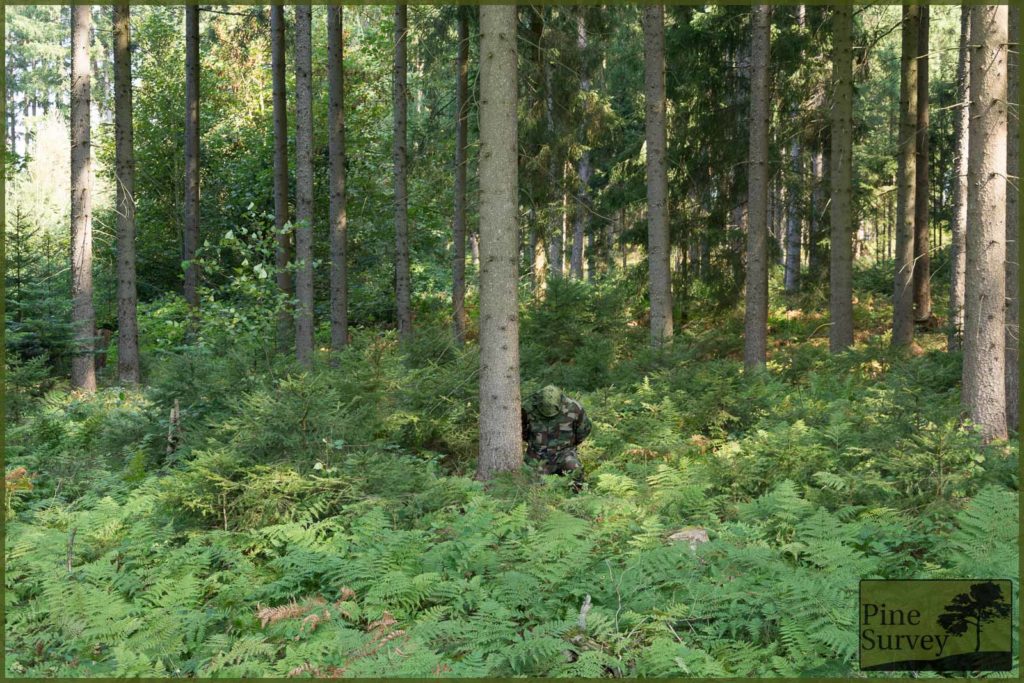
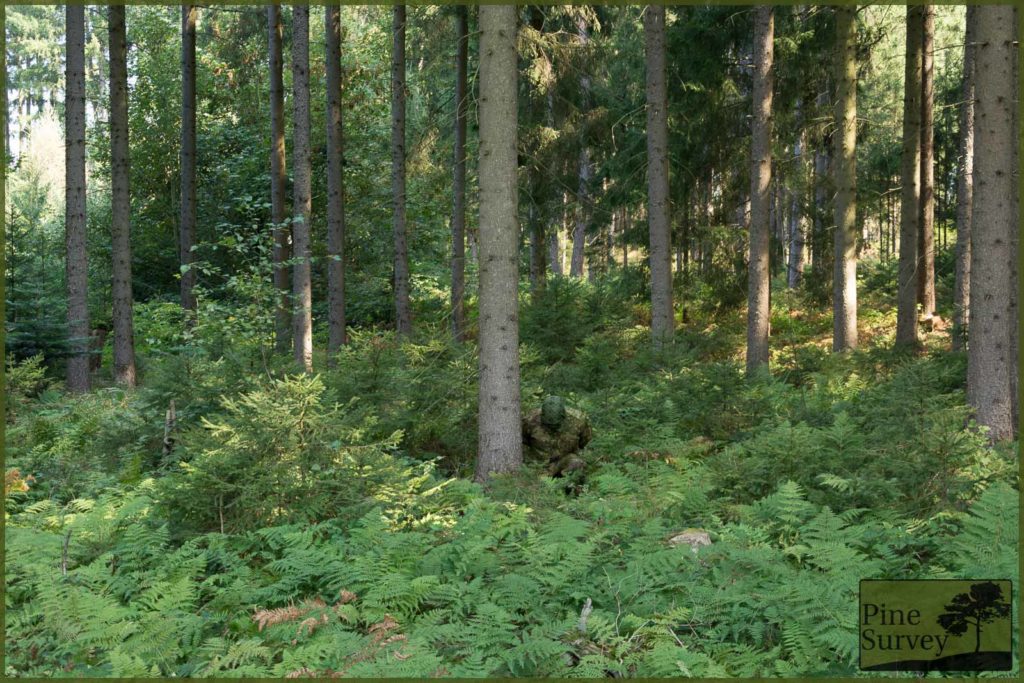
As a result, you will find the following candidates compared:
- ConCamo Green
- Kryptek Mandrake
- M81 Woodland
- PenCott Greenzone
- SloCam
You will recognize some of the pictures, since I already used the ones of CC in the initial ConCamo review. The other pictures were taken at the same time.
Methodic Remarks
As always I need to point out a few things beforehand. I do not claim any scientific standard with my camouflage comparisons. Also, I conduct them with my best knowledge and the available resources. For example: at the time when I took these pictures, there were no hats in CC available. As a result I used an OD green Shemagh in all the pictures, to be fair.
The pictures were taken at the same location I always use to make my camouflage comparisons. That way you can compare the various field tests I have done so far with each other.
Before I start, please consider the following – as always:
I did not edit the pictures in any special way, except the following:
- Lens correction
- Watermark
- Blurred my face out if necessary
- .jpeg compression to make it web compliant
- I always do a proper White Balance to make colors appear the way they are.
A short explanation to the environment and the procedure:
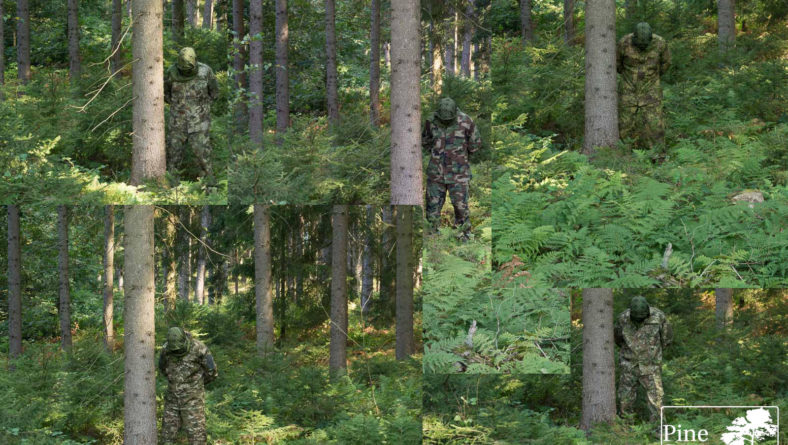
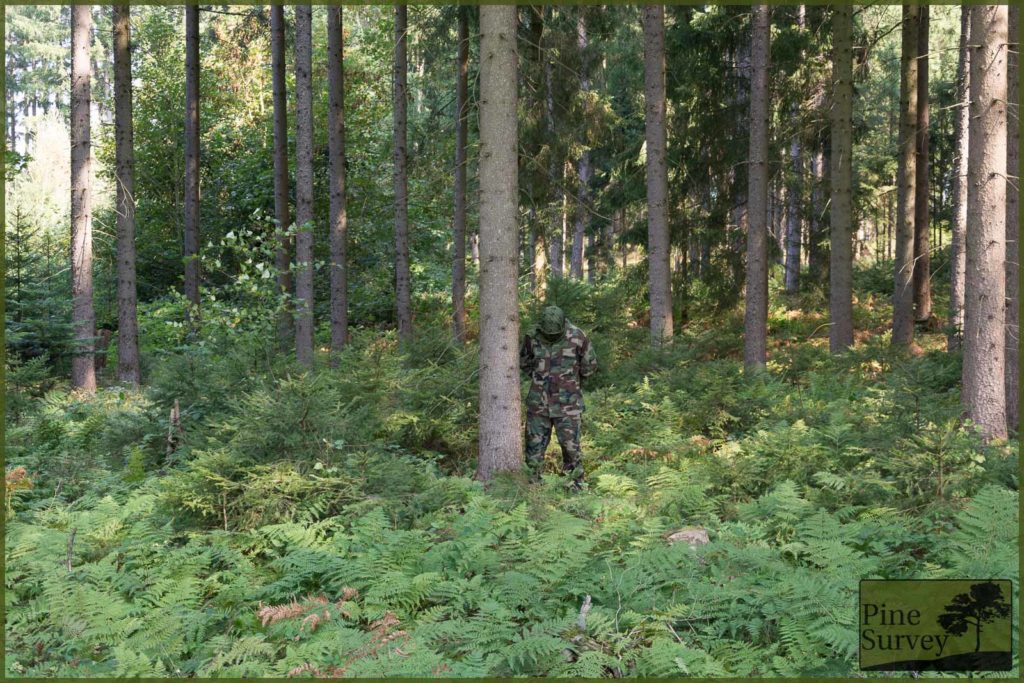
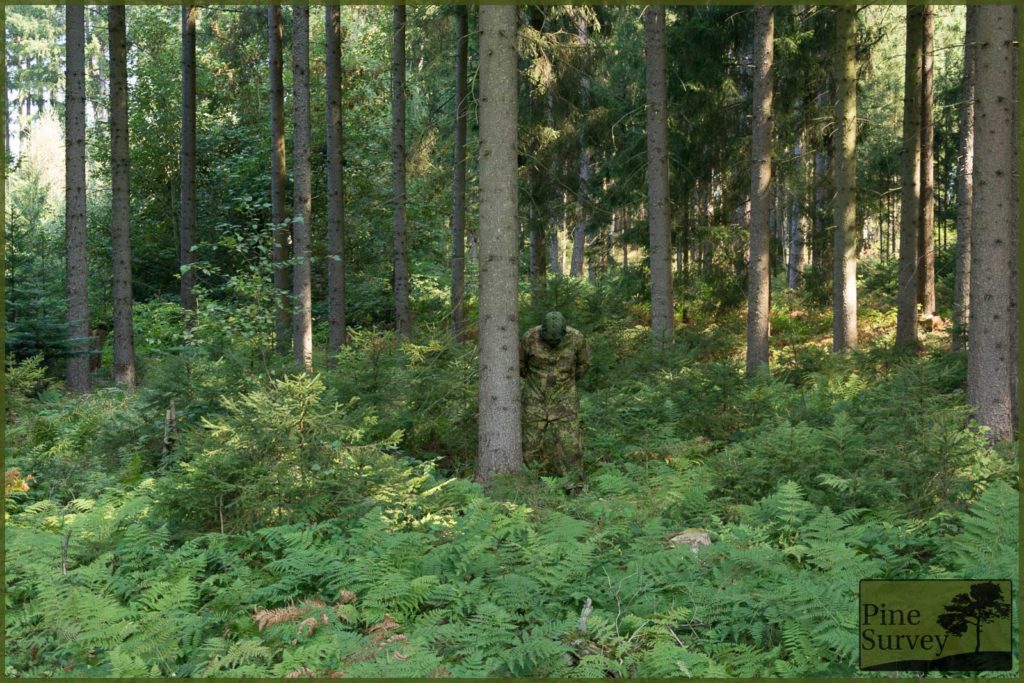
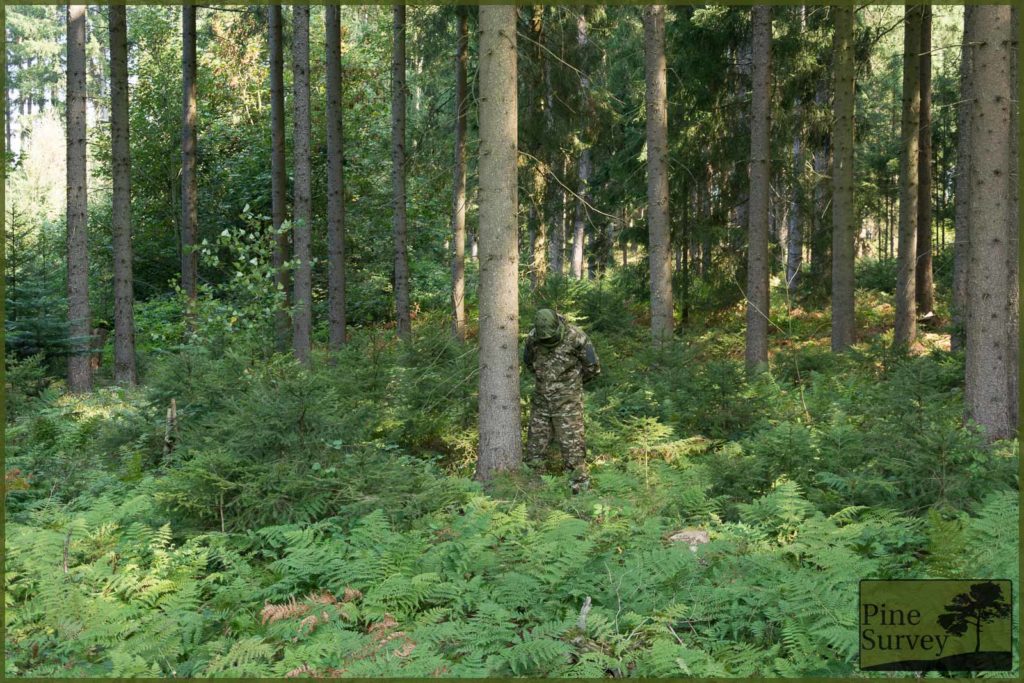
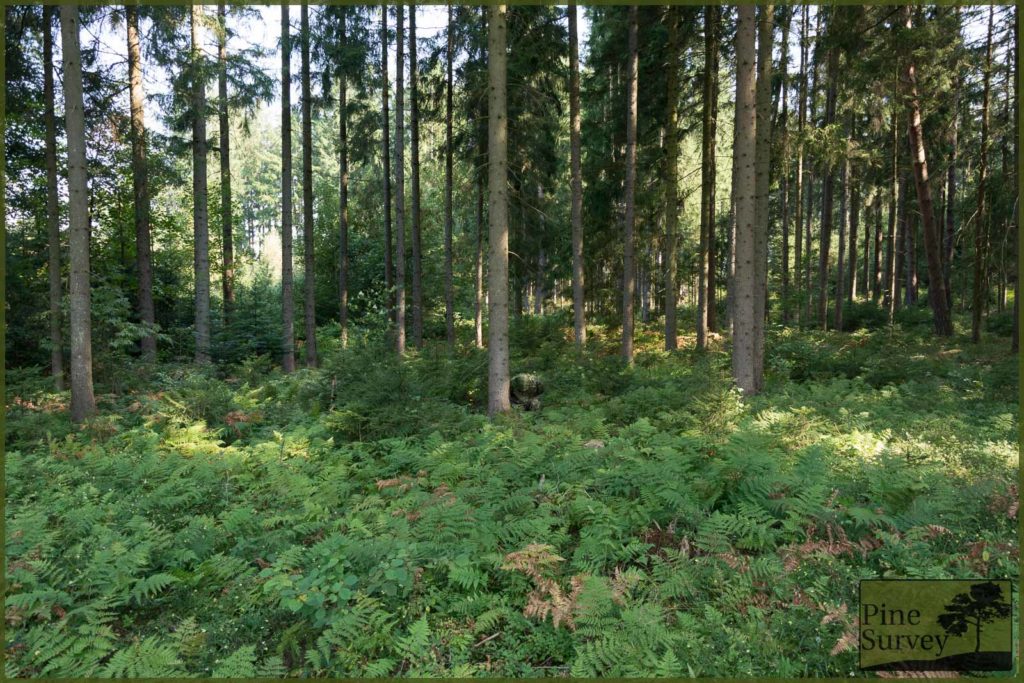
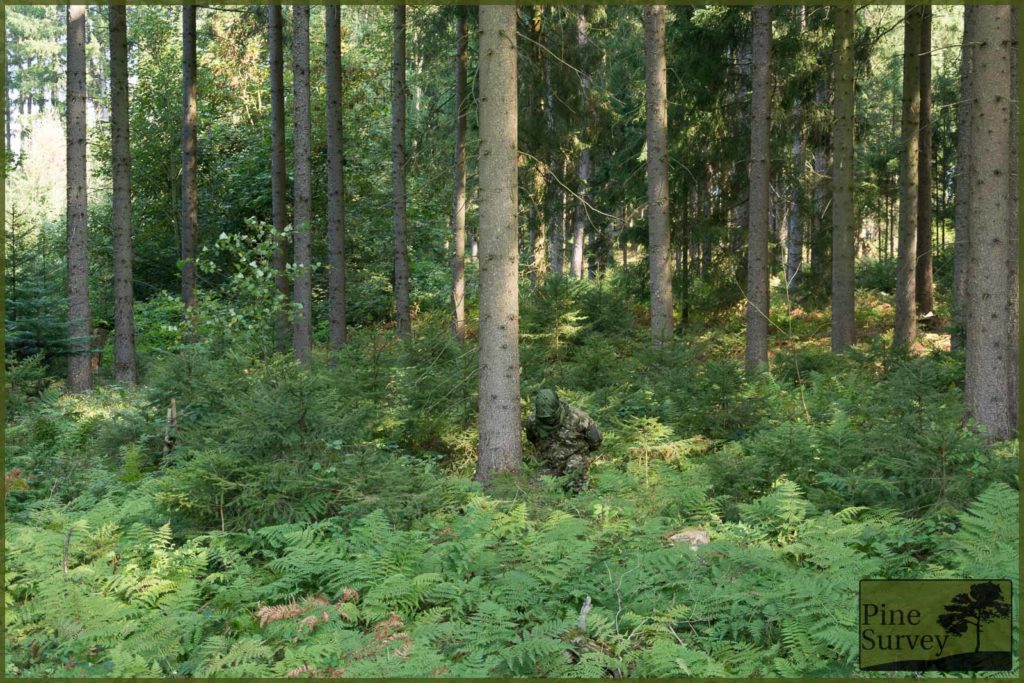
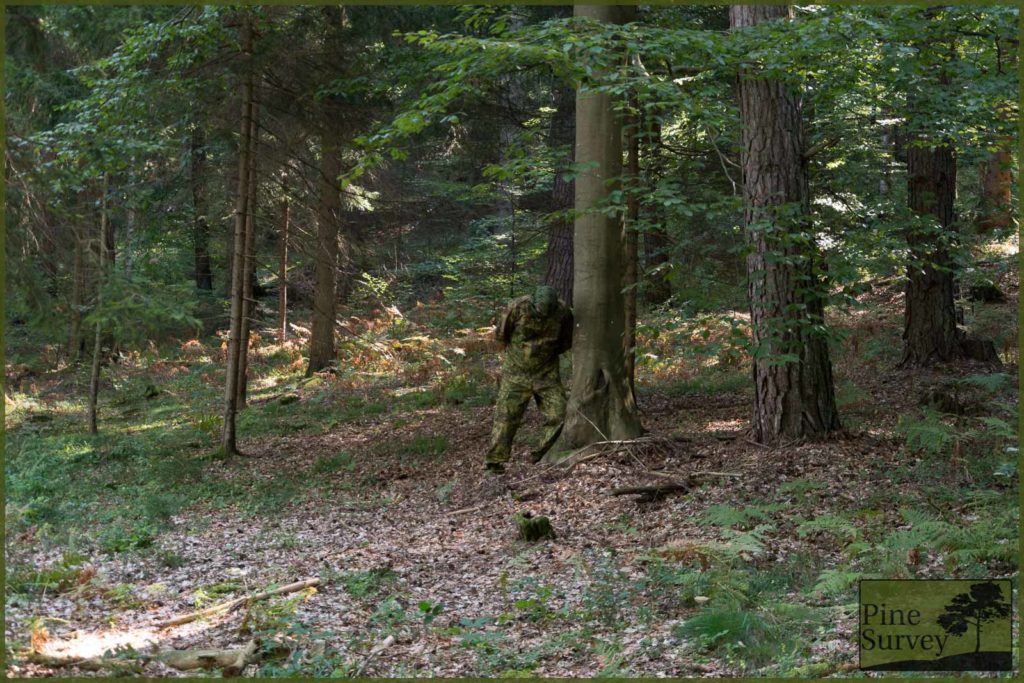
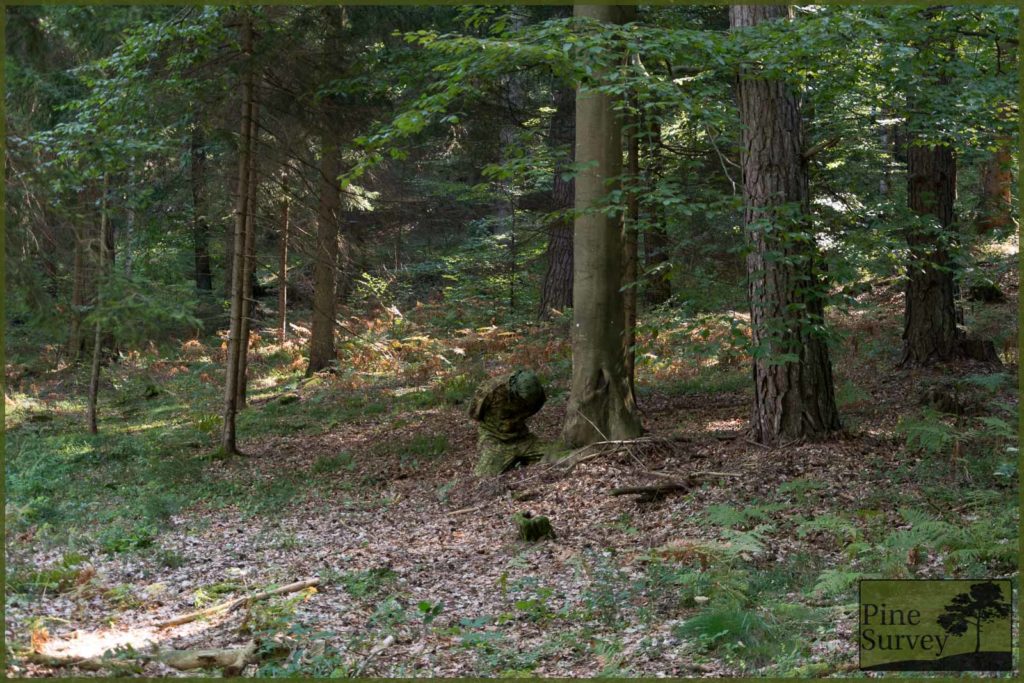
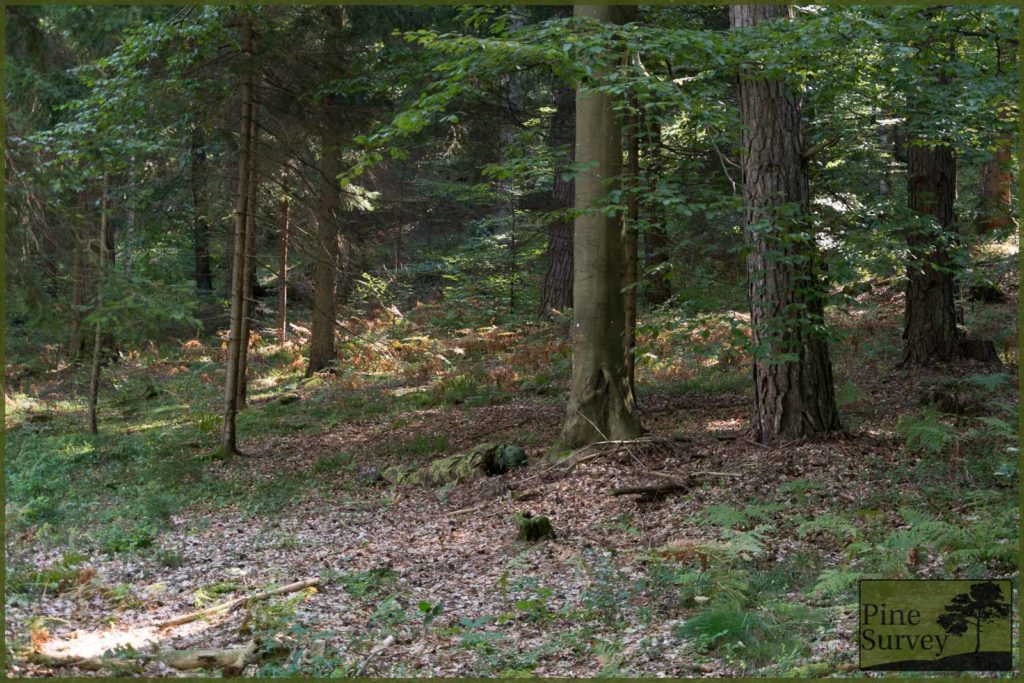
The pattern was tested in a typical European mixed forest with a high foliage canopy and some basic bushes, ferns and little trees on the ground. The pictures portray three different positions:
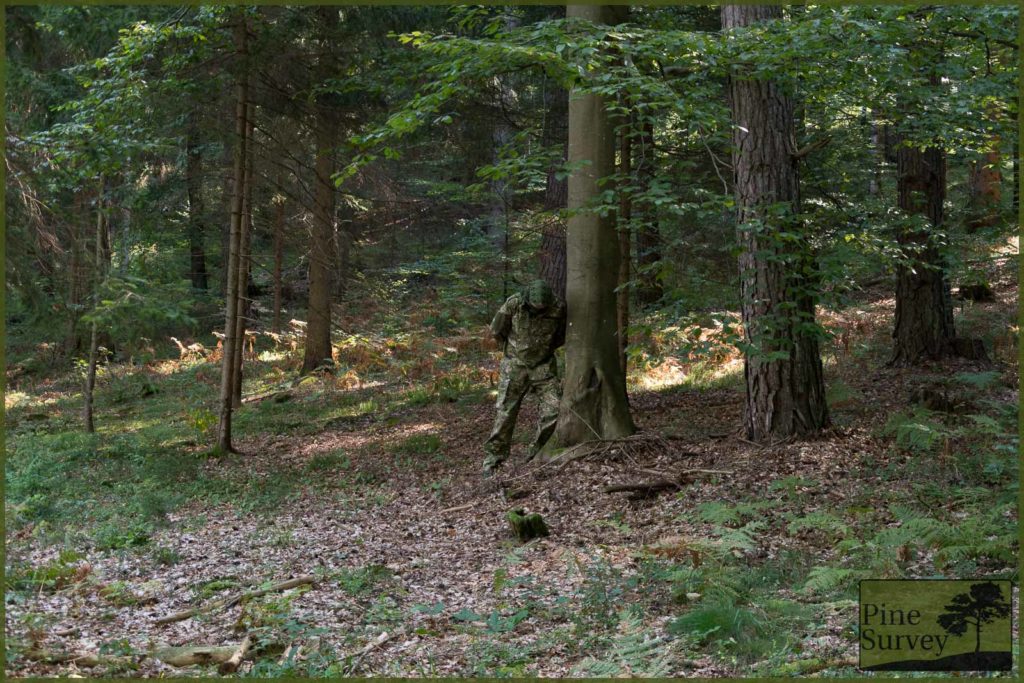
- Standing in the open (to get an idea of the pattern in this particular surroundings and if the colours match it)
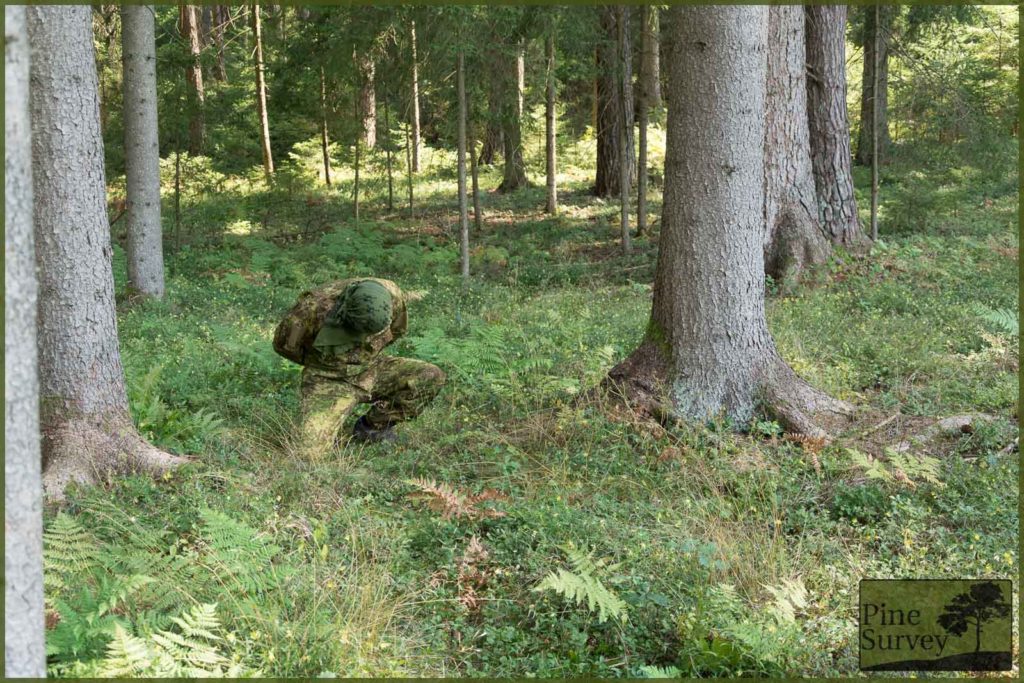
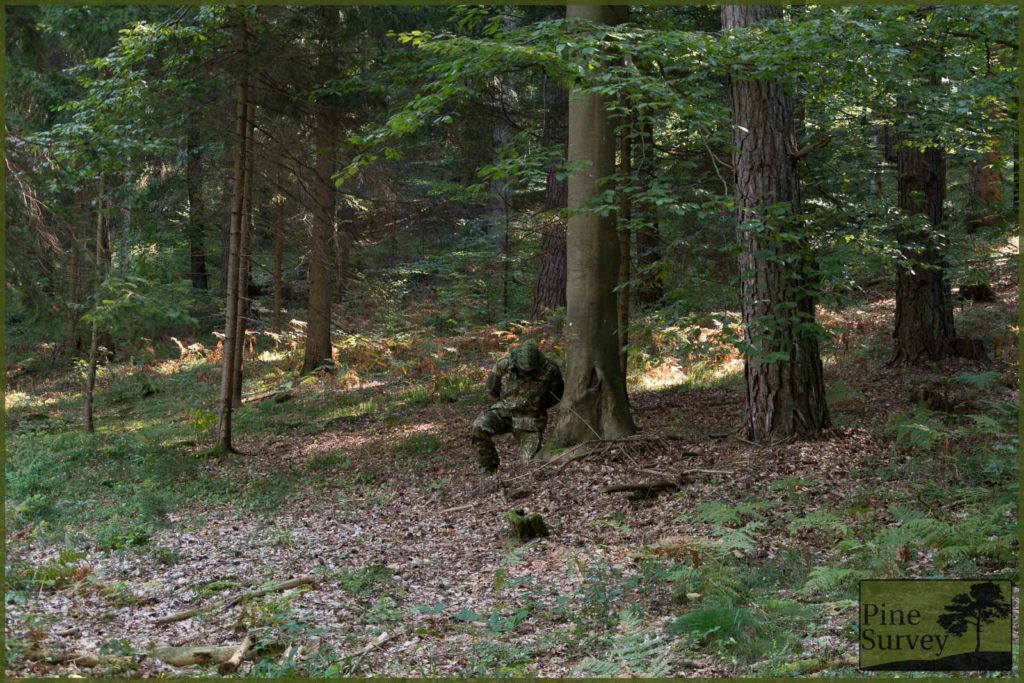
- Kneeling
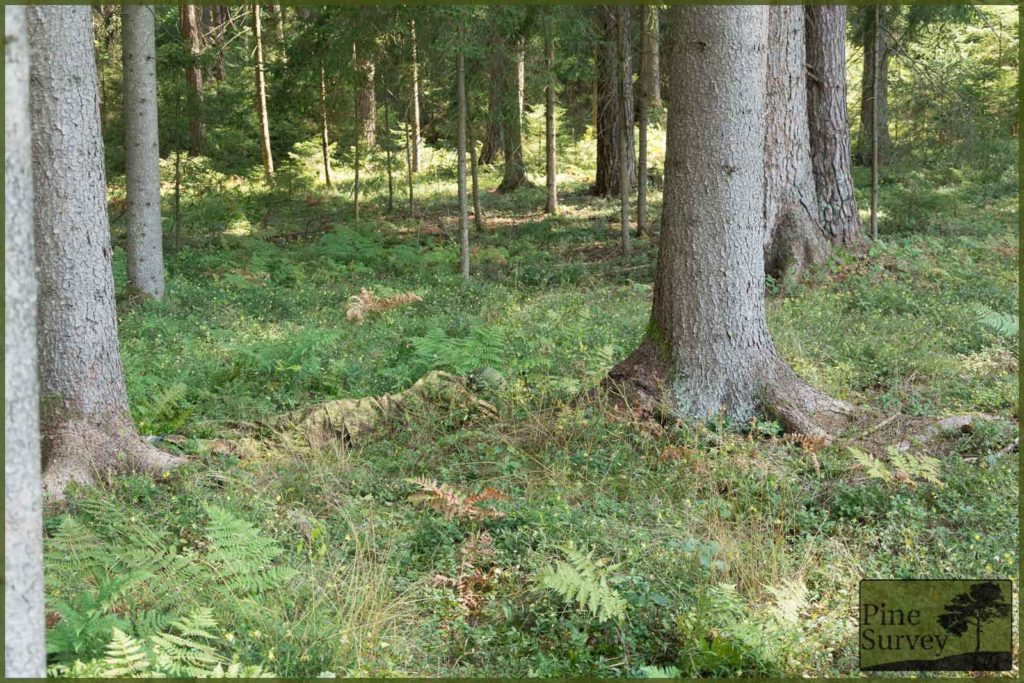
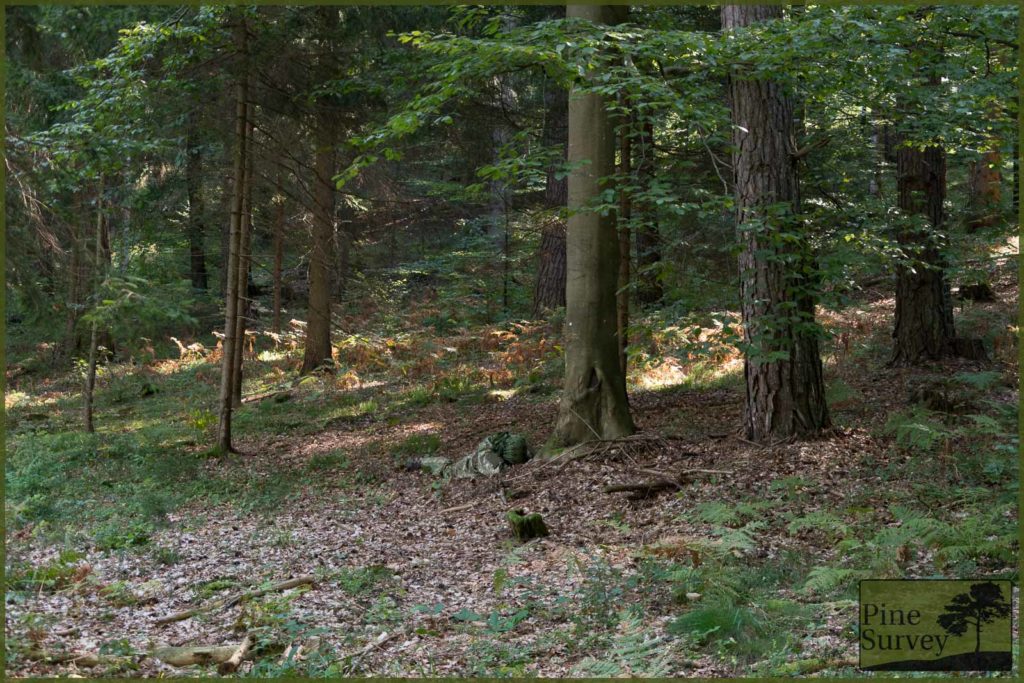
- The prone position (to mimic basic, up to ideal concealment without using vegetational enhancements)
As always I photographed with a wide angle lens at first and then with 35mm focal length, which mimics the actual picture the human eye would perceive at this distance. Having in mind the three different positions mentioned before, I ended up with 6 pictures of each pattern.
Furthermore:
To demonstrate the micro elements in both PenCott Greenzone and ConCamo Green, I shot several pictures at close proximity.
Given the huge amount of pictures in this comparison, I will not describe or comment on them. All of these camouflage patterns have been tested on this blog by now, so I encourage you to look at the particular reviews. However, I will end the comparison with a thorough conclusion.
With that being said, let’s take a closer look at the pictures themselves.
Location 1
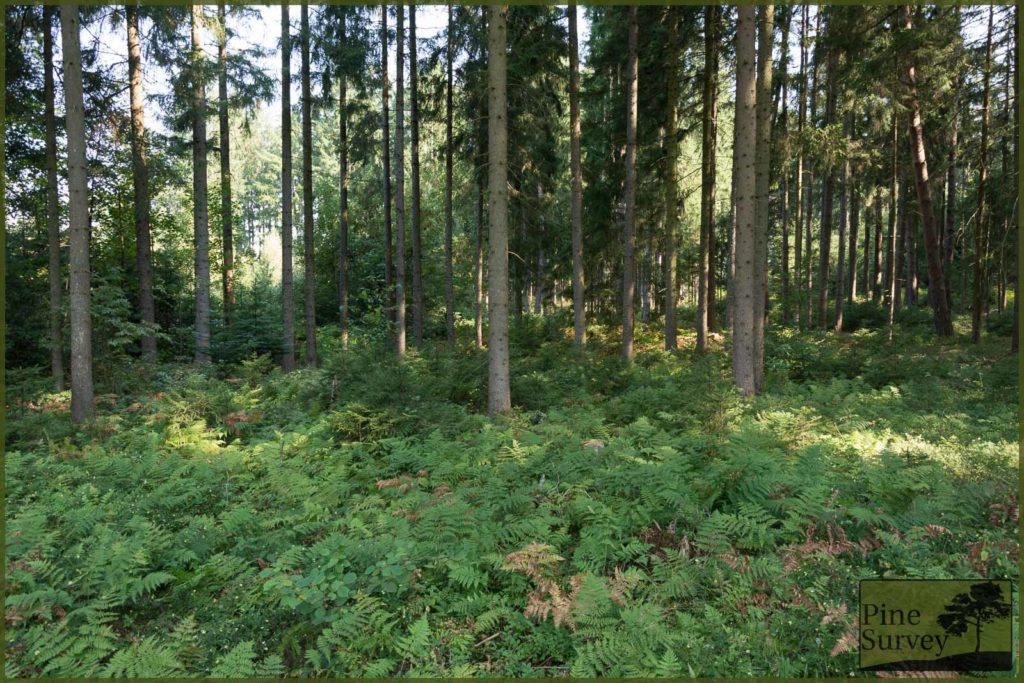
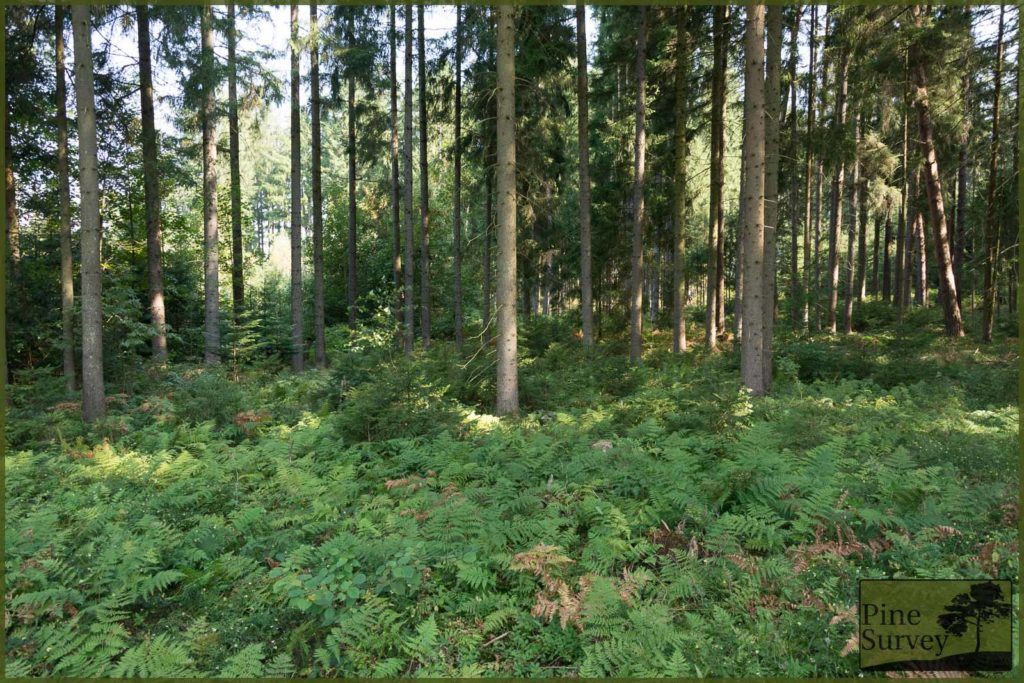
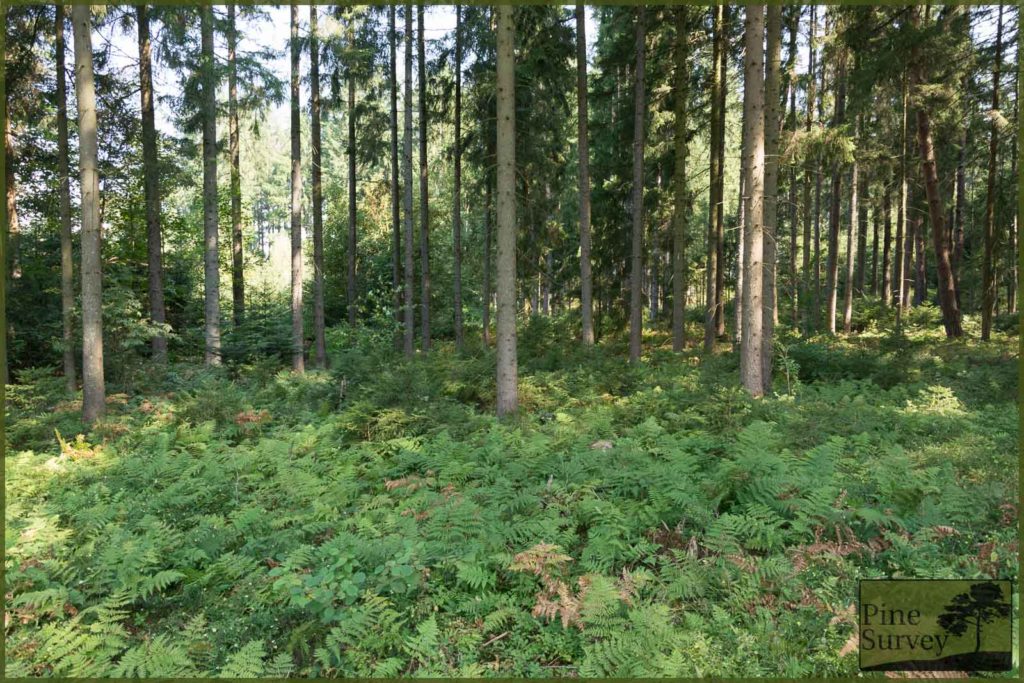
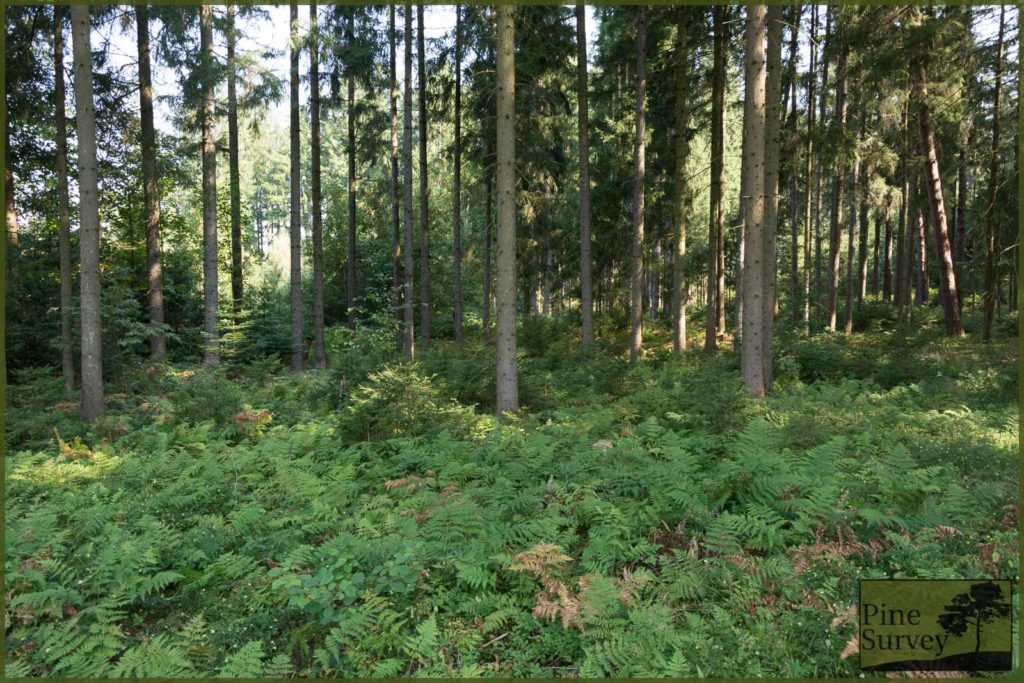
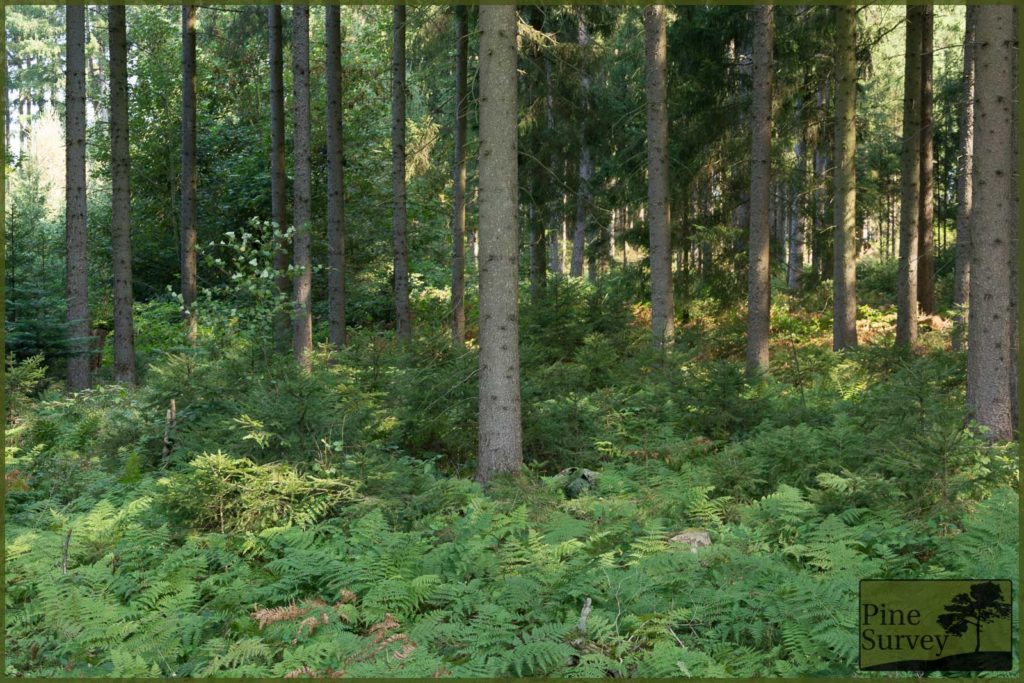
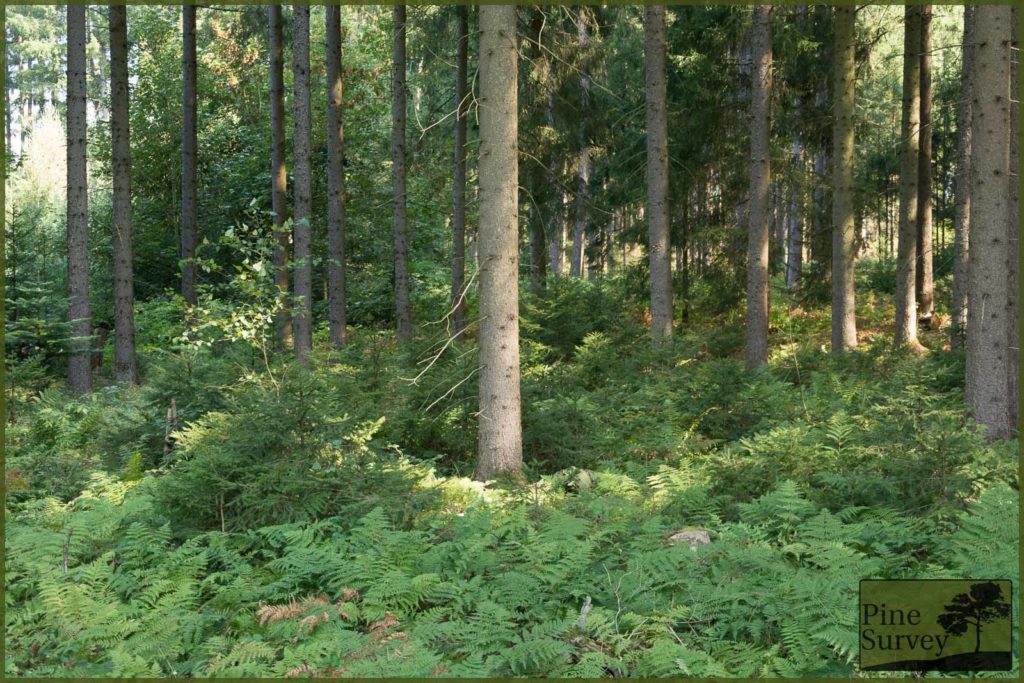
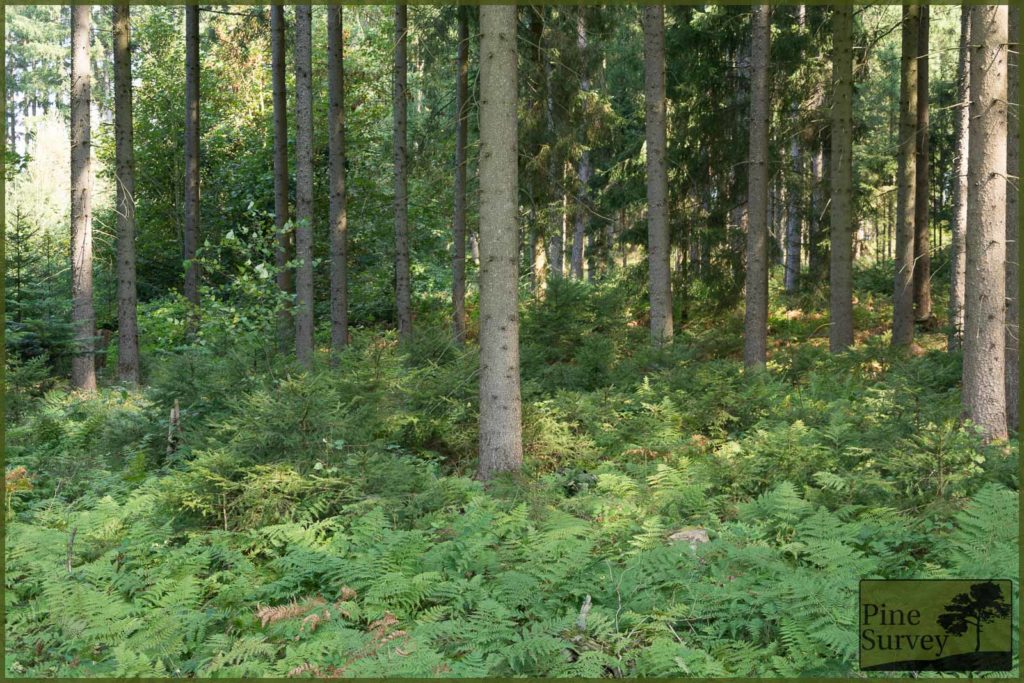
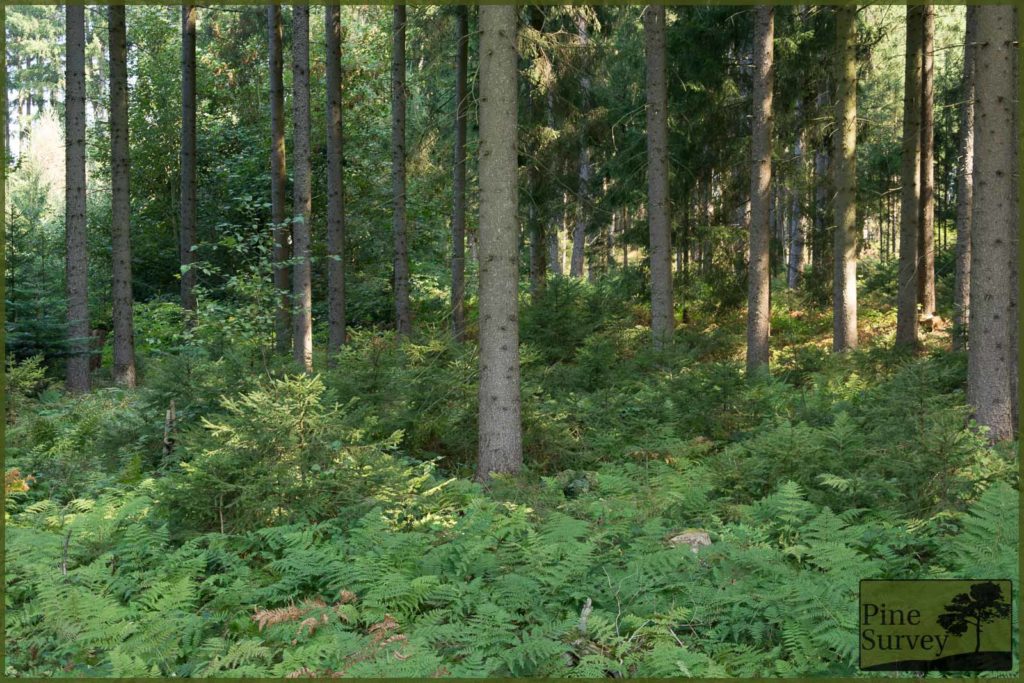
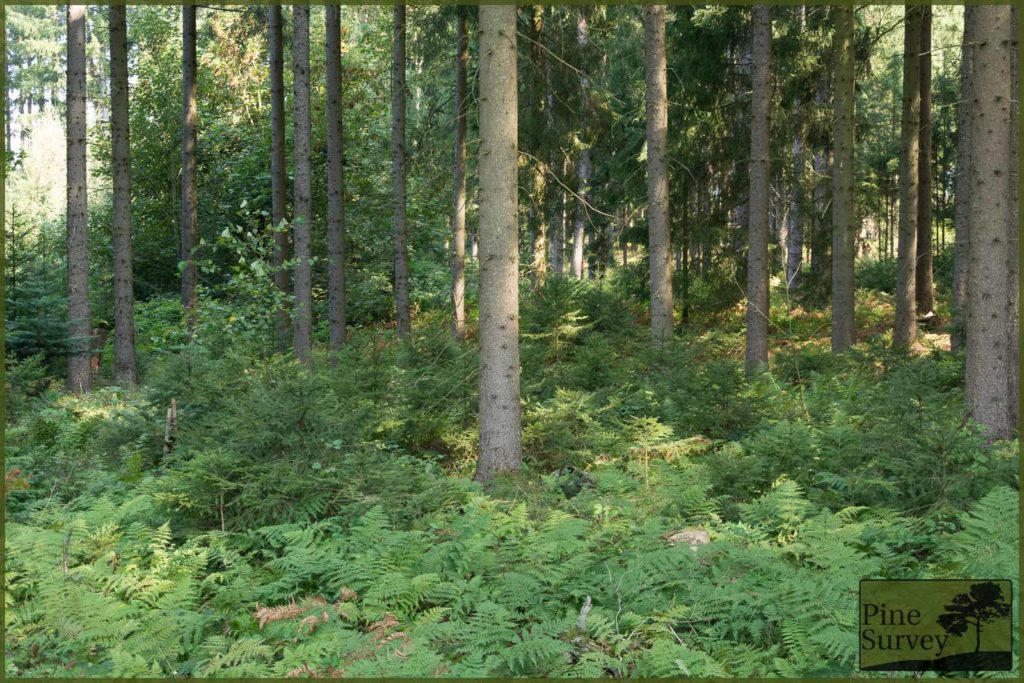
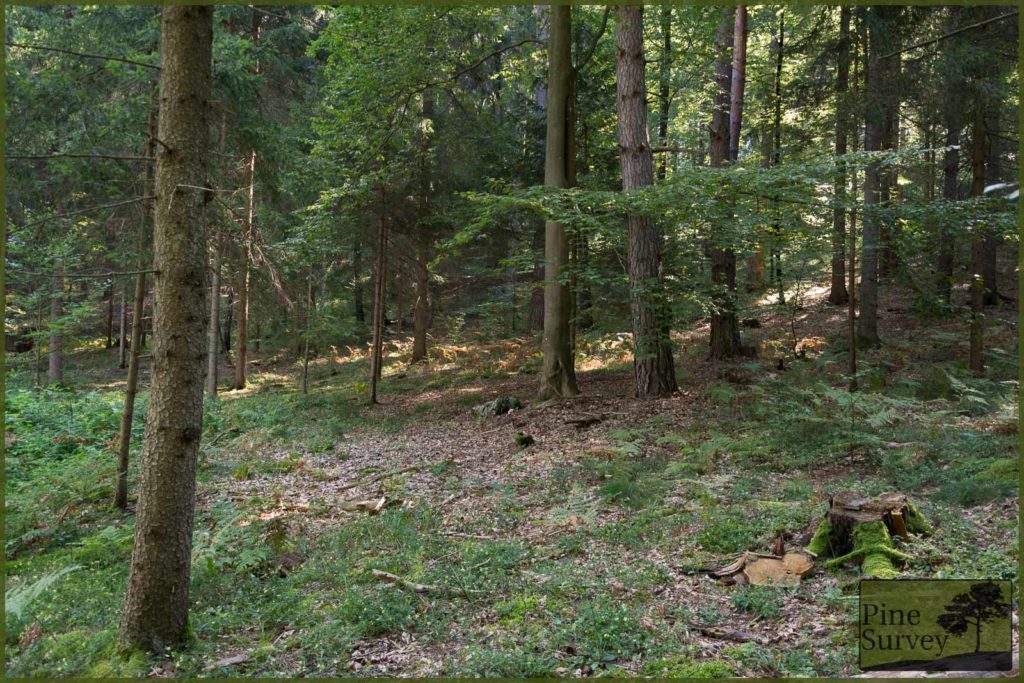
This first location is the same one you already know from my previous reviews. It is a typical European mixed forest with a high foliage canopy and some basic bushes, ferns and little trees on the ground.
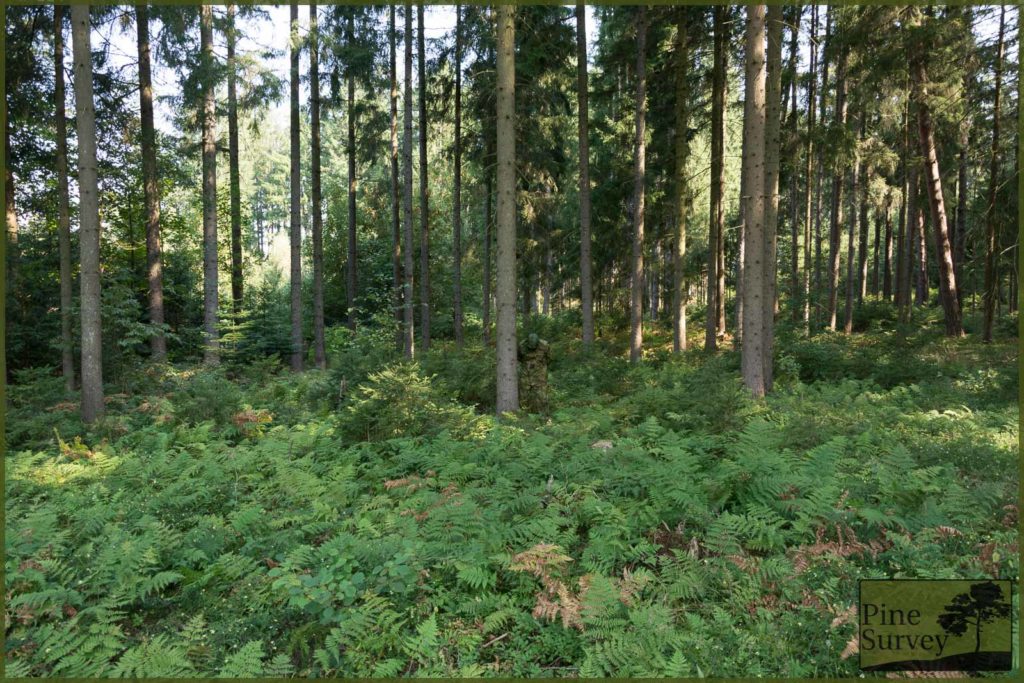
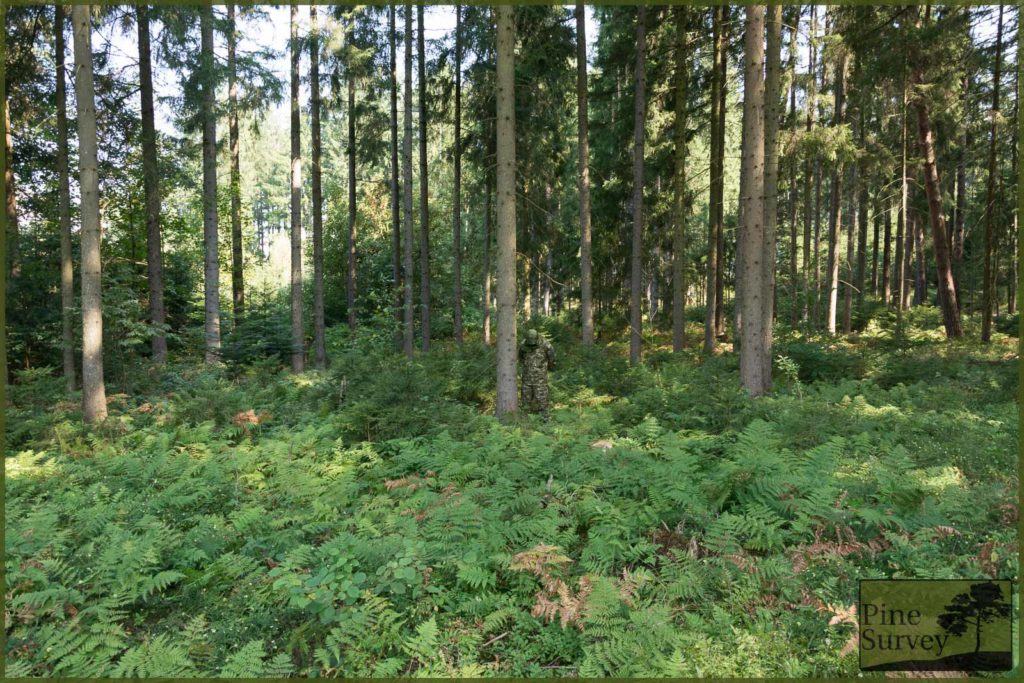
Wide angle shot – standing
I will start with the various patterns in the standing position, wide angle. This way you have the direct comparison.
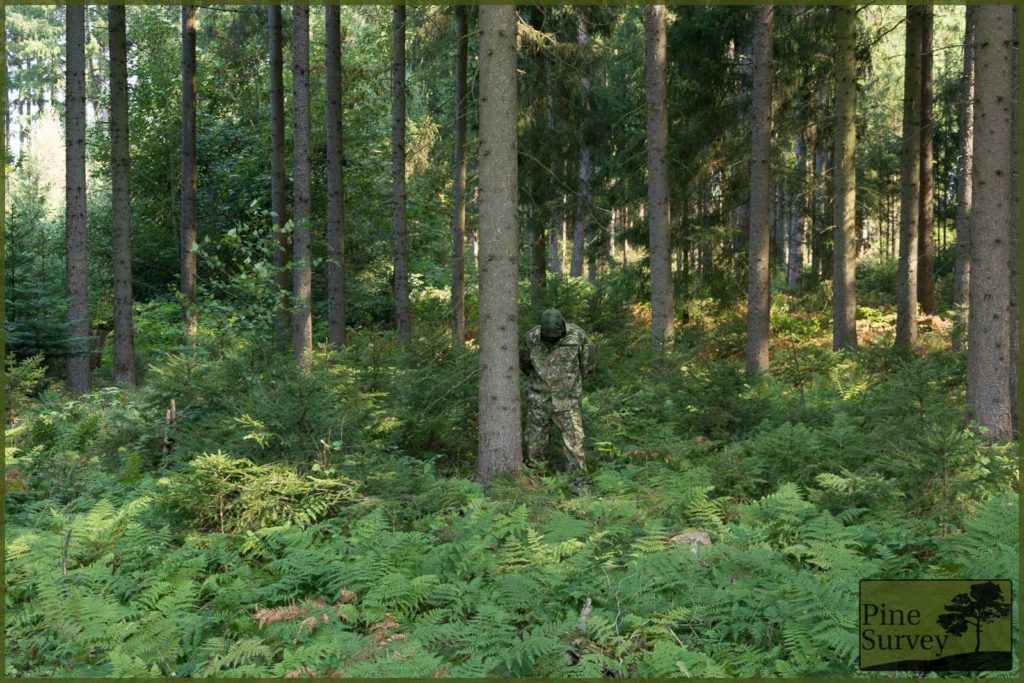
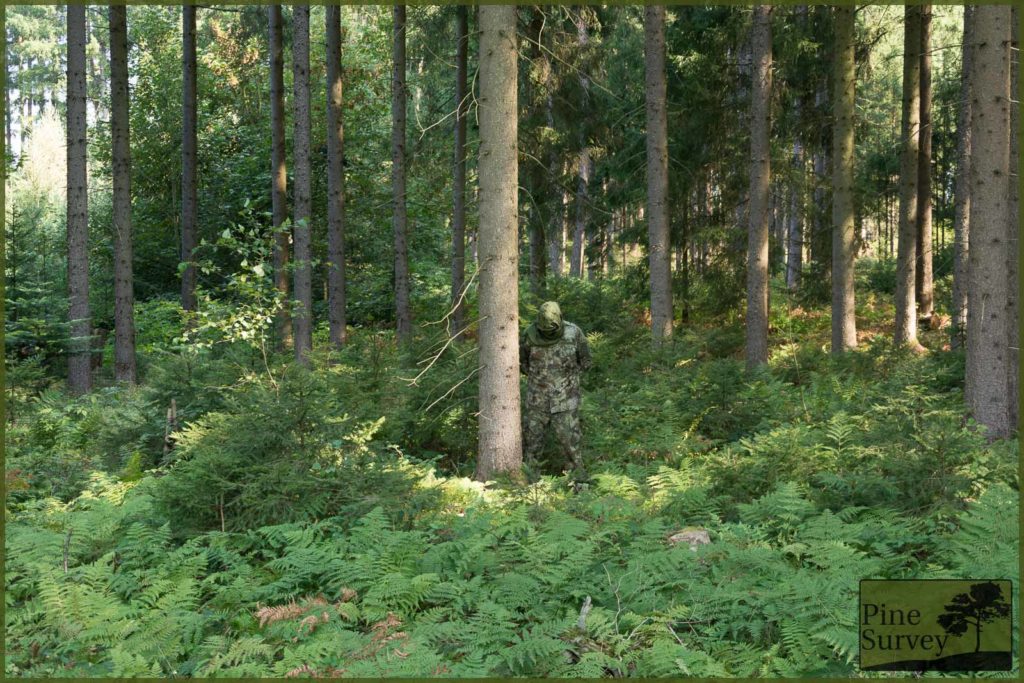
35mm, showing the actual distance – standing
Same as above, I will put all the camouflage patterns directly in a row, while showing the standing position, but this time at 35mm focal length, which shows the actual distance of roughly 10m.
Wide angle shot – kneeling
The same procedure as above: Wide angle, but this time kneeling.
35mm, showing the actual distance – kneeling
Again, the kneeling position, but this time at 35mm focal length, showing the actual distance.
Wide angle shot – prone
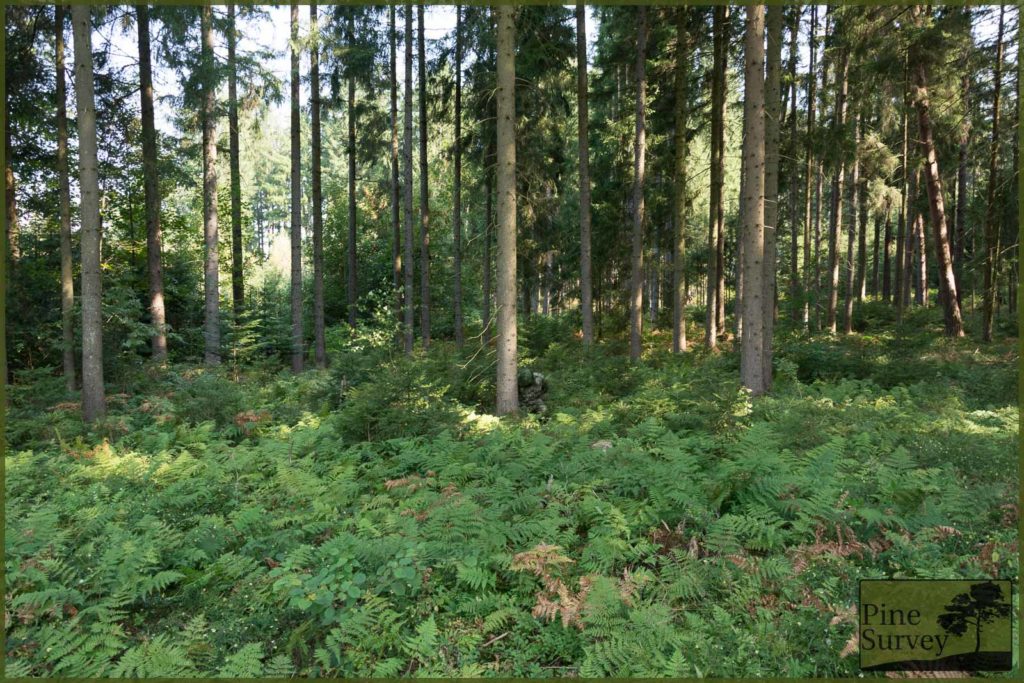
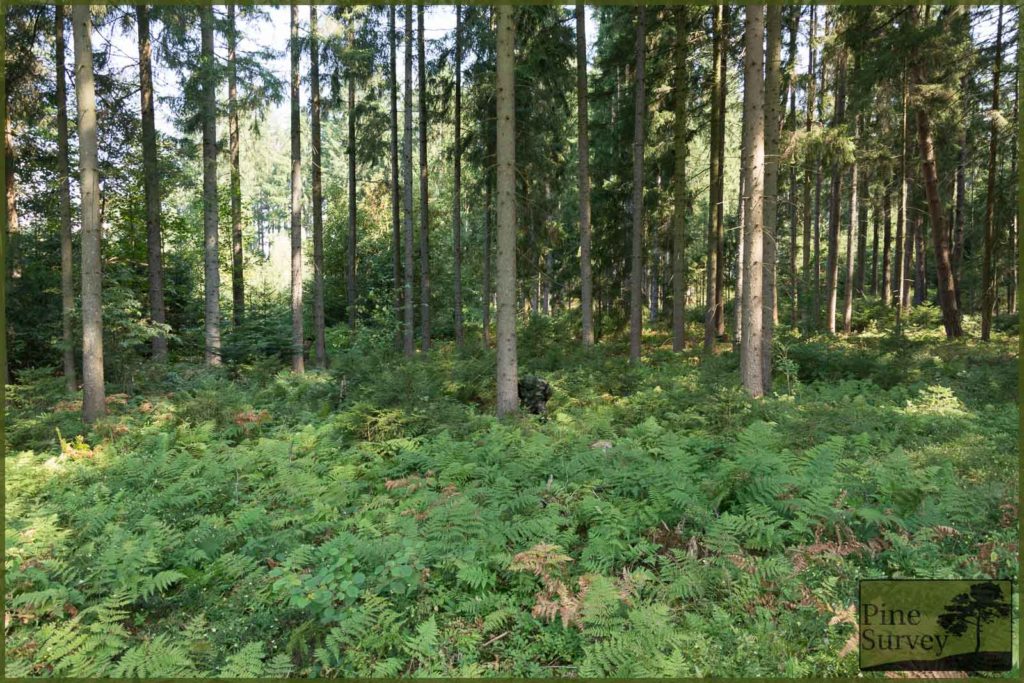
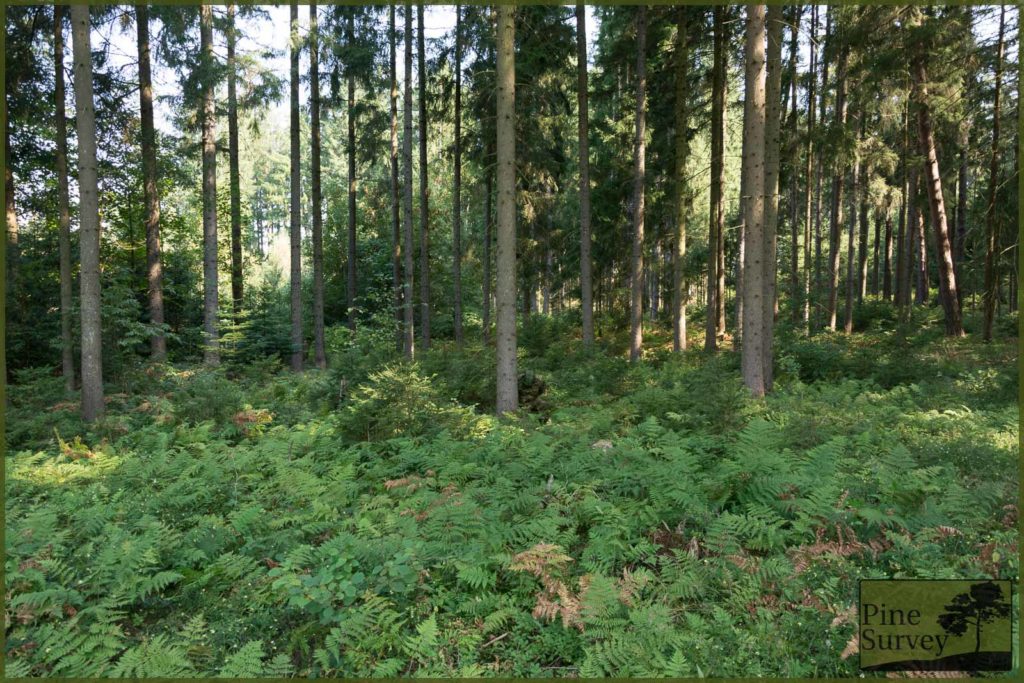
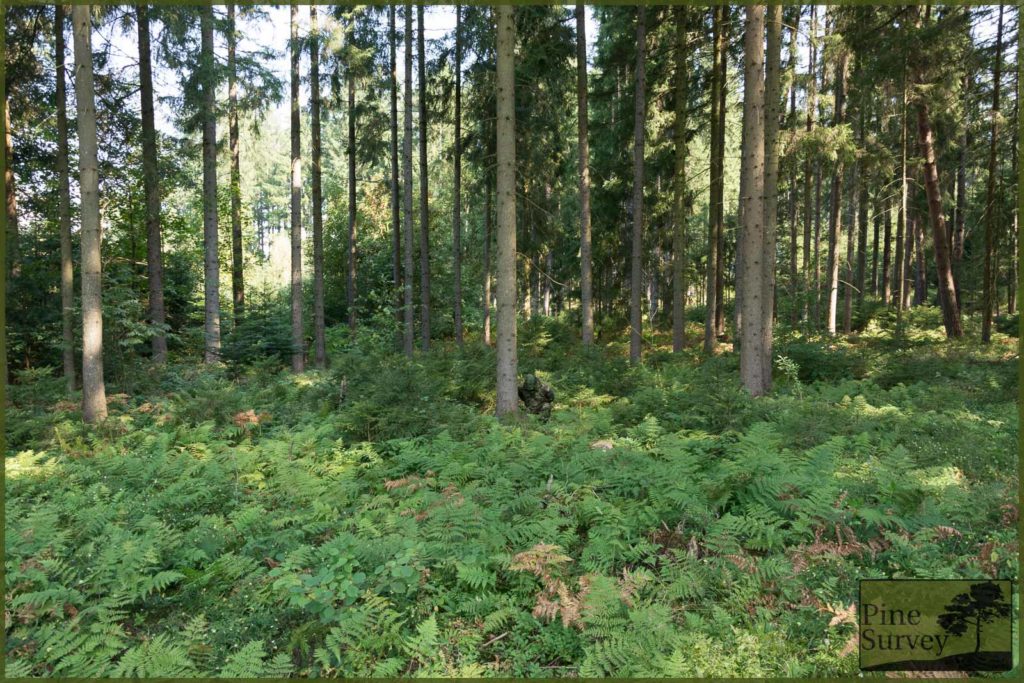
Same as above: wide angle, prone. All Camouflage patterns are hidden on the floor
35mm, showing the actual distance – prone
And to finish this location: 35mm focal length in the prone.
Location 2
The second location is right next to the first, but with less vegetation on the ground. As mentioned in the beginning, I wanted to show the effectiveness of the micro elements of both CC and PenCott Greenzone and how good they complement the camouflage pattern in concealing the human silhouette at close range.
Location 3
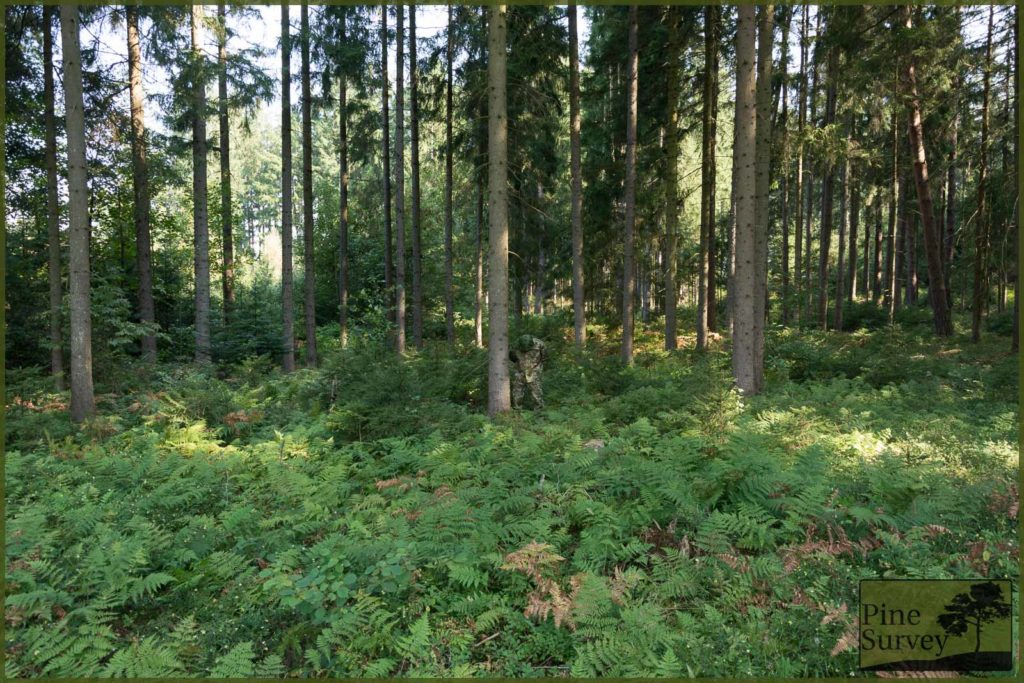
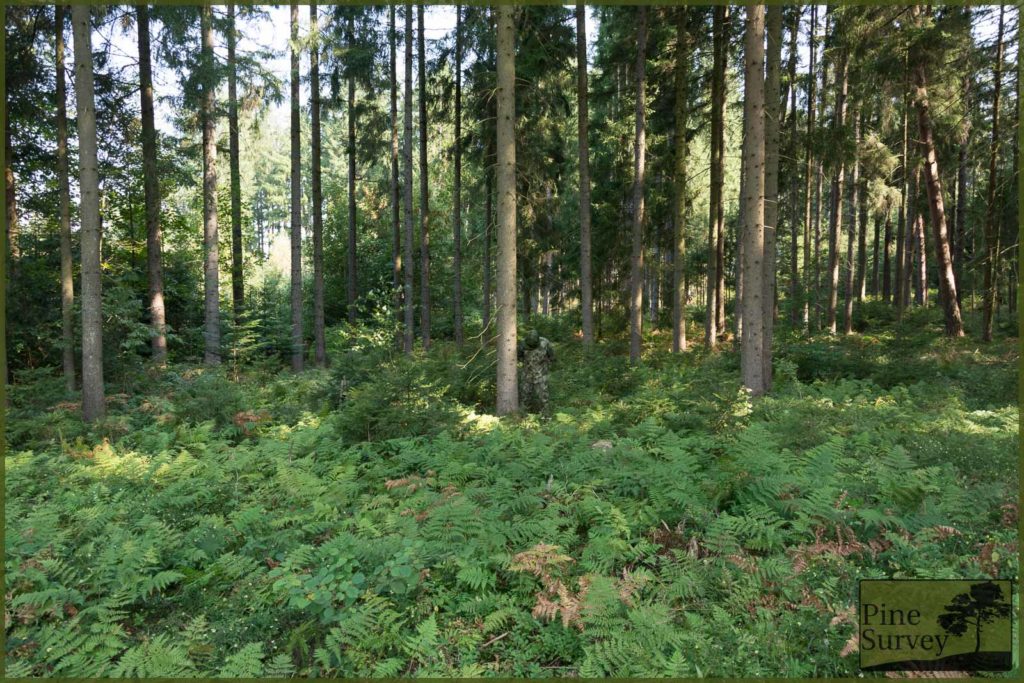
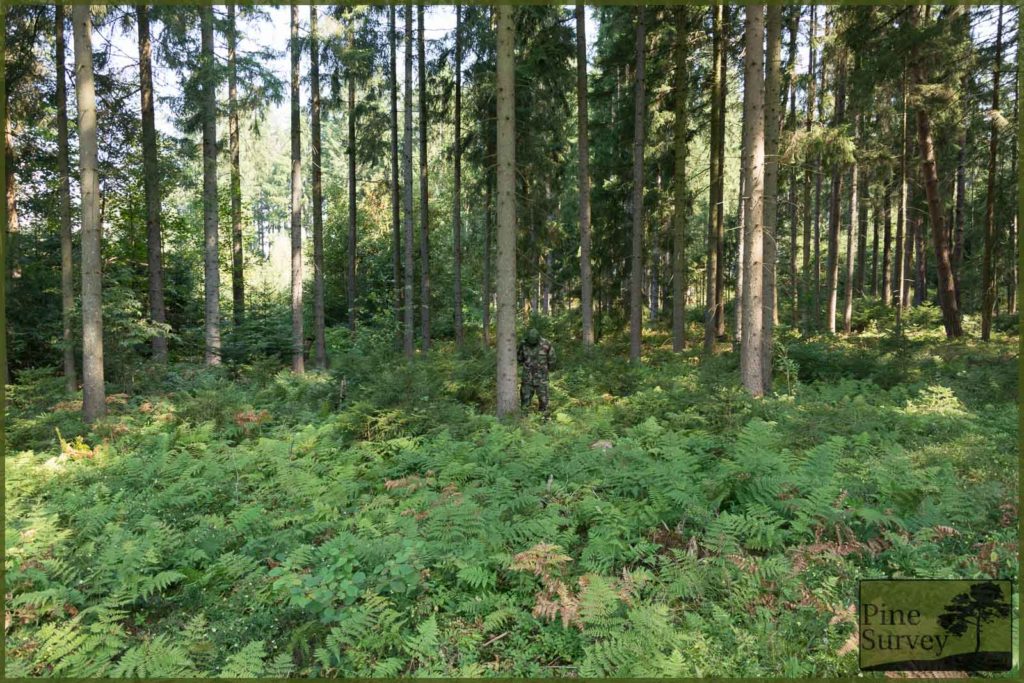
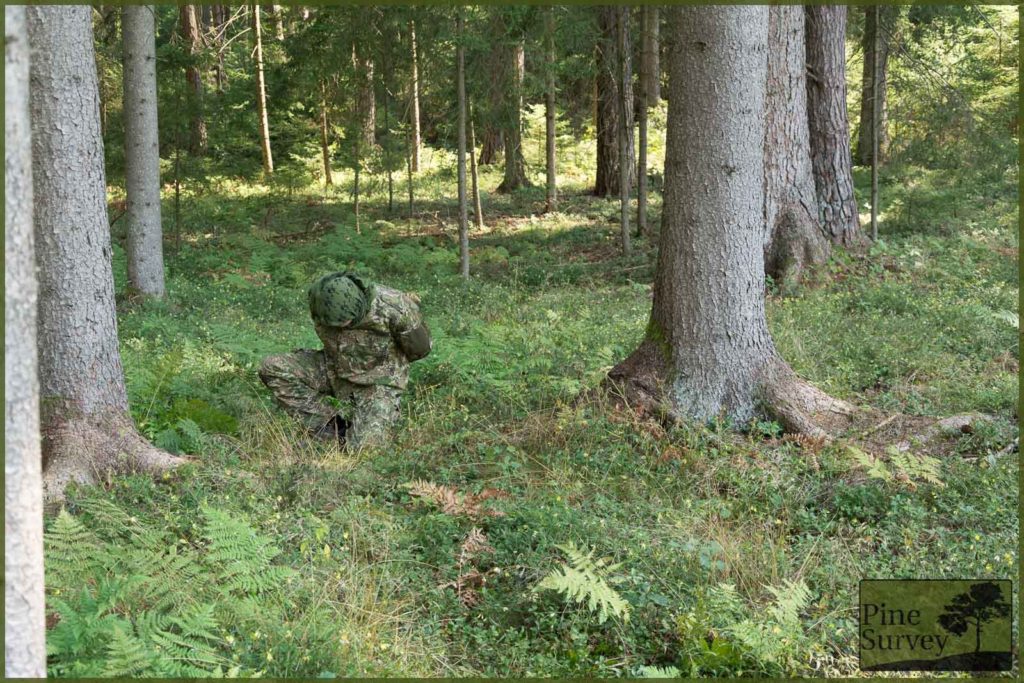
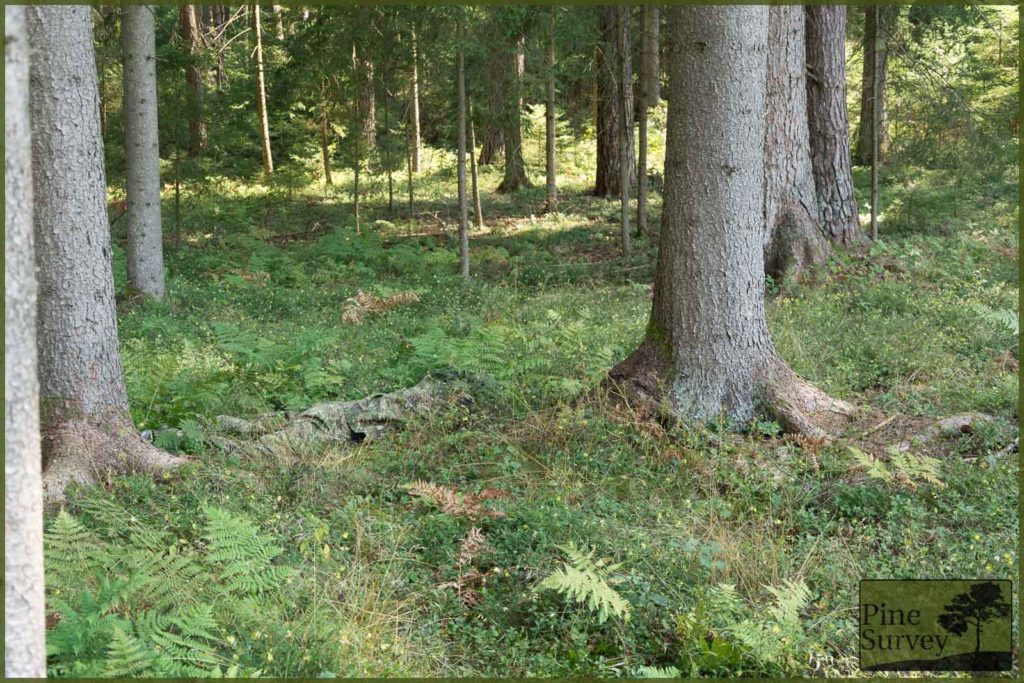
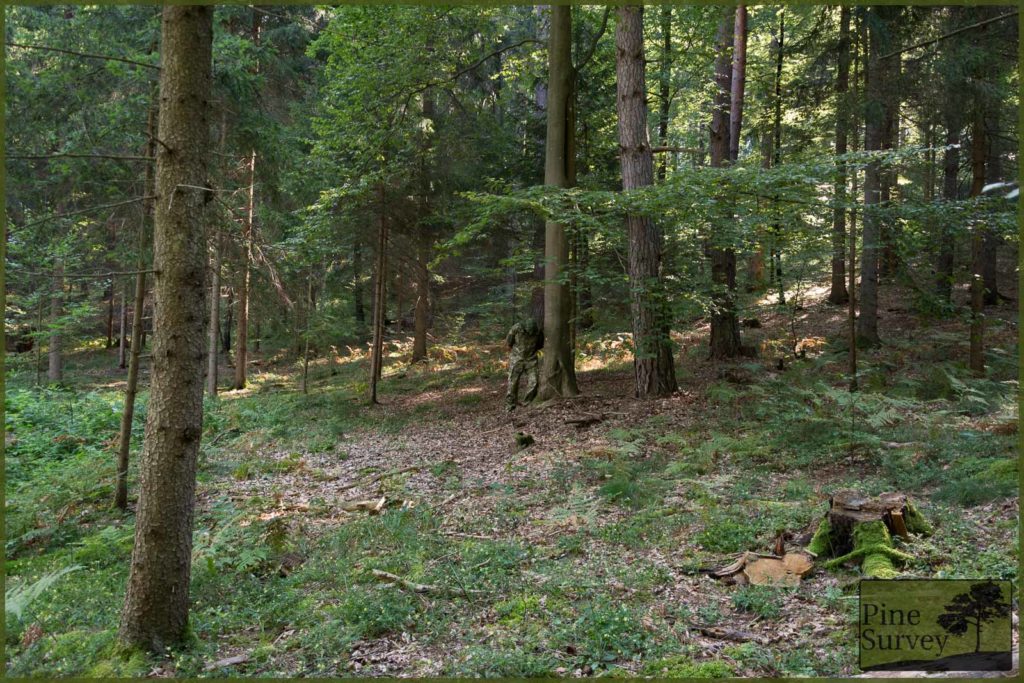
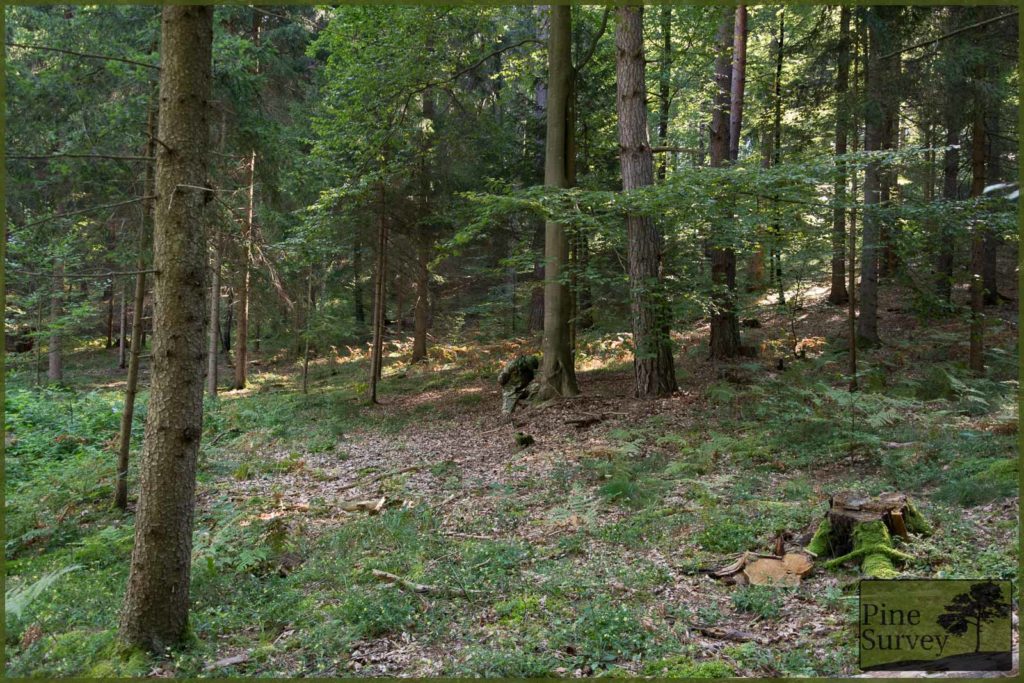
Even though location 3 is still mixed forest, it offers a different setting to test the patterns in. Contrary to other pictures in this camouflage comparison, there is no undergrowth in location 3. Therefore you have a direct view on the person on the ground, since there is no natural concealment. Just like with location 2, I will stick to PenCott Greenzone and ConCamo Green.
Wide Angle
35mm, showing the actual distance
Additional remarks
Coming to a conclusion, I will add my personal observations on this matter. If you have been following my various camouflage field tests, you might remember one recurring theme. Namely, the question of thought and intended purpose put into the development of a pattern.
One has to bear this in mind, especially if you are comparing old school patterns like M81 Woodland, with modern camouflage concepts like ConCamo, Kryptek, PenCott and Slocam. These thought processes are a direct result of doctrine and the intended area of use. With that in mind, the question of engagement distances has to be put on the table, the claim behind the level of usability every particular pattern comes with and so on and so on.
With that being said, let us look at the various patterns in alphabetical order.
ConCamo Green
Starting with ConCamo green I want to start by highlighting a few things from previous reviews. First of all, CC green is designed as a universal camouflage pattern, just like Multicam, even though it carries the adjective “green” in its name. Secondly, even though it has a macro pattern, it is not as visible as in other camouflage patterns. Overall, CC provides a versatile and noisy pattern, with various layers of depth.
As you can see in the pictures, the macro elements are not as effective at longer distances as with other patterns in this comparison. Especially the ones which were designed to work especially at longer engagement distances like M81 Woodland. At close proximity however, the noisy pattern blends into its surroundings.
With that being said. ConCamo green – and I am repeating myself by now – is the better Multicam. It works better close range, and is slightly better long range. However both suffer from the problem of being universal patterns: you can’t be perfect everywhere.
It is however one of the few patterns, that manages to come close to PenCott Greenzone, which in itself is a very specialised camouflage.
Kryptek Mandrake
Kryptek Mandrake breaks up the human silhouette quite effectively using its macro elements and the net structures, which are meant to create a 3D effect. However, the colours used in the pattern are more on a greyish scale with green elements. As a result it blends in more with the tree trunks instead of the green vegetation around. The colour choice is not necessarily bad in this particular setting and at longer ranges.
At close range the overall inability to blend in colour wise becomes an issue though. Especially in lush green environments it starts to stand out. The ongoing print issues I have encountered, are not of any help either in this regard.
M81 Woodland
Bear in mind, M81 Woodland is a child of the Cold War. It was particularly designed for long engagement distances and therefore consists of mainly macro elements. Overall it is much darker than the other patterns and its colours are matched to European forests. As a result of the thought behind the said engagement distances, it is meant for mid- and long ranges. Therefore the macro elements break up the human shape quite effectively at longer distances, while matching the surrounding colours of the vegetation at the same time.
As you can see in the pictures, it stands out at close proximity, but really works effectively at distances starting with 10-15m. Especially when it comes to the colours, M81 Woodland is one of the patterns which is dialled in perfectly. Again, this is a result of the concept itself and its doctrine.
PenCott Greenzone
Coming to PenCott Greenzone – one of the most portrayed patterns on this blog. I will keep it short here, because I will only repeat myself. The concept is a temperate environment pattern, which consists of micro, midi and macro elements to provide camouflage at short, mid and long range distances.
The high contrast and the lush colours usually scare users off, but when put into the field one cannot negate that it works.
Especially in location 1 it is quite clear that PenCott Greenzone works at close and mid range. The colours match the environment perfectly and the contrast to the macro elements disrupts the silhouette like none of the others. In this particular comparison, it is among the best, given the fact that it was especially designed for this environment.
SloCam
The underdog SloCam. I have no better words to describe it. For years now it is an ongoing surprise to me. Designed as an enlarged Multicam derivative to match NATO allies, and be compatible with MC gear, it uses woodland colours and is higher in contrast to work at long distances just as much as at close range. And while it might not blend in at close proximity as ConCamo green or PenCott Greenzone, it is one of the best universal camouflage patterns, I have encountered so far.
In this setting it proved to be above average, especially because of its distinctive bright midi elements, which are doing the work macro elements usually do: disrupting at longer distances. The placement of the elements is spot on, as is the colour choice.
Slovenia did a good job, developing this pattern!
Conclusion
Arguing which pattern is best has no point in the end, since all of the compared camouflage patterns did a decent or very good job of concealing, and this is the important thing.
As always, it is about managing expectations and ridiculous perceptions. Especially with regard to camouflage one might often get the impression that some people expect a “Predator” Sci-Fi style cloaking device, which makes you vanish into thin air. There is more to camouflage than just putting on a uniform.
Coming to an end, I hope I was able to give a good basis to compare the five patterns. This time I used a different approach in adding my input, given the huge amount of pictures. If I had described every shot, it would have started to be repetitive and boring after 5 minutes.
With that being said, thank you for reading!
Until next time! Take care!

No Comment
You can post first response comment.