
Please take a second and take a look at this GoFundMe, if you want to support Pine Survey. Thank you!
Introduction
Recently two new Olight flashlights found their way to me. The Olight H2R Nova and the Olight H1R Nova. In this review I want to take a closer look at the H2R Nova, the bigger brother of the H1R. Both are a bit different from the flashlights I usually use, given the fact, that you can use them as a headlamp, for example. But first things first…
Overview
The Olight H2R Nova is a rechargeable multipurpose flashlight with a maximum of 2300 lumen and a throw of 153 m. It offers 5 light levels including a SOS strobe. Since the reflector is angled, you can attach the light vertically on your gear or clothes. An elastic strap is included to mount the lamp to your head. It comes with a 18650 rechargeable battery and a magnetic charger that functions via USB.
Specs
- Material: AL6061-T6 Aluminium
- LED: Cree XHP50
- Light levels: 5
- Lumen: 2300 (turbo), 600 (high), 150 (medium), 30 (low), 1 (moonlight)
- Throw (max): 153m
- Akku: 18650
- Waterproof: IPX8 (2m submerged in Water)
- Weight: 110g (with battery), 62g (without battery)
- Accessories: head mount strap
The Olight H2R Nova
The lamp itself is manufactured from AL6061-T6 Aluminium, runs with a Cree XHP50 LED and has an IPX8 rating when it comes to being waterproof. So theoretically it should survive being submerged under 2m of water.
The size of the lamp is big enough to hold it firmly in your hand, while giving enough room for a 18650 Lithium Battery. According to manual, the use of (R)CR123A batteries is not recommended.

The Olight H2R Nova
The H2R Nova is loaded from the bottom – a tailcap easily screws of and the obligatory rubber band provides the said waterproofness. The tailcap also incorporates the contact to charge it with the included USB charger (more on that later).
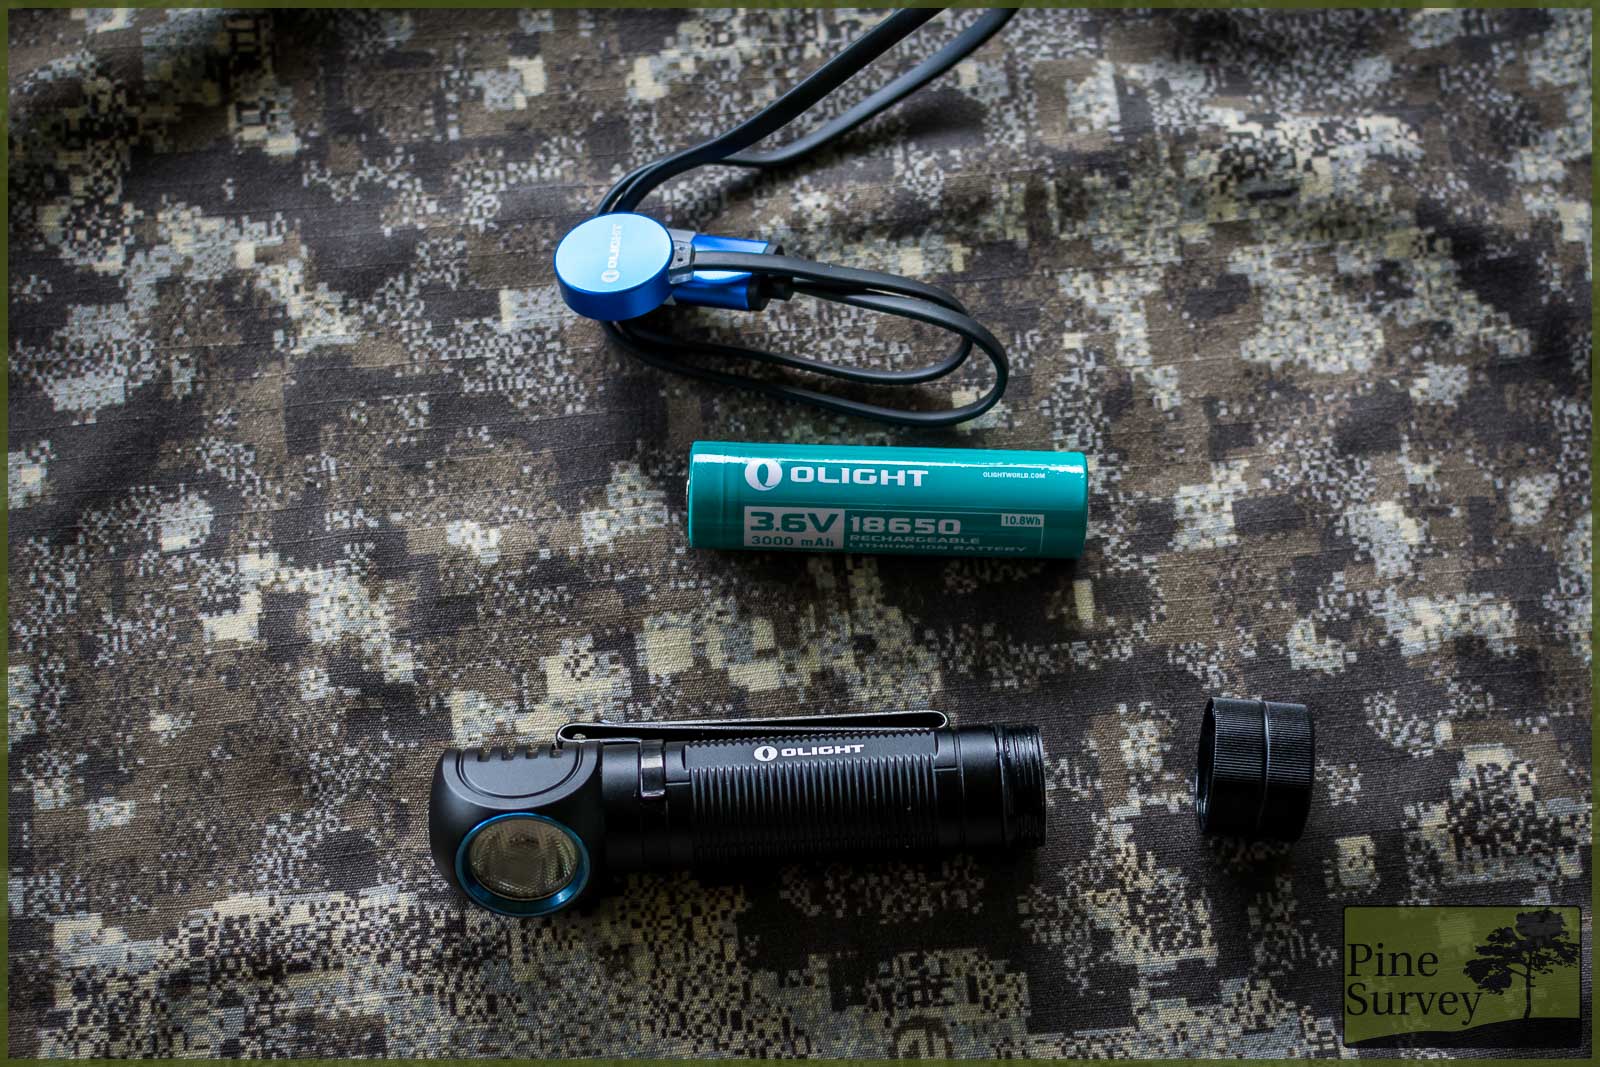
The H2R with the tailcap screwed off, the (R)18650 Battery and the USB charger
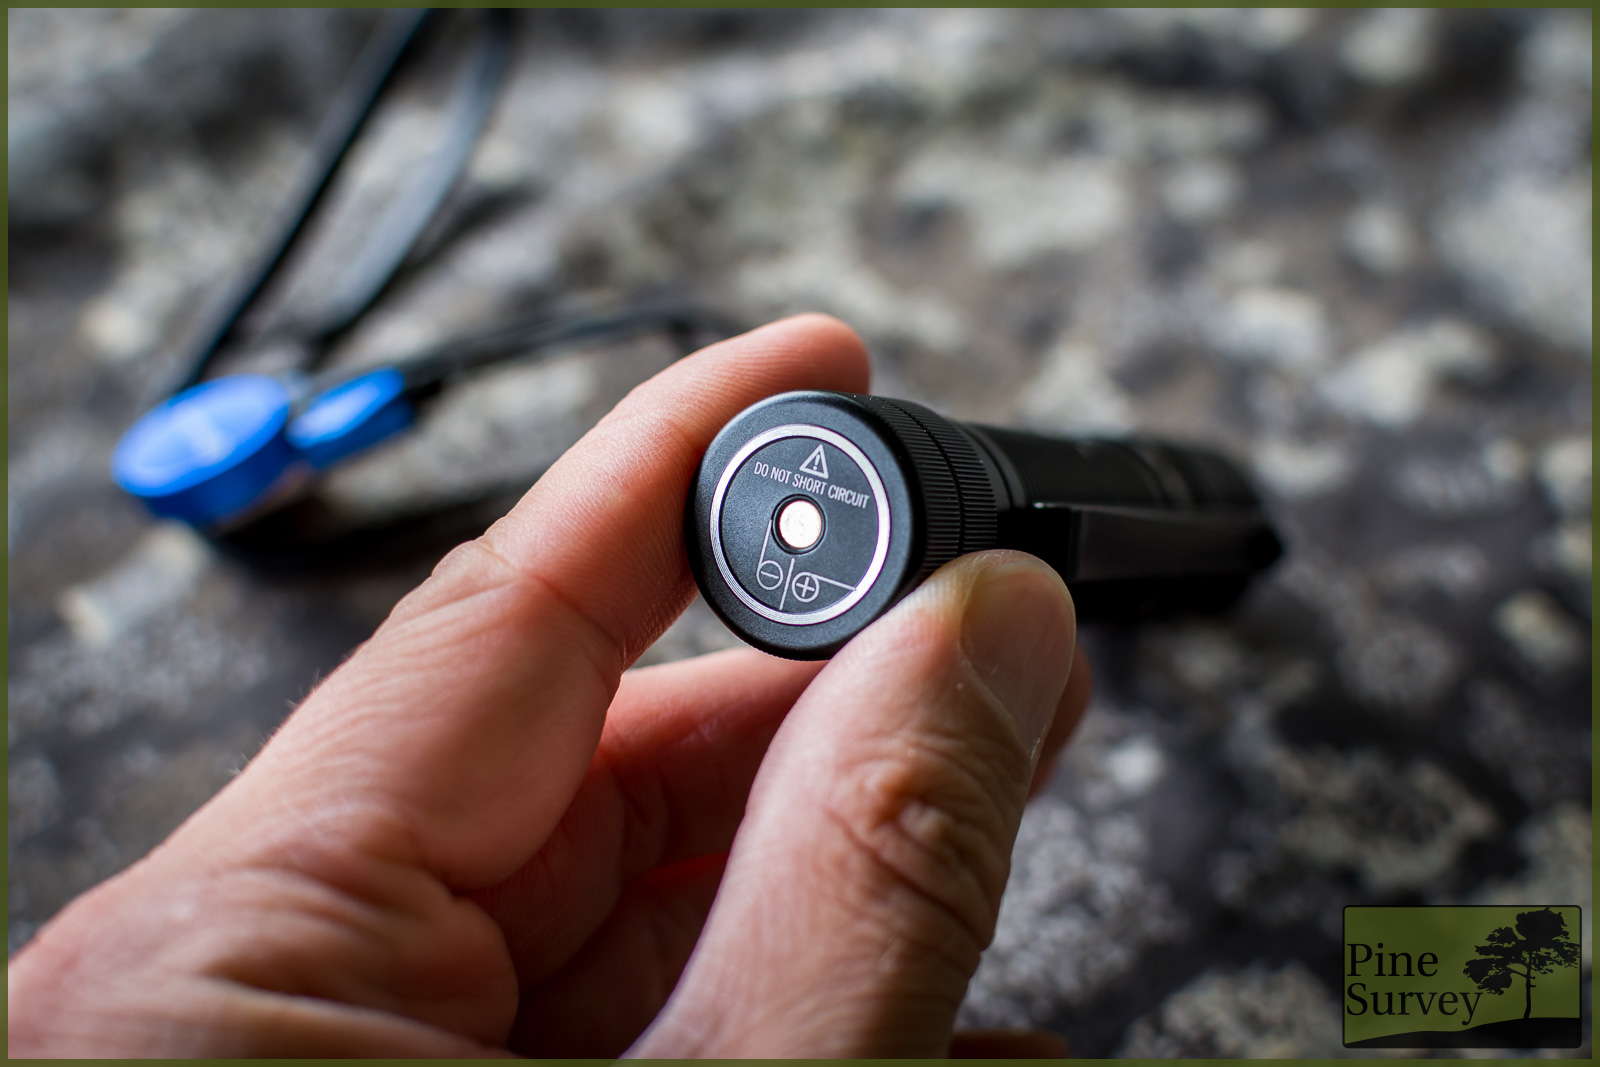
The tailcap with the connection for the charger
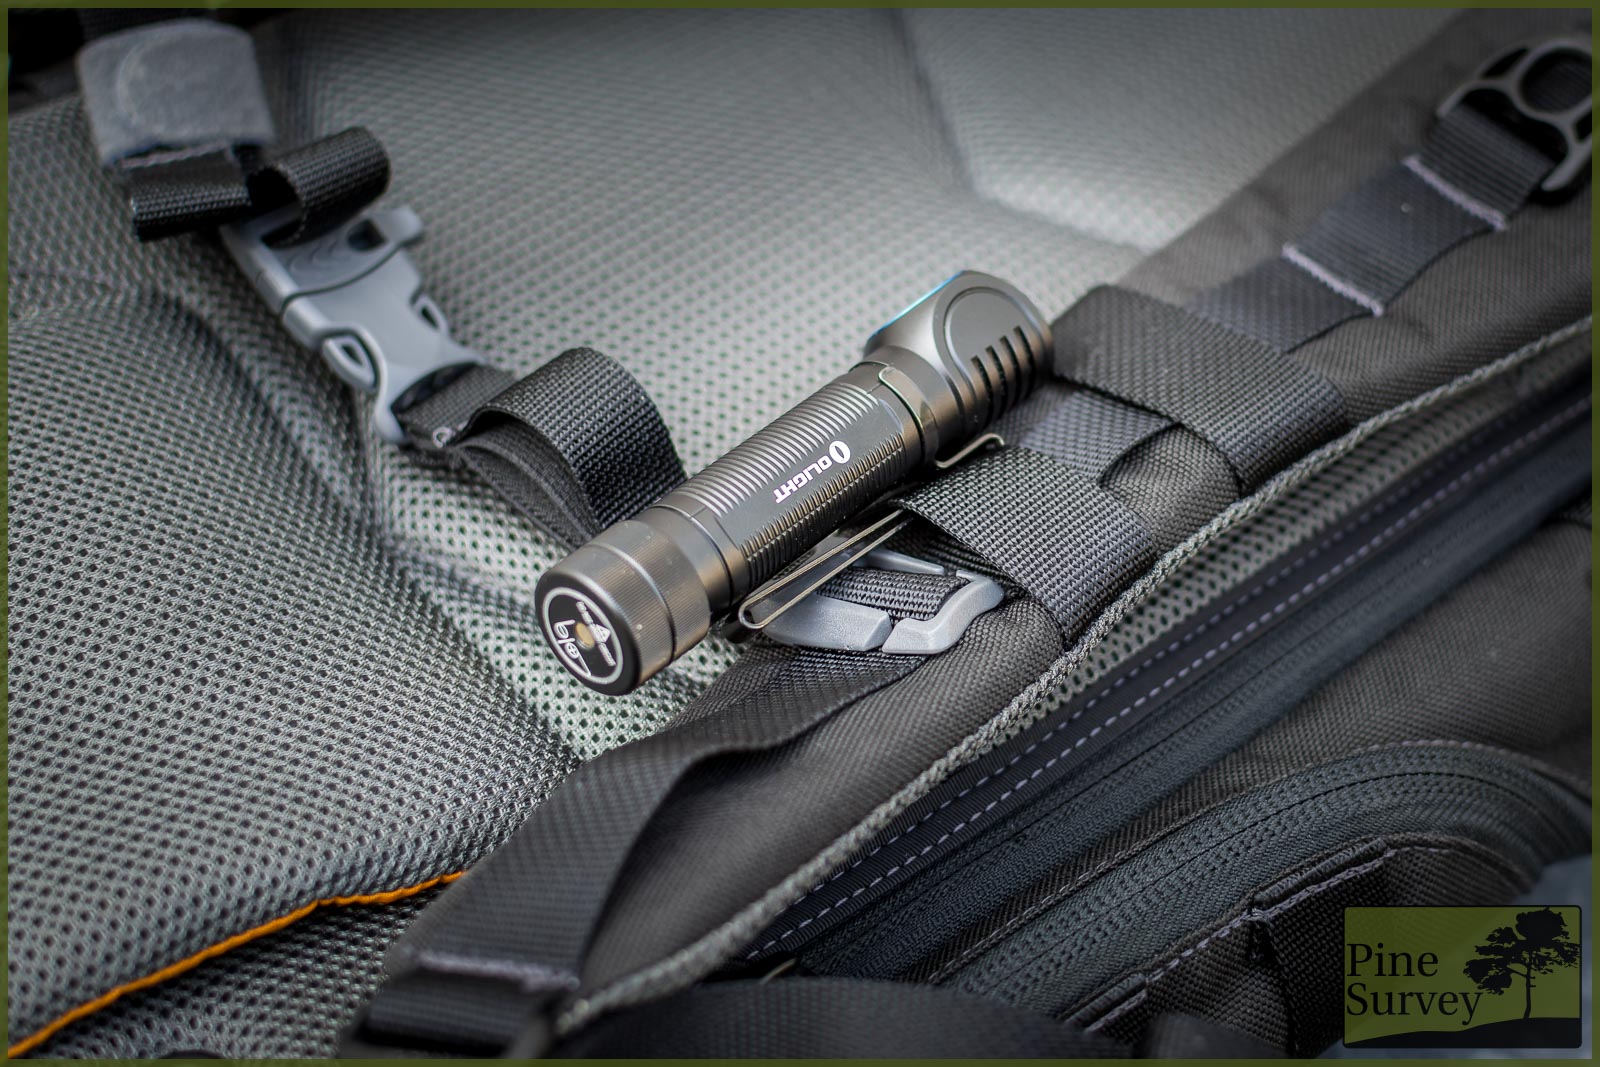
The reflector with the Cree XHP50 is mounted in a 90° angle to the lamp, given it more carrying options than just by hand. With the included strap, you can either use the lamp as a headlamp, or by using the double folded pocket clip, just attach it to a jacket, the shoulder straps of a backpack etc.
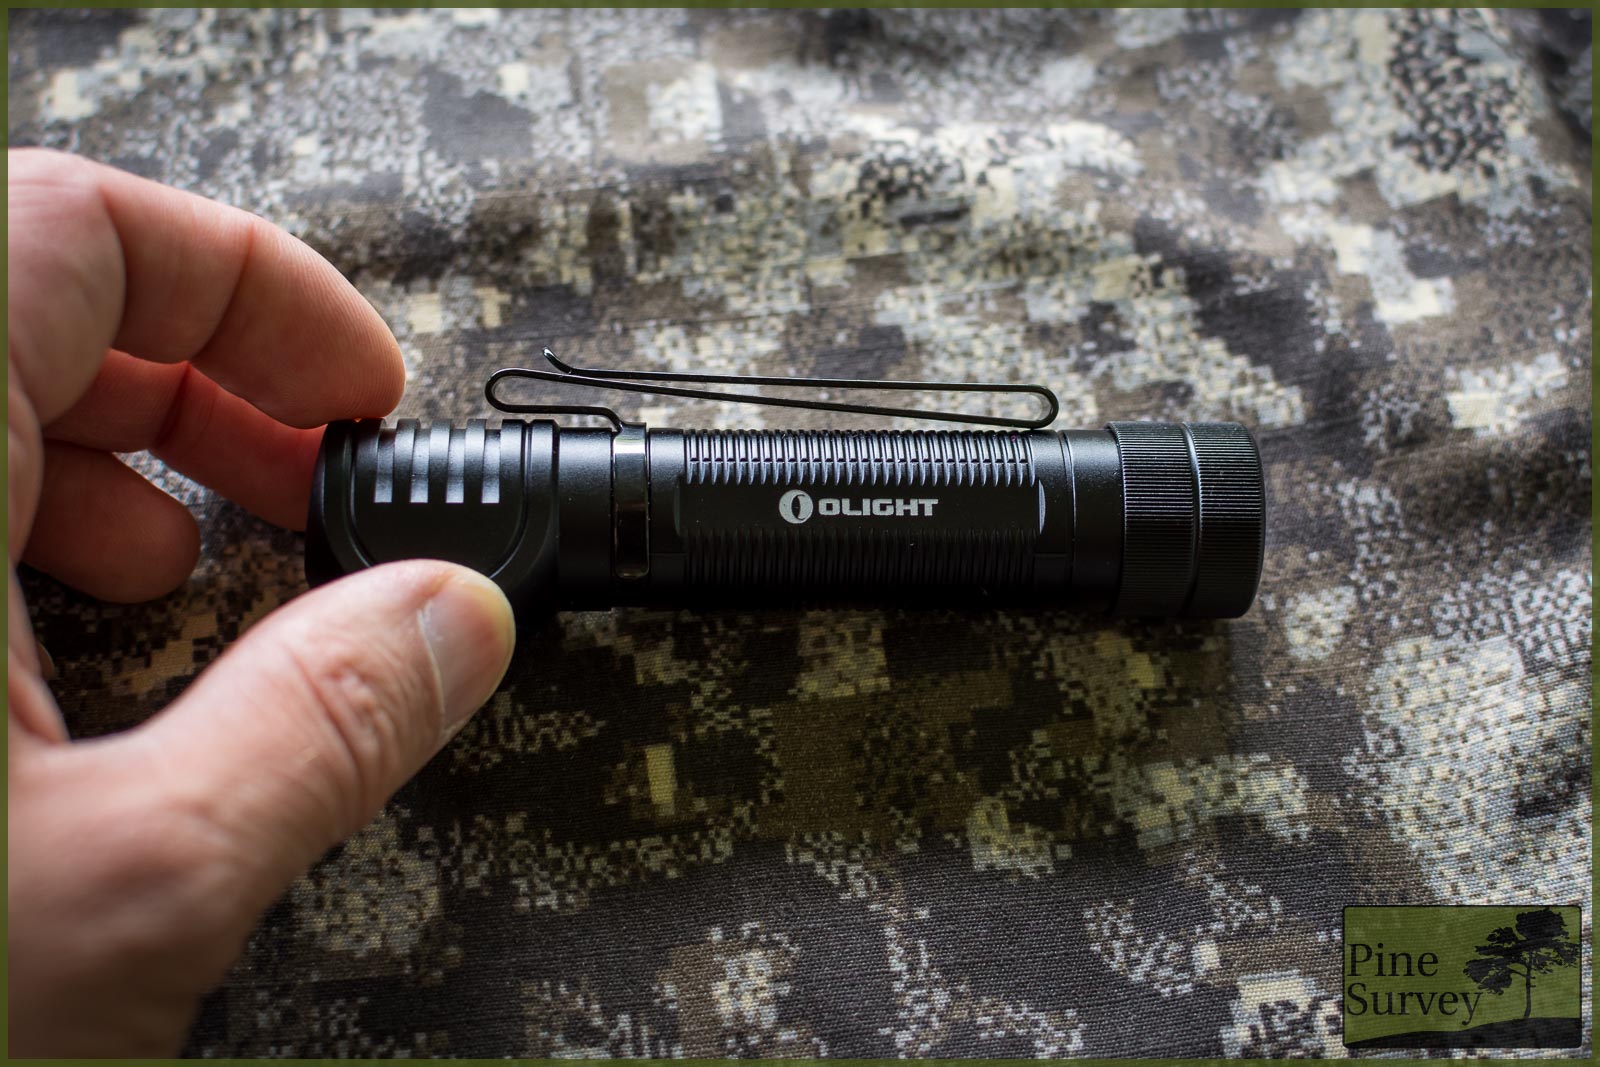
The double folded pocket clip

The pocket clip gives you more than enough attachment options
The pocket clip easily comes of, which is practical to strap the lamp to your head. It is not obligatory though!
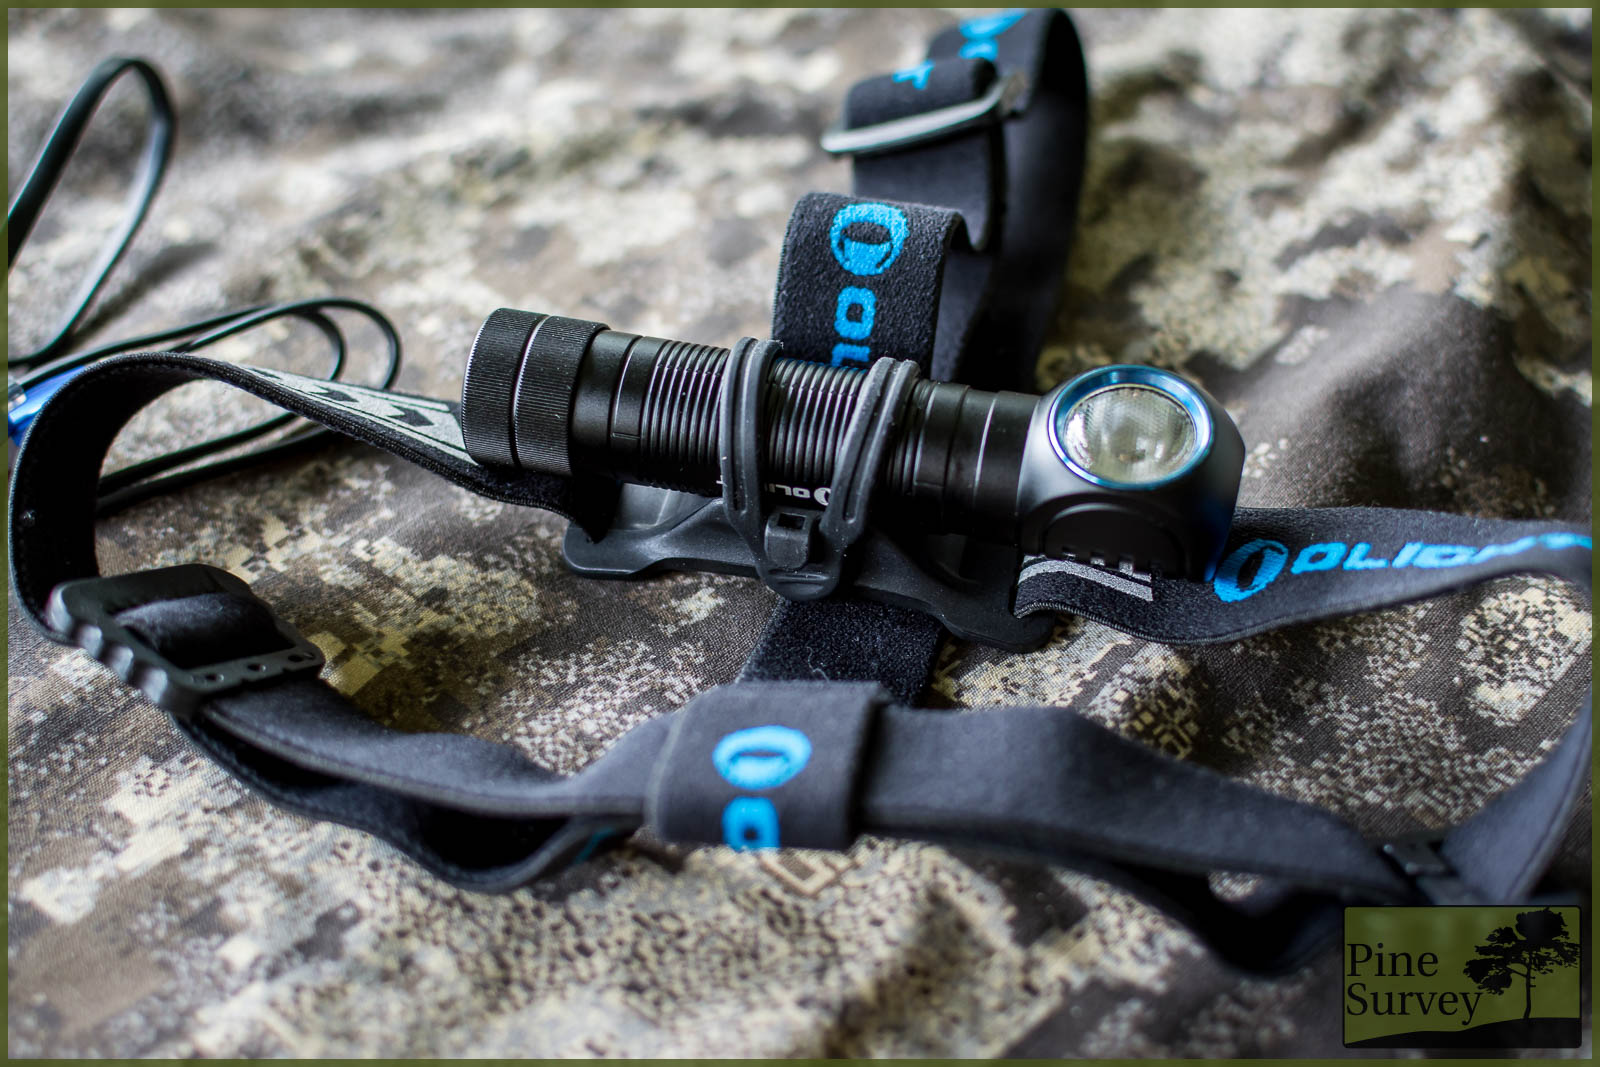
The lamp attached to the head strap
The lamp has a dedicated on/off button with the international known on/off sign.
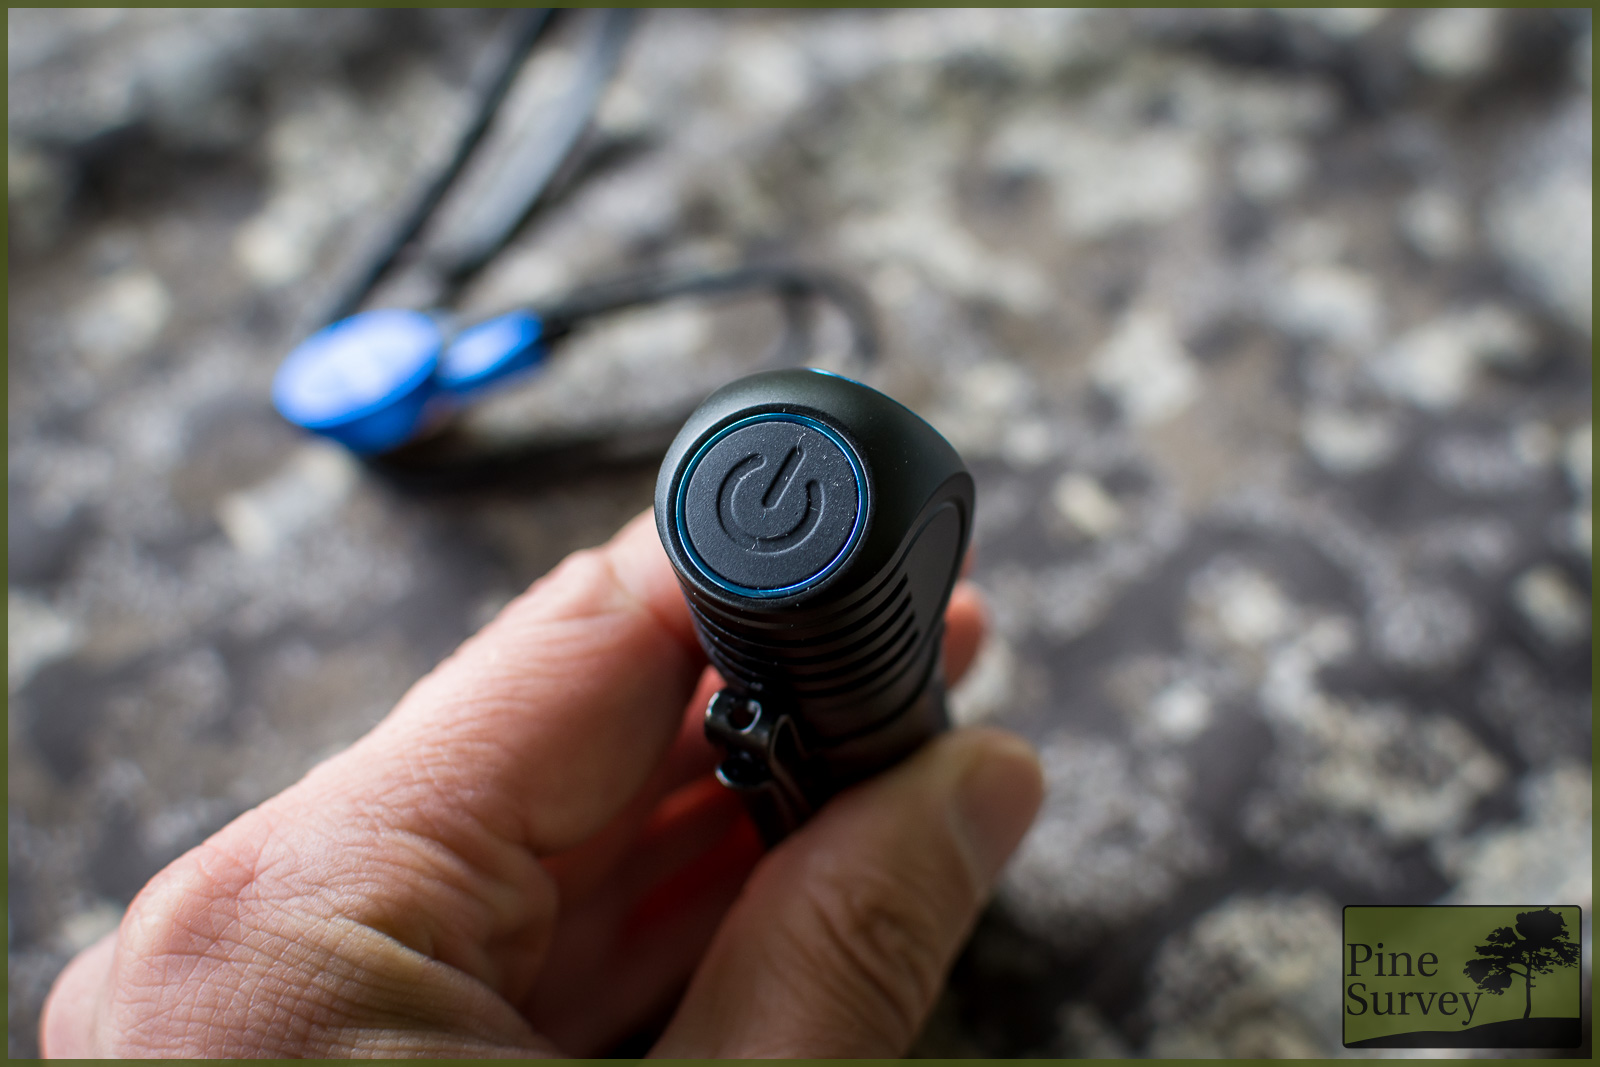
The on/off button (note the blue anodizing)
Accessories
The lamp comes with several accessories as mentioned above. First you will find an elastic strap with a dedicated mount to hold the lamp. Given the size of the H2R Nova, the mount secures the lamp with a magnet and a silicone band that you can put over the lamp. If you do not want to make use of the magnet, you can take it out from the mount and seal the opening with an adhesive pad, that comes with the lamp.
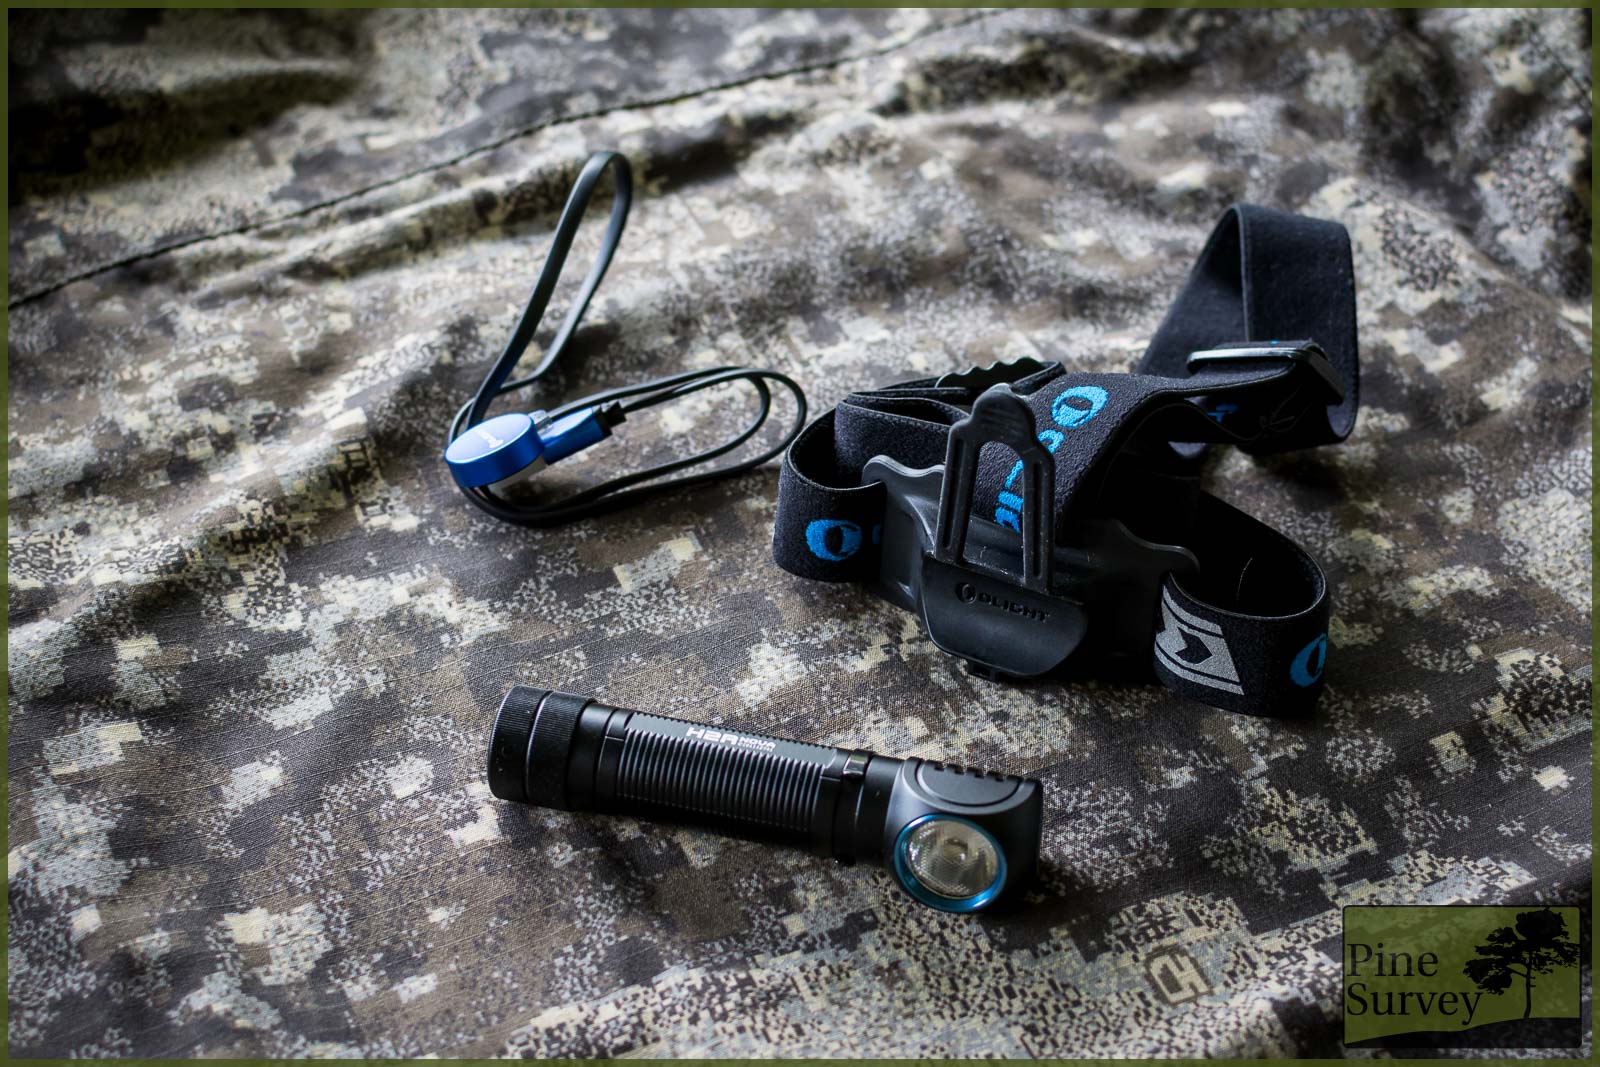
The Olight H2R Nova, the head strap and the USB charger
Another useful item comes in the form of a handy magnetic USB charger. This is something that I appreciate for quite some time now. No more need of large rechargers and also no need to get the battery out of the lamp. Just plug the charger into your PC or Laptop, or a USB charging adapter from your cell phone. The lamp attaches to the charger through a strong magnet and a green/red light informs you about the state of the charging process.
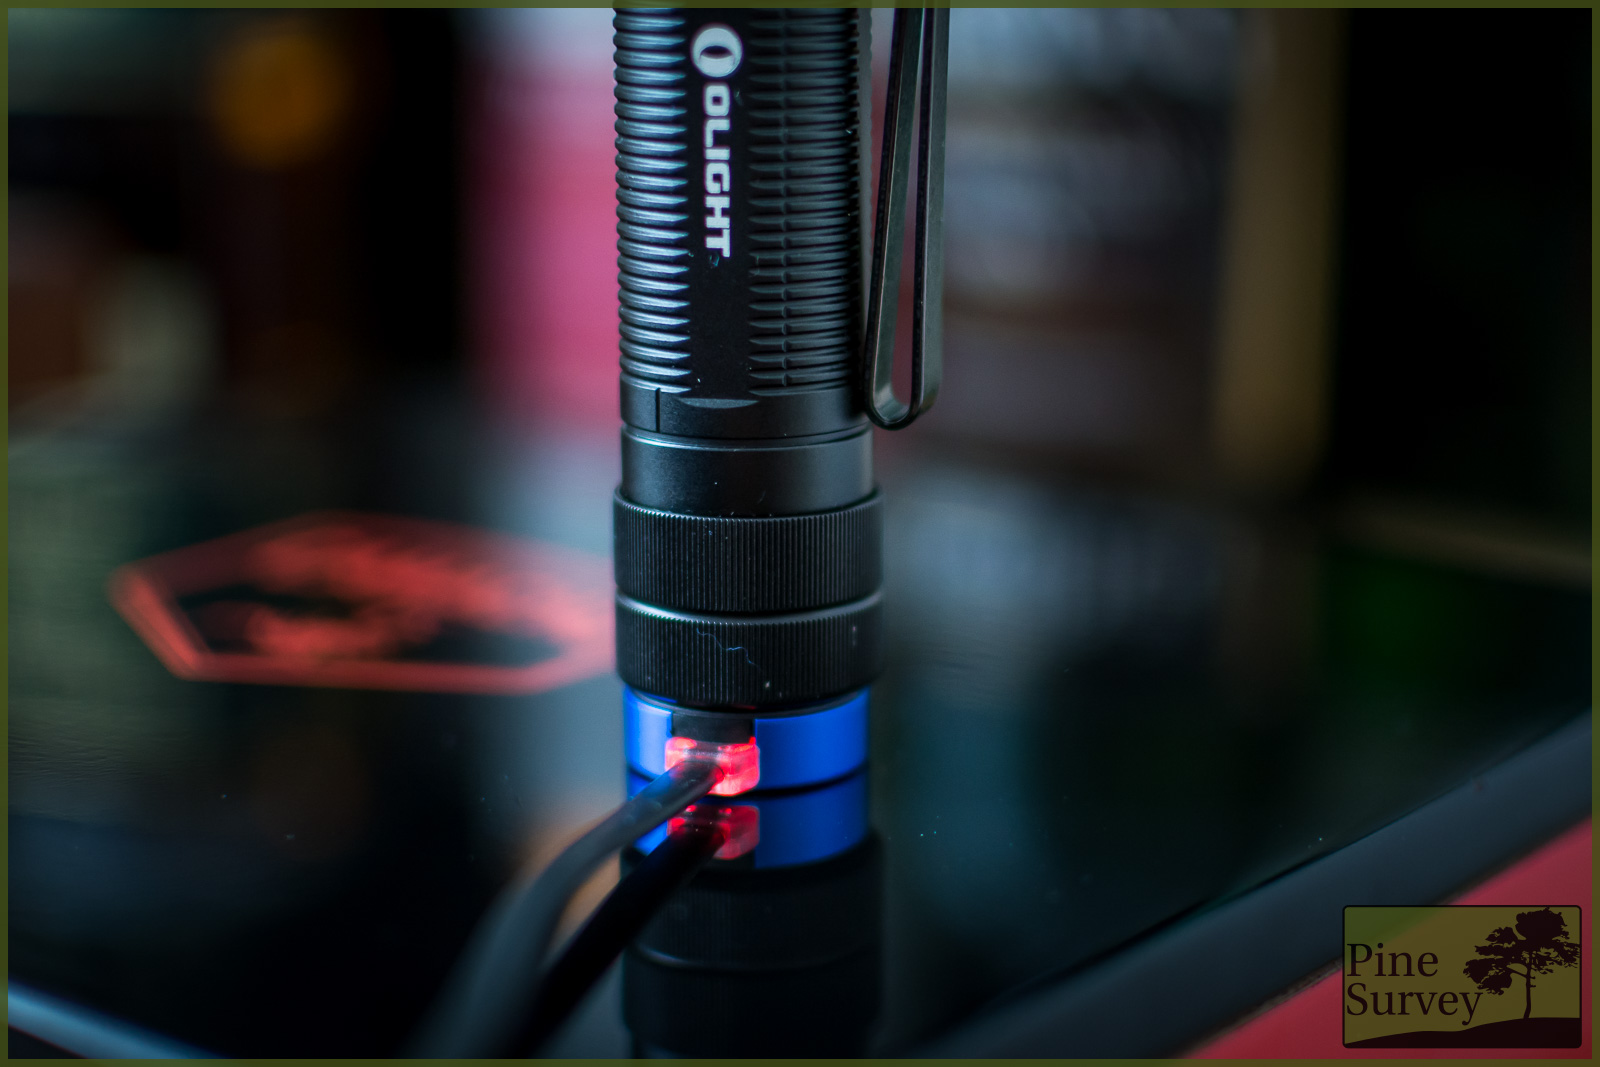
The USB charger with its status light
Talking about charging… the lamp comes with a 18650 Lithium rechargeable battery.
Light Levels
Operating the lamp is as easy as it gets. The button on top of the lamp switches the H2R Nova on (who would have thought that, right?). If you keep the button pressed, you cycle through all of the normal modes LOW-MEDIUM-HIGH. These modes change fast enough to not have to wait to long, but at the same time it is not so fast to decide for your preferred setting.
If you switch the lamp off, the last setting will be memorized – therefore the lamps switches on with the last light mode you used beforehand.
If the lamp is switched off and you push the button for two seconds, the moonlight mode will switch on. This is a 1 lumen setting that is quite the blessing, if you are out in the night for a longer period and only need a minimum amount of light in order not to stress your eyes too much, and at the same time adapt more quickly to the dark again, when switching the lamp off.
The Turbo mode of the lamp is accessed by double clicking the button. This works either way, if the lamp is switched on or off. Using this mode will result in a very fast heating up of the lamp. Within less than a minute you will have a hot lamp – might be nice in winter, but is not so nice in summer. When turned off, the lamp cools down quite quickly, thanks to the material and the machined grooves.
The Turbo setting is also so bright, you might not want to use it in closed rooms – otherwise you will blind yourself.
Last but not least the H2R also offers a SOS mode, which can be turned on by pressing the button three times in rapid succession. This also works either way: with the lamp switched on or off.
Lockout Mode: If you want to lock the lamp for whatever reason, you can do so by going through the same procedure as turning on the moonlight mode: You press the button of the switched off lamp for longer than two seconds; Moonlight mode will come on, and if you continue to press, it will blink once. You are now in lockout and the lamp will only shine if you keep the button pressed and only in Moonlight mode. However, if you press the lamp longer than two seconds, it will blink again and you are again in normal mode.
One last note: If the battery runs out and cannot maintain its light level, it will give a blinking signal and switch to the next lower mode.
Manufacture
Taking a closer look at the quality of manufacture of the lamp, I have to say that I cannot find a single thing to complain. The machining was done well, all the edges are beveled and it feels nice in the hand. The blue anodizing around the LED and the on/off button gives the lamp an additional nice touch.
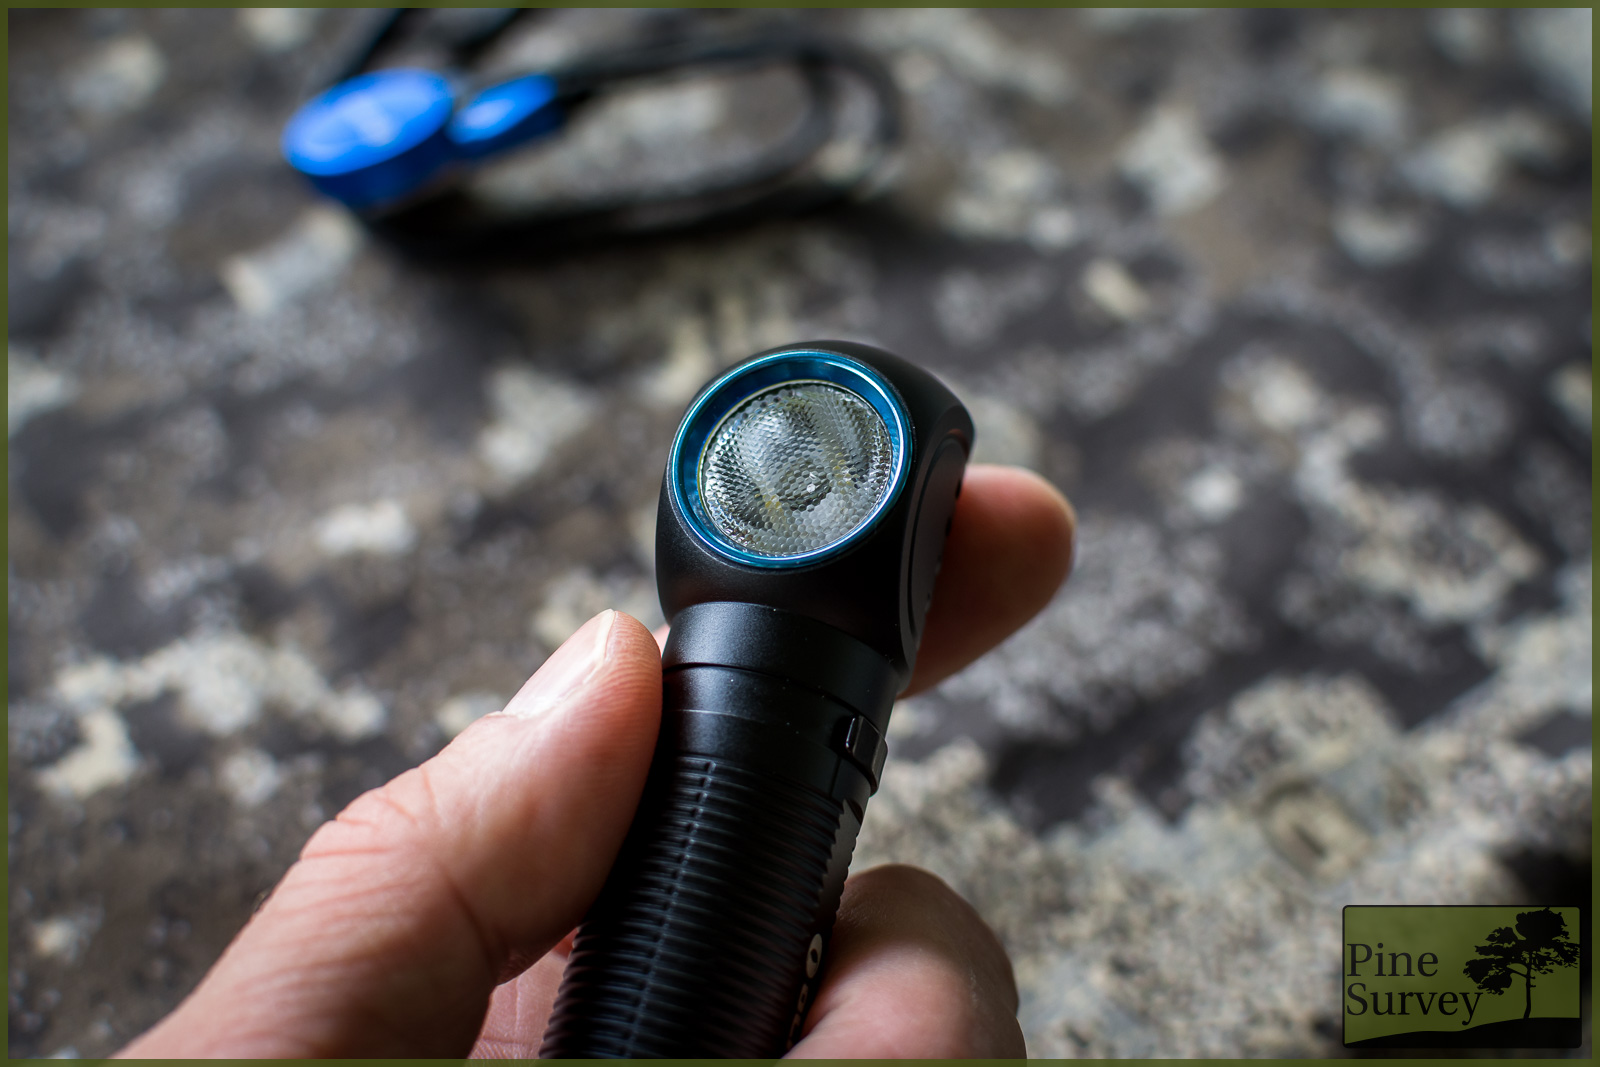
Exquisite manufacture and nice details on the H2R
Beamshots
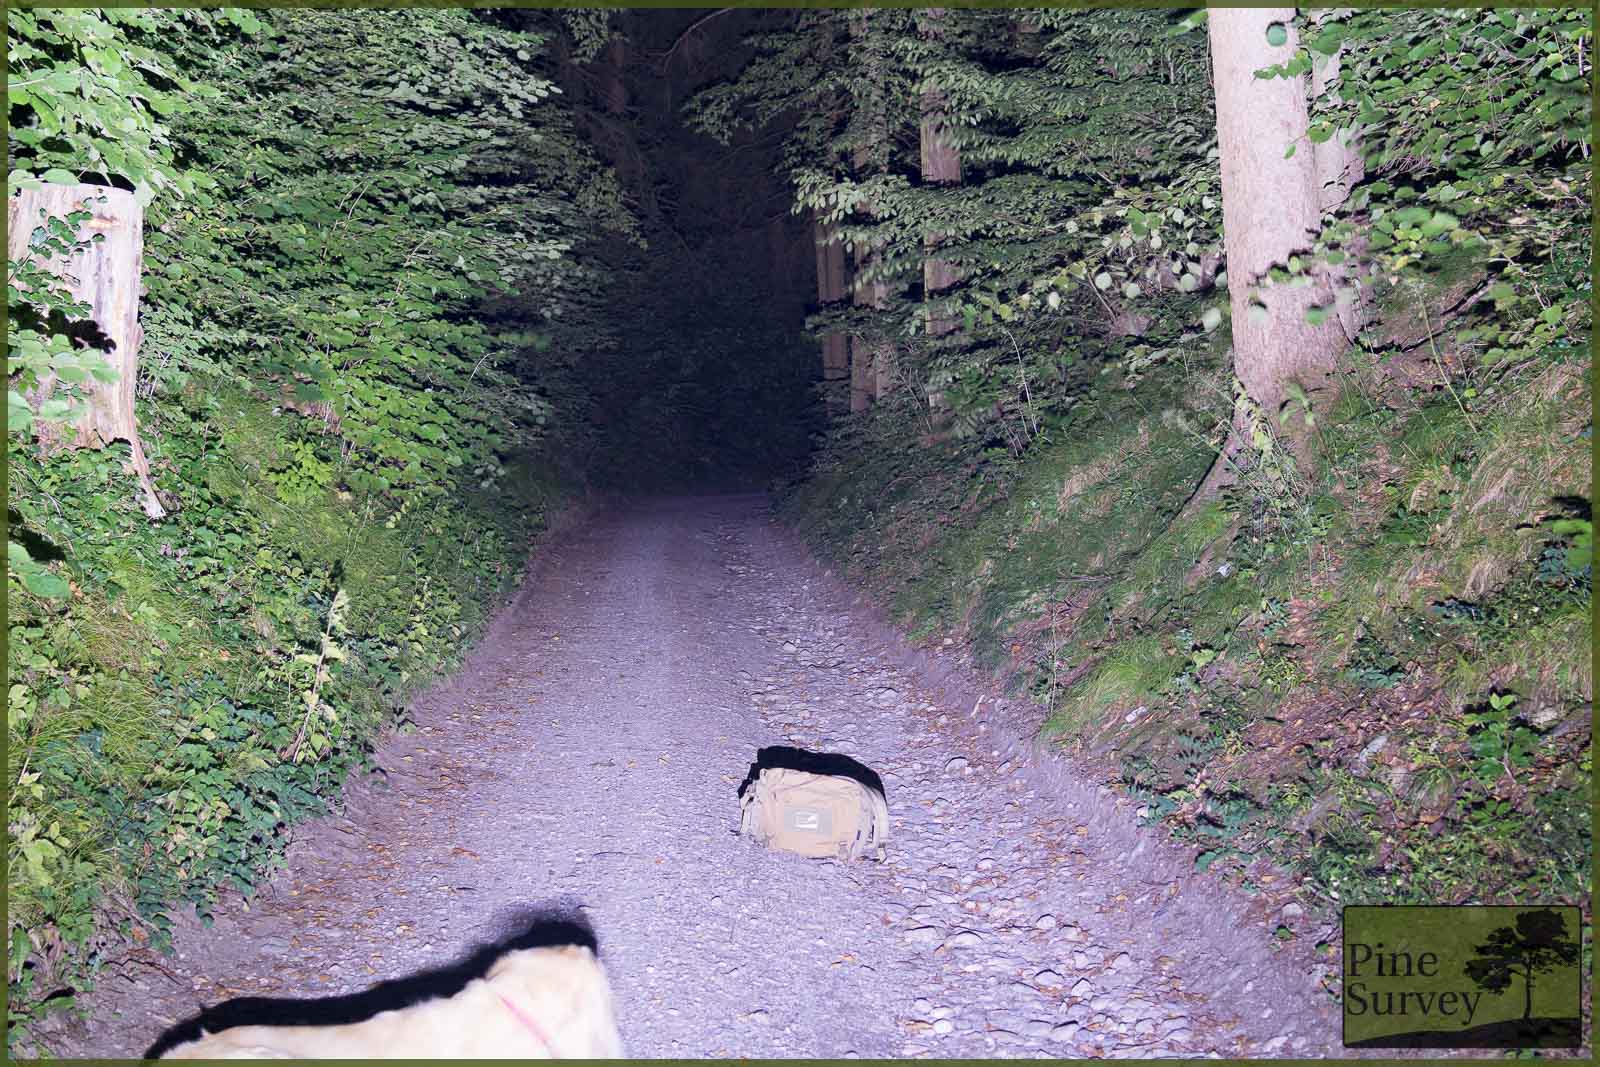
I think a good flashlight review is only worth something if you can offer some decent beamshots. However I actually never tried to do this, so bear with me. To give you a good idea, I took pictures of each light setting in two locations. The first being a hollow way with a distance of roughly 30-40m and the second a meadow which is about 200 by 350m. The bag on the floor is roughly 5m away from the camera.
I used a 35mm prime lense to mimic human eye vision with a setting of ISO 200, f / 4,0 and a shutter speed of 2,5 sec.
I did not photograph the “Moonlight” mode – 1 lumen is just not enough to make a picture at night, at least not with my level of experience.
Hollow Way
First shot is the low setting with 30 lumen. As you can see, the wide beam gives you an even distribution of light, while the low amount of lumen is just enough to see your immediate vicinity without stressing your eyes too much in the dark or get seen from a wider distance.
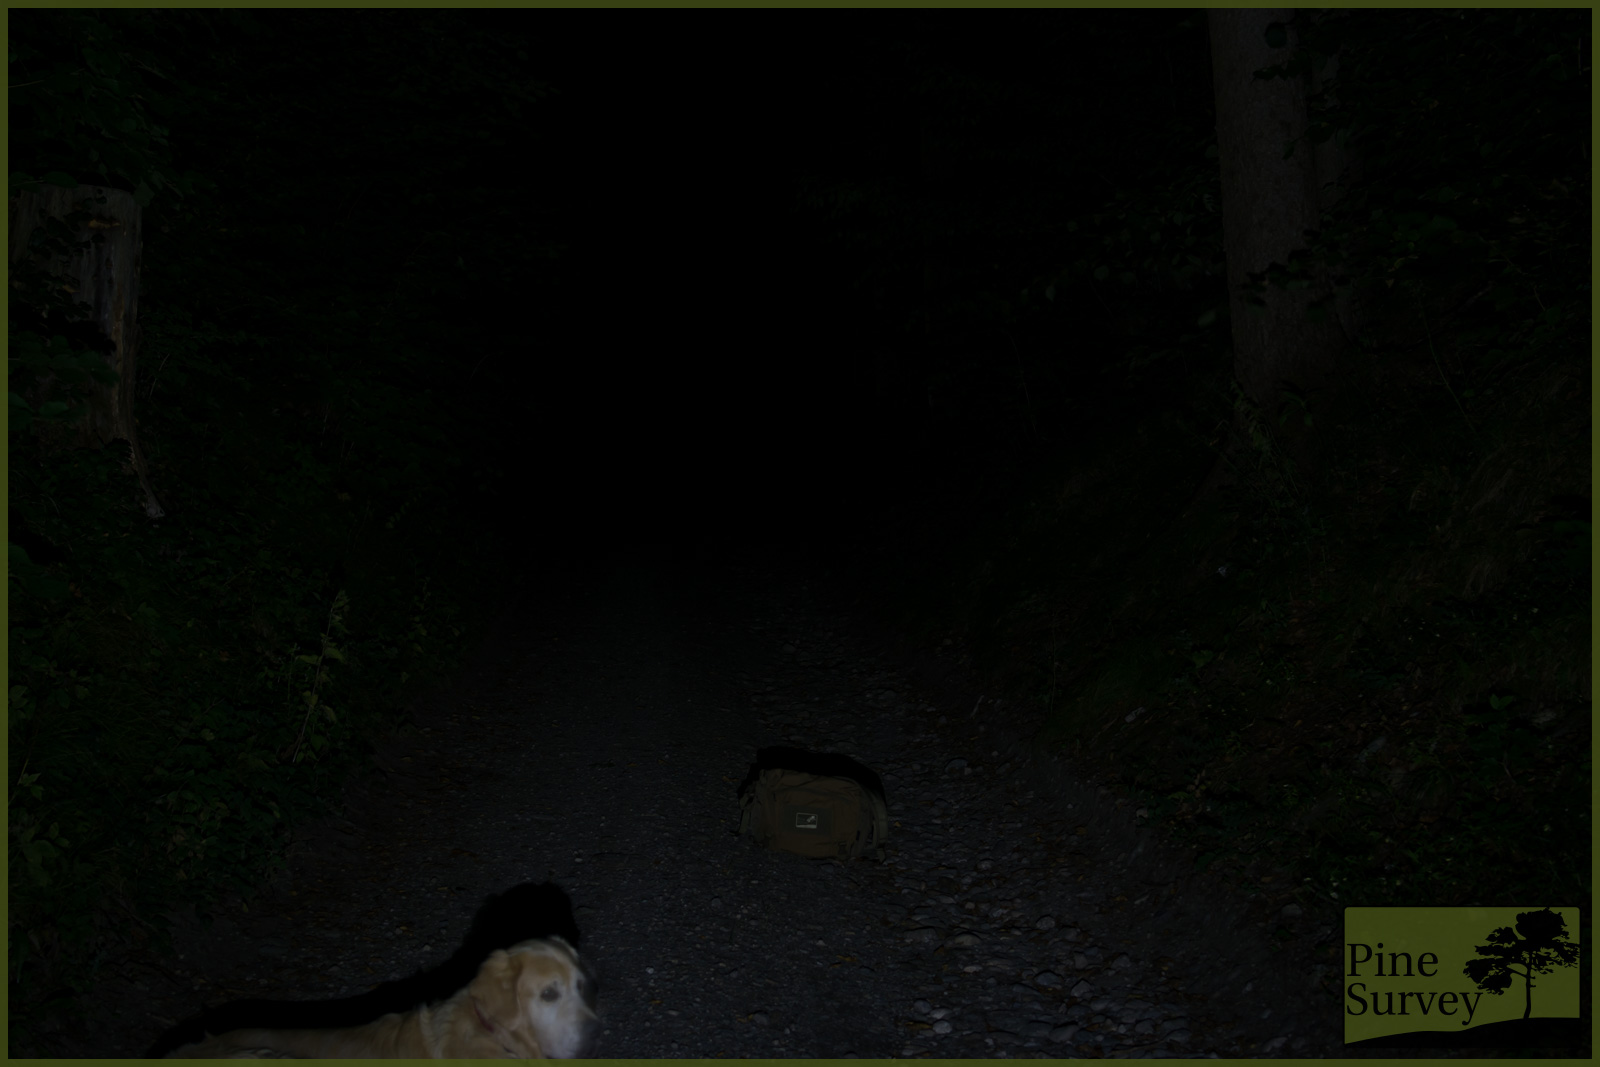
Beamshot: Setting low, 30 lumen
The second shot shows the medium setting with 150 lumen. This lightens up the hollow way quite good already. You have a clear picture of what is around you within 15-20m. The light is comfortable enough to walk at a steady pace.
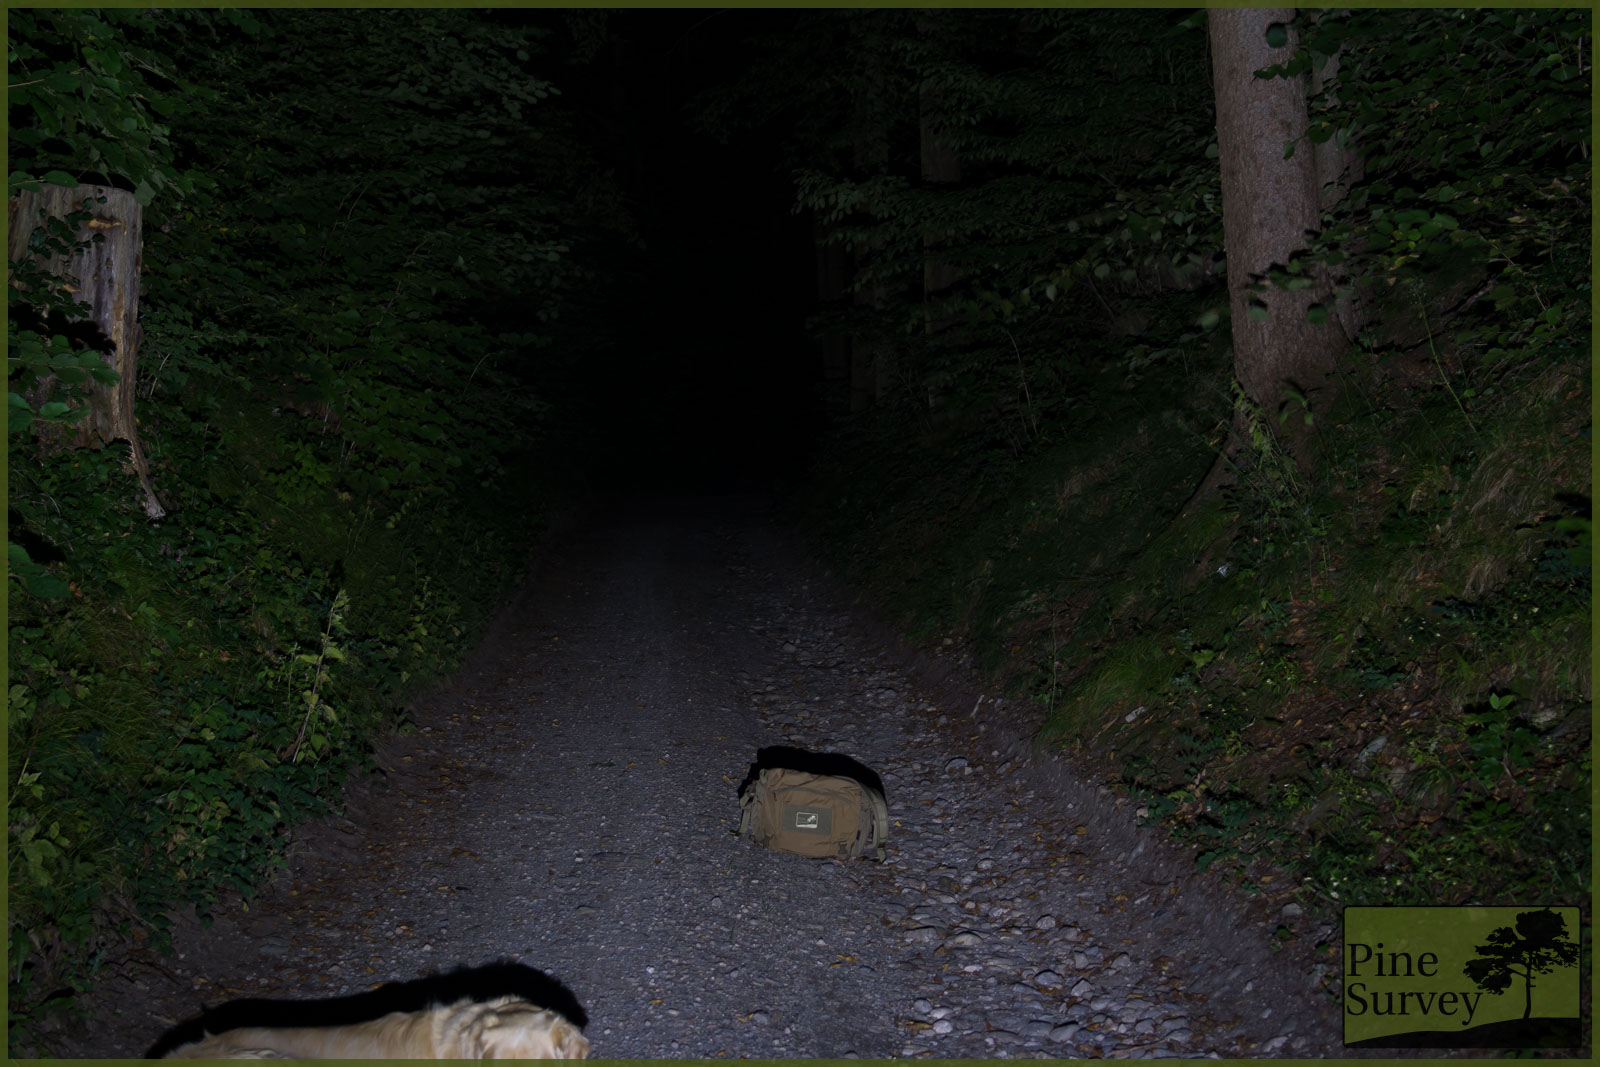
Beamshot: Setting medium, 150 lumen
The third beam shot is already the high setting with 600 lumen. This is already more than enough as you can see, since it basically makes everything within 30m visible as during daylight.
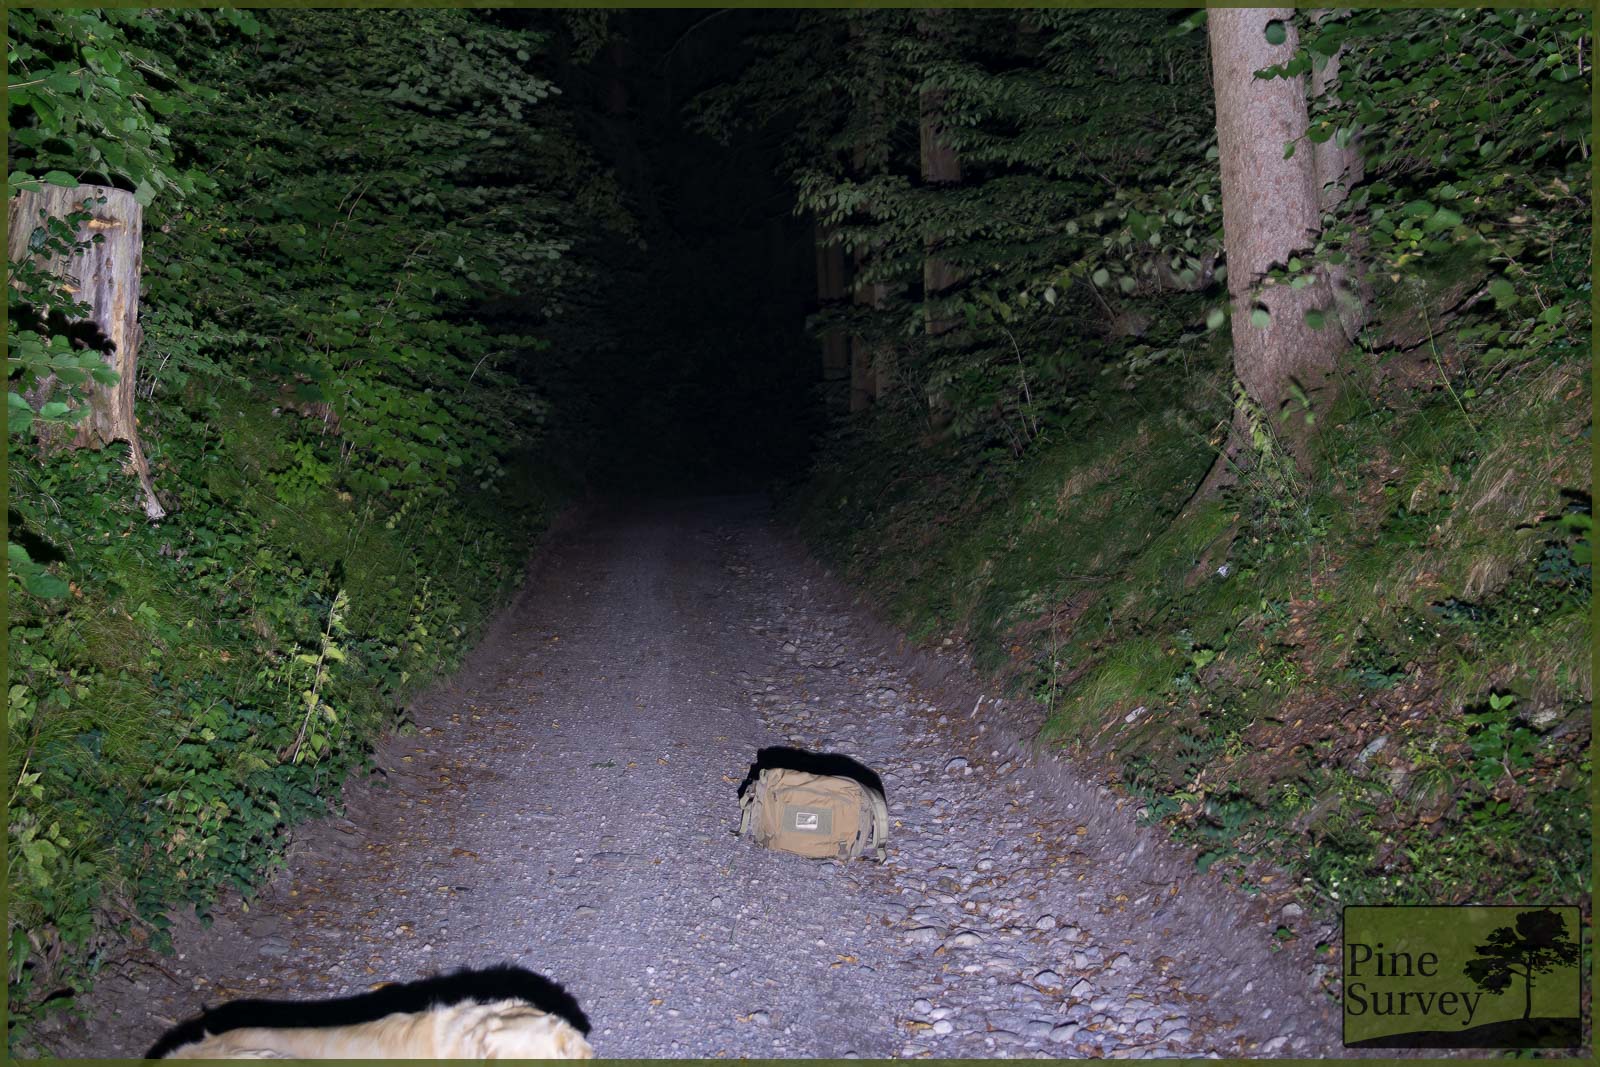
Beamshot: Setting high, 600 lumen
The fourth shot is the turbo setting with the crazy amount of 2300 lumen. It might not show in this picture, but in the hollow way this was already too much light and was very stressful on the eyes. Depending on the surface it was shining on, it had quite the blinding effect.
Beamshot: Turbo Setting , 2300 lumen
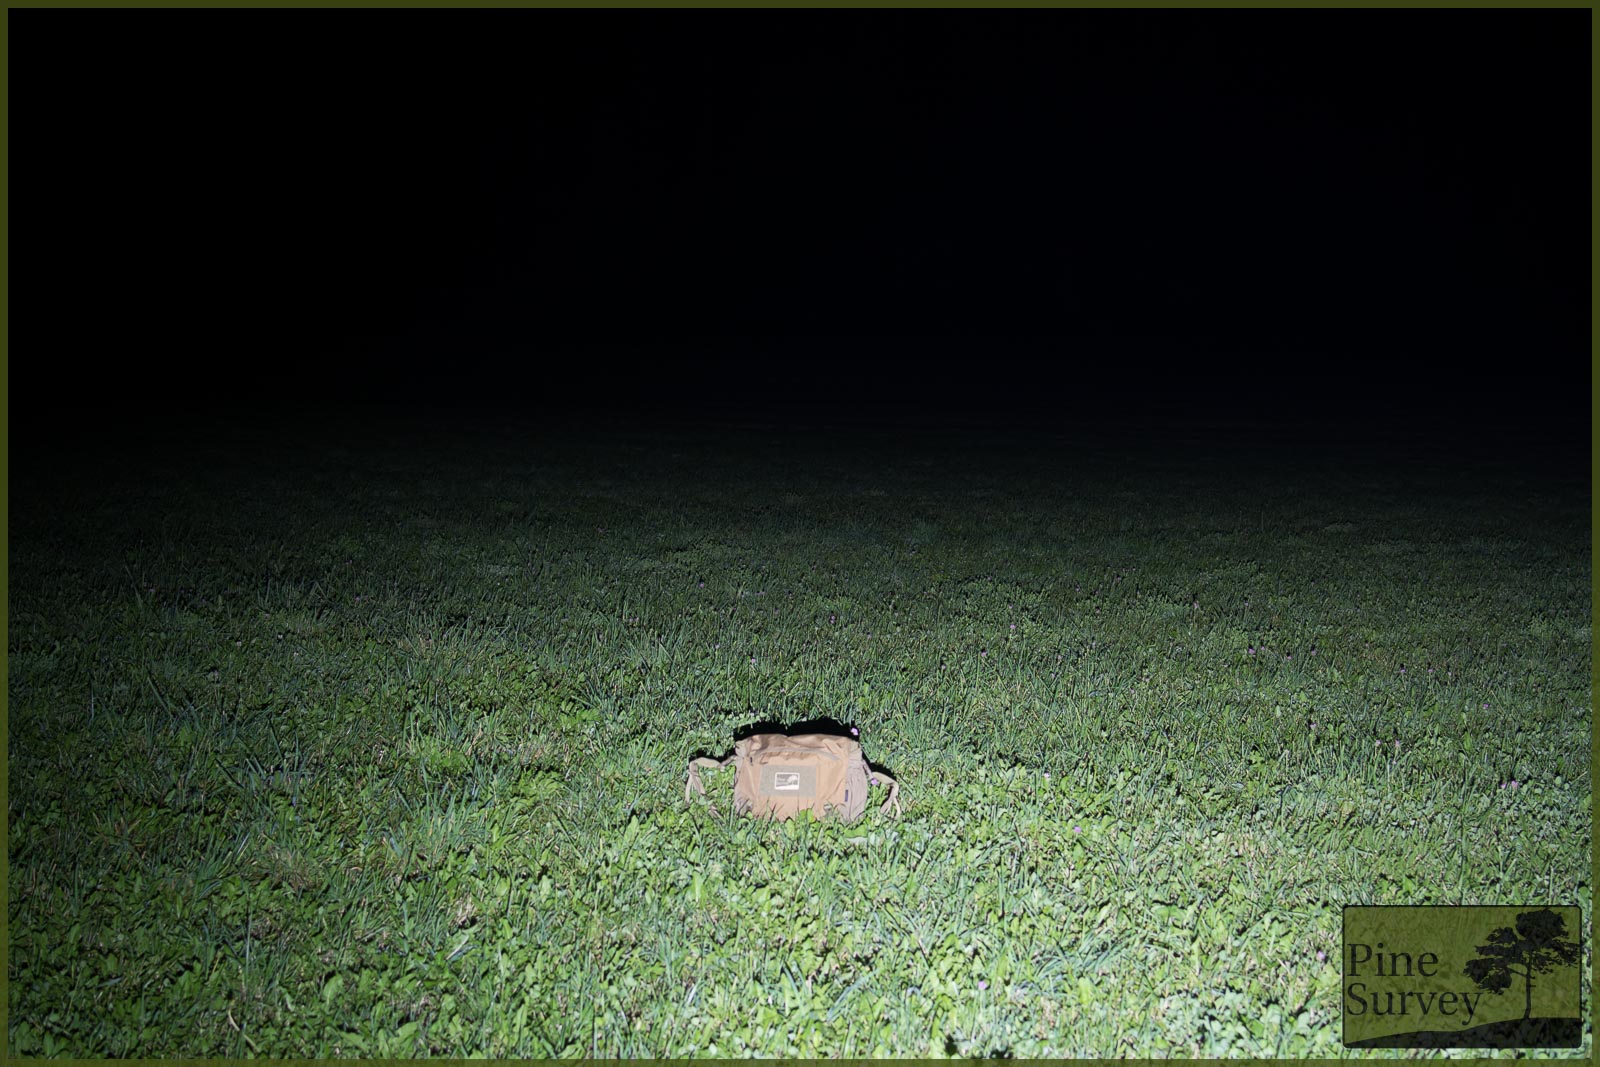
Meadow
On the meadow you can actually get a better idea of the reach of the Olight H2R Nova, since there are no physical boundaries on the side, and an even field of view.
The first shot is a again the low setting with 30 lumen. The same observations as above apply.

Beamshot: Setting low, 30 lumen
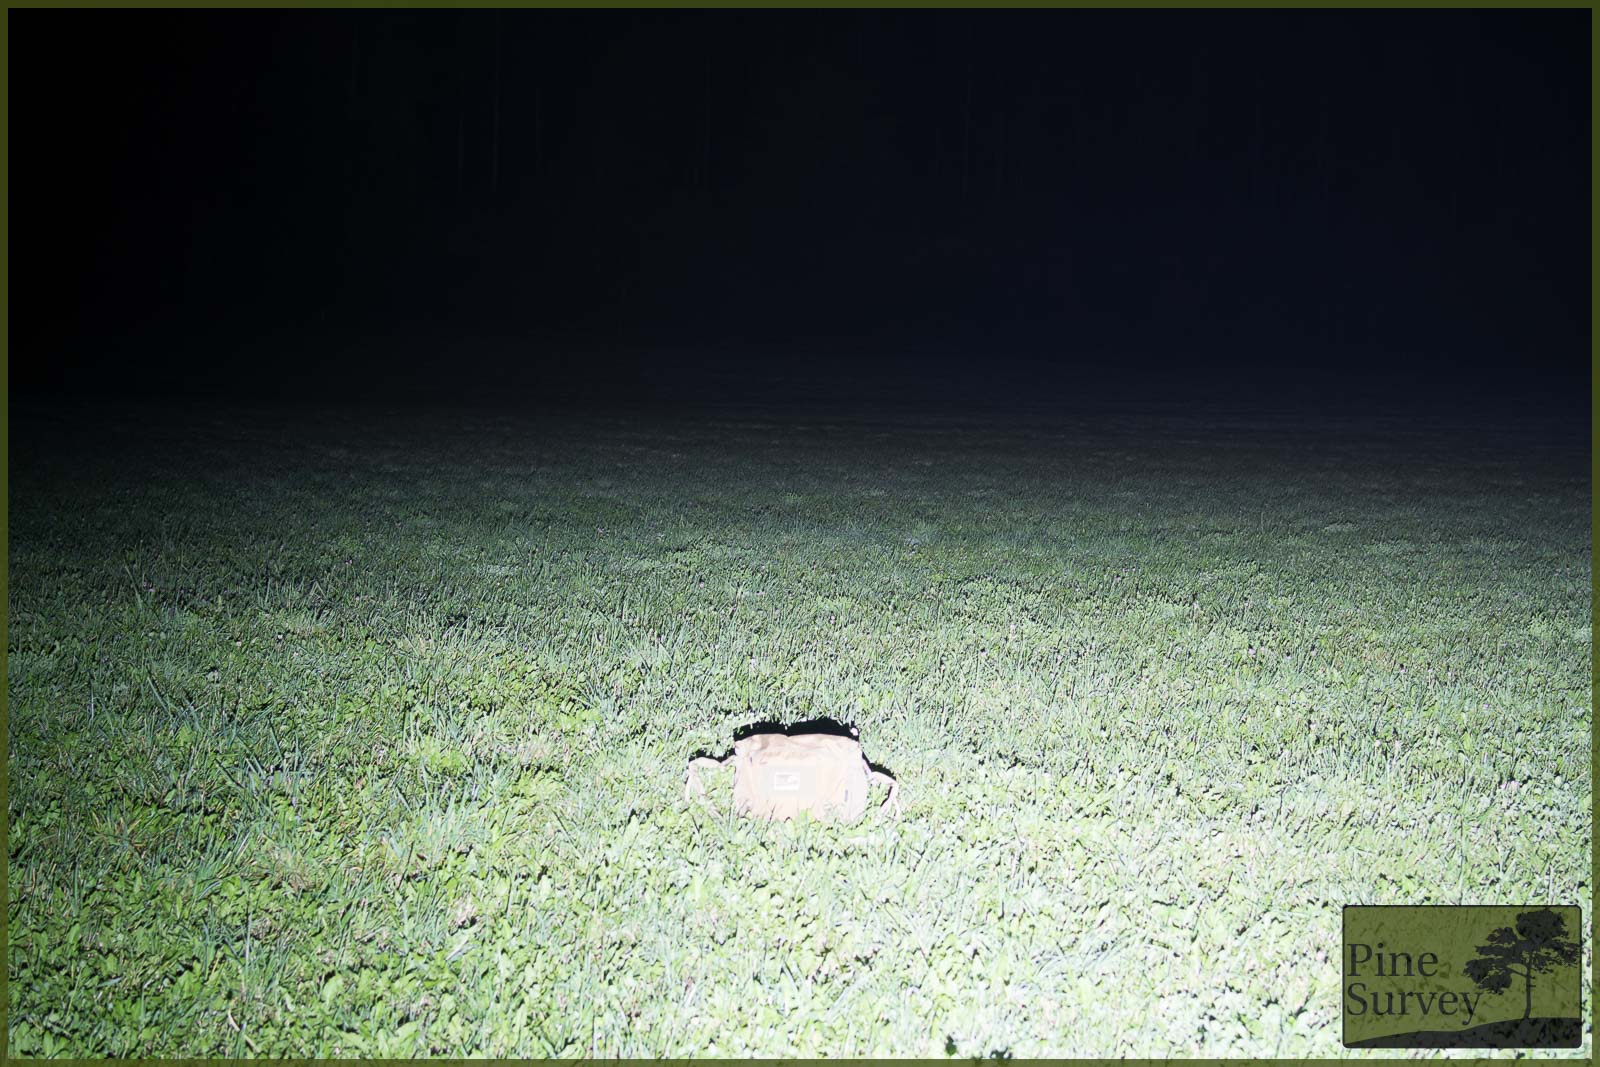
The second shot is the medium setting with 150 lumen. You can see the wide spot with its even distribution and a comfortable amount of light.

Beamshot: Setting medium, 150 lumen
Thirdly you can see the high setting again. With 600 lumen you brighten up already quite the wide field.
Beamshot: Setting high, 600 lumen
The turbo setting in the fourth shot gives you an idea of the actual reach of the lamp. As mentioned above, the lamp has a stated reach of 153m. The meadow is 200m long in the direction the picture was taken.
Beamshot: Turbo Setting , 2300 lumen
You can clearly see the border of the beam, and beyond that a dimly lit area, illuminated by the rest of the light. The black line in the upper third of the picture is already the treeline. This dimly lit area is less than 50m long, so you can do your math: The effective reach might be 153, but the light doesn’t stop there, obviously.
Conclusion
The Olight H2R Nova does its name justice – it is a full multipurpose lamp that is loaded with features. The thoughts behind several design features make this lamp very versatile. It offers the user several carrying options, be it on the head, on the strap or PALS of your pack, a pocket of your shirt or jacket, or simply in your hand.
The option to load the included rechargeable battery via USB is such a practical feature, I do not want to live without it.
Manufacture and the scope of delivery are convincing to say the least and in use the lamp performs exquisitely. The downside is the heat production of the lamp in its highest setting, but this is what you get, when you are using 2300 lumen.
With that being said I will stop here with the hope that I was able to give you a decent impression of the lamp.
Many thanks to Olight Germany, who made this review possible!
Thank you for reading!
Take care!
No Comment
You can post first response comment.