Fieldtest: Phantomleaf WASP I Z1B
Introduction
The Phantomleaf collaboration with Mil-Tec is well known by now, introducing the WASP I family of camouflage patterns, one of them being WASP I Z1B. Now I already gave an overview of the patterns, teasing some images of them in the field.
A thorough review on WASP I Z3A is already out and I have been sitting on these pictures just as long – I simply didn’t have the time to do a decent write up.
So in this field test I will take a closer look at Phantomleaf’s WASP I Z1B, brought to you by Mil-Tec. They were also kind enough to make this test possible!
So without any further ado, let’s go through the obligatory methodic remarks, before looking at the camouflage pattern itself.
Methodic Remarks
As always I want to point out several important aspects beforehand. First of all, I do not claim any scientific standard with my camouflage comparisons. I also conduct them with my best knowledge and the available resources.
The pictures are usually taken at the same locations I always use for my camouflage comparisons. That way you can compare the various field tests I have done so far with each other.
Before I start, please consider the following – as always:
If not stated otherwise I did not edit the pictures in any special way, except the following:
- Lens correction
- Watermark
- Blurred my face out if necessary
- .jpeg compression to make it web compliant
- I always do a proper white balance to make colors appear the way they are.
A short explanation to the environment and the procedure:
The pattern was tested on a rock face. There is almost no vegetation other than moss, everything is under the open sky and the only concealment are stones and rocks, maybe little holes. So a quite tricky environment which makes camouflage even more important.
Worth noting is that depending on the geological area, stone compositions can be completely different.
The pictures portray three different positions:
- Standing in the open (to get an idea of the pattern in this particular surrounding and if the colors match it)
- kneeling
- A leaning position (to mimic basic concealment/cover, without using vegetational enhancements)
As always I photographed the pattern with a wide angle lens at first and then with 35mm focal length, which mimics the actual picture the human eye would perceive at this distance. Having in mind the three different positions mentioned before, I usually end up with 6 pictures of each location.
Furthermore:
Given the amount of pictures in my field tests, I will not describe or comment on each picture. Instead I will give a more thorough analysis at the end of each subsection.
With that being said, let’s take a closer look at the pictures themselves.
Phantomleaf WASP I – Z1B
As already mentioned in the article about the collaboration of Mil-Tec and Phantomleaf, WASP I Z1B is designed for rock desert and features a gray and ivory base color, with tan, light gray, brown and dark green elements. The coloration perfectly fits rock faces with light vegetation.
Location 1
This location is well known from my “alpine camouflage” reviews. It is a typical blueish rock formation you would find in mountainous or alpine regions, with the occasional vegetation.
The distance to the camera is 15-20m, the weather was partially clouded during a bright summer day, so the light is hard and shadows are an issue to keep in mind.

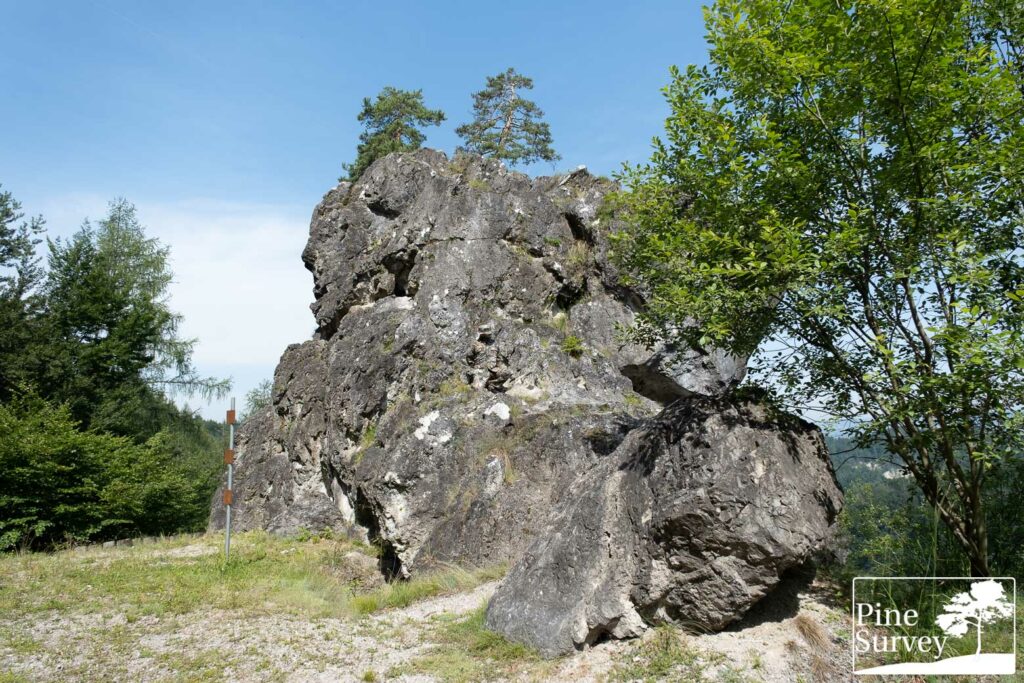
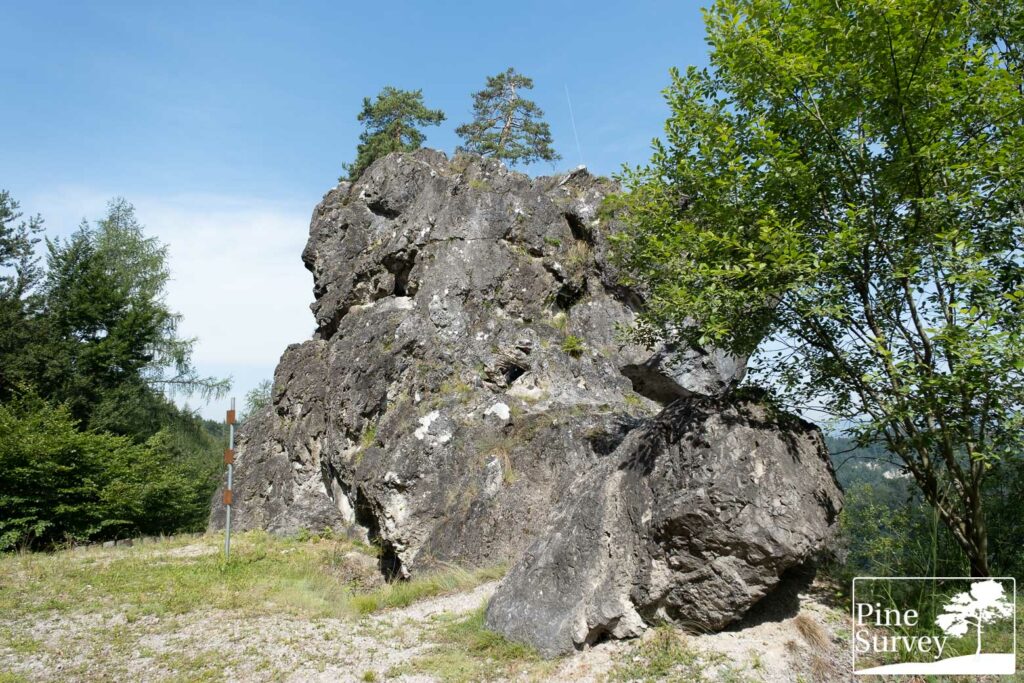
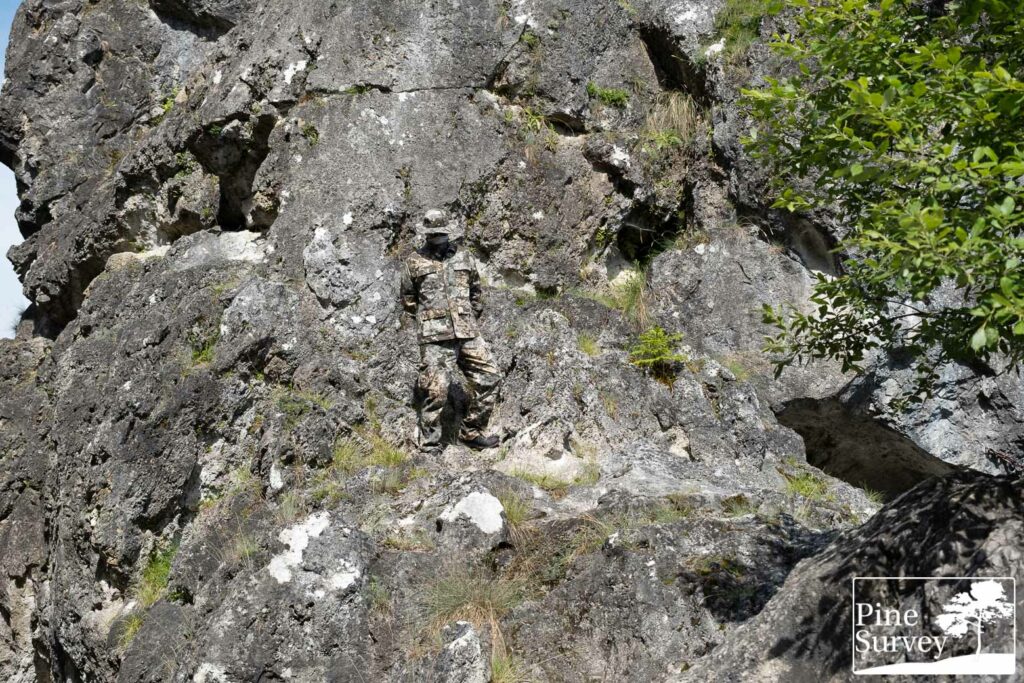
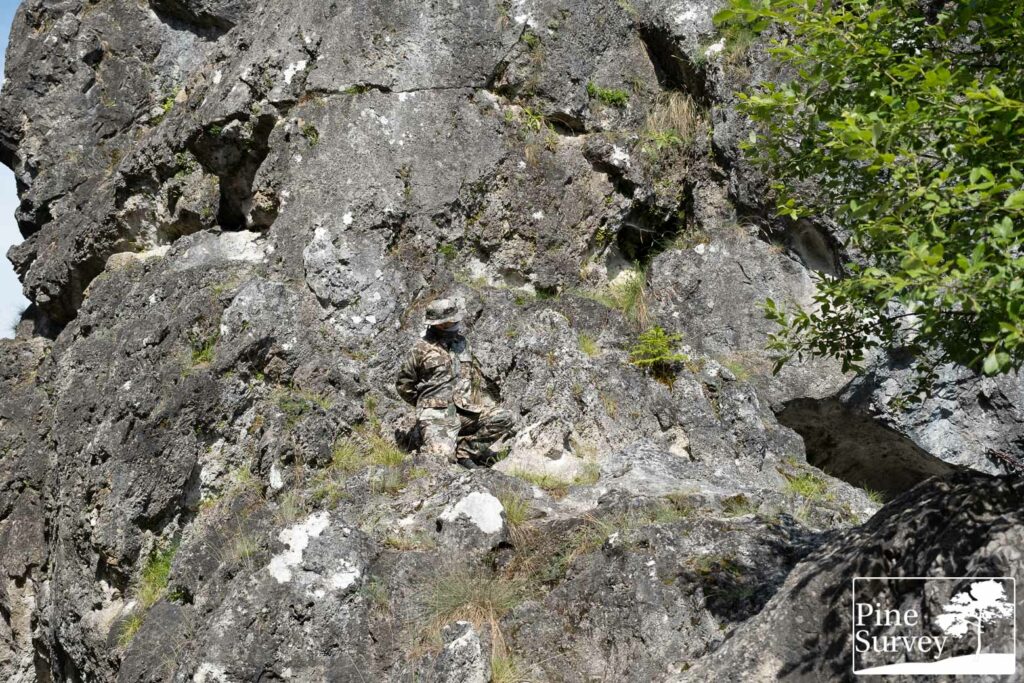
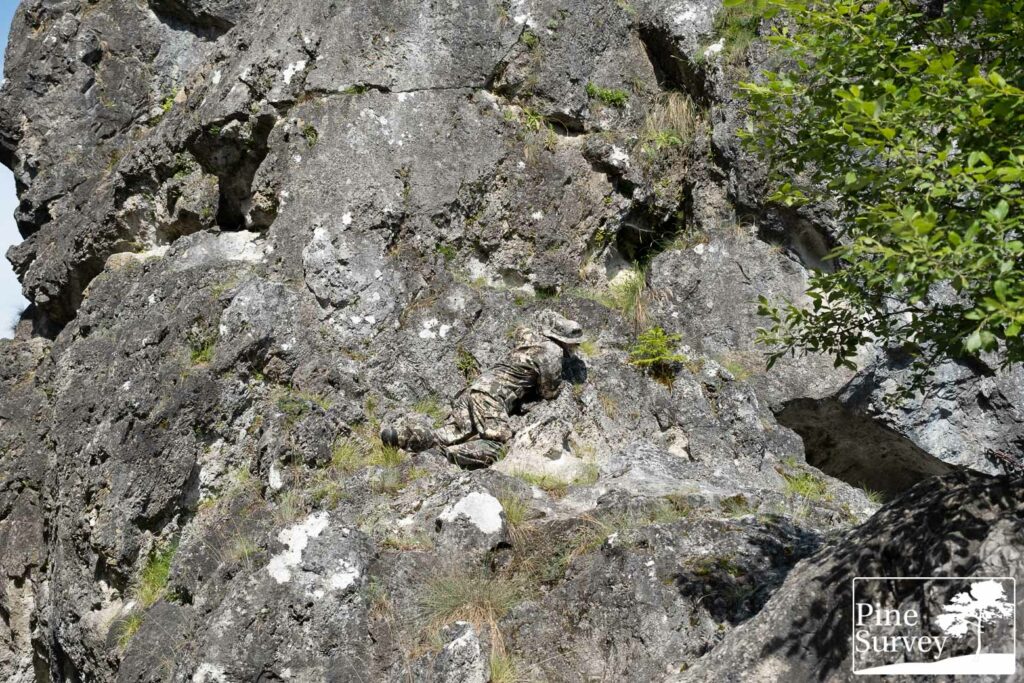
Observations – Location 1
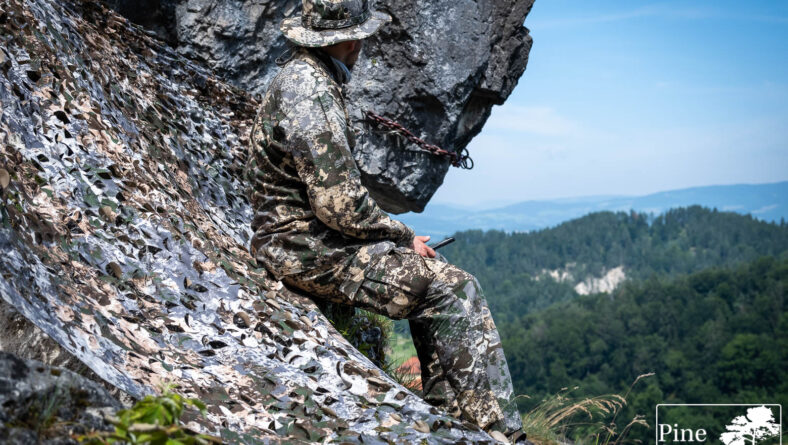
When looking at the wide angle lens the distance of 15-20m always looks a bit further away. The strong contrasts as a result of the hard light and the shadows from the direct light make the open rock face a challenging location. That being said, even though while being full in the open and in the standing position, Phantomleaf WASP I Z1B simply melts into the background.
The colors are perfect for this particular rock formation and the disruptive effect of the pattern is working despite the direct light. Especially the bluish gray is an excellent fit and the brown and green elements add to the blending effect.
So even while standing in the open, the silhouette is barely visible at a distance which is already considered close range. There are shadows around the face and legs, but similar spots can be seen on other areas there as well.
Kneeling down and leaning to the rock face amplifies this effect. As the silhouette is changed and closer to the rock face, it gets harder to spot the person. The ivory color and the brown mix excellently with the lighter areas, creating that disruptive effect I mentioned above.
When looking at the pictures in 35mm focal length, one gets a better impression of how well the colors blend into the environment. First of all, the standing position shows the issues of shadows rather well. Especially the one on the face, cast by the wide brim of the boonie.
However, with the blending effect being so potent, it is hard to spot the edges of the silhouette, especially on the left and the knees. Color separation and contrast work perfectly, so isoluminance is no issue. Thus the macro elements really come into play, providing disruption.
The kneeling and leaning position further show the fascinating effectiveness of the WASP I Z1B coloration in this difficult spot.
Location 2
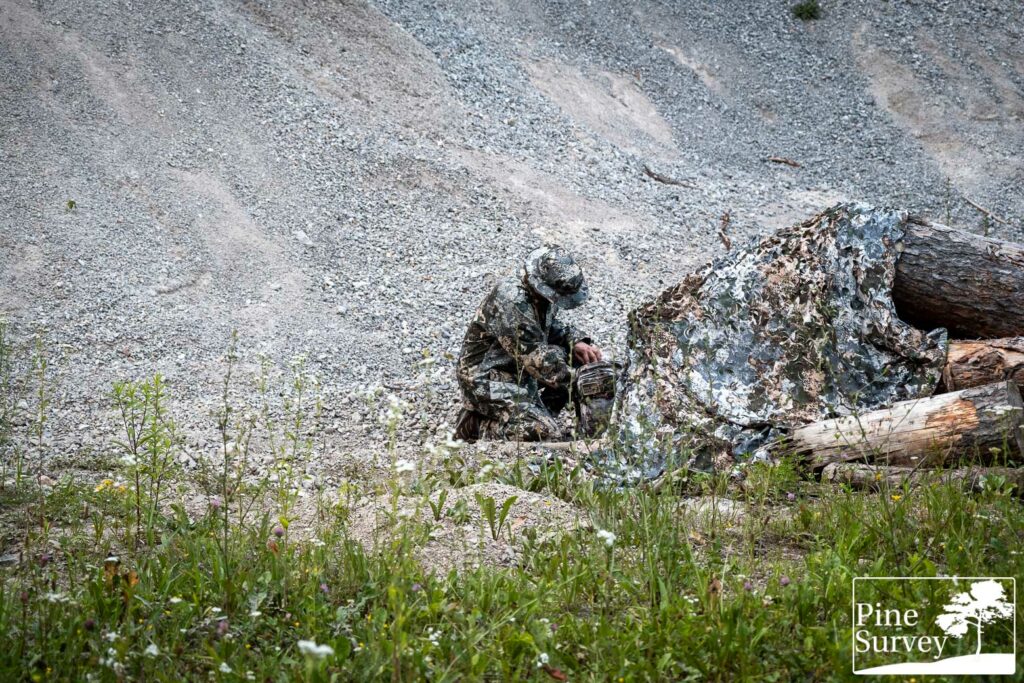
The second location is the usual gravel pit. Followers of Pine Survey will be familiar with this setting. The weather was cloudy with soft light. Distance to camera: 10m.
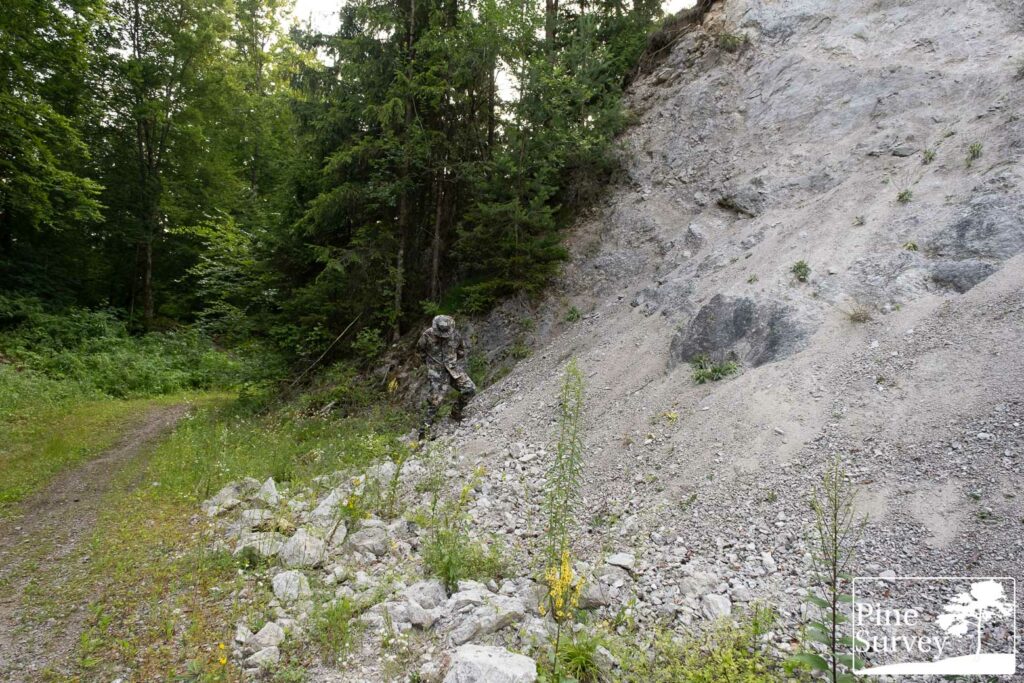
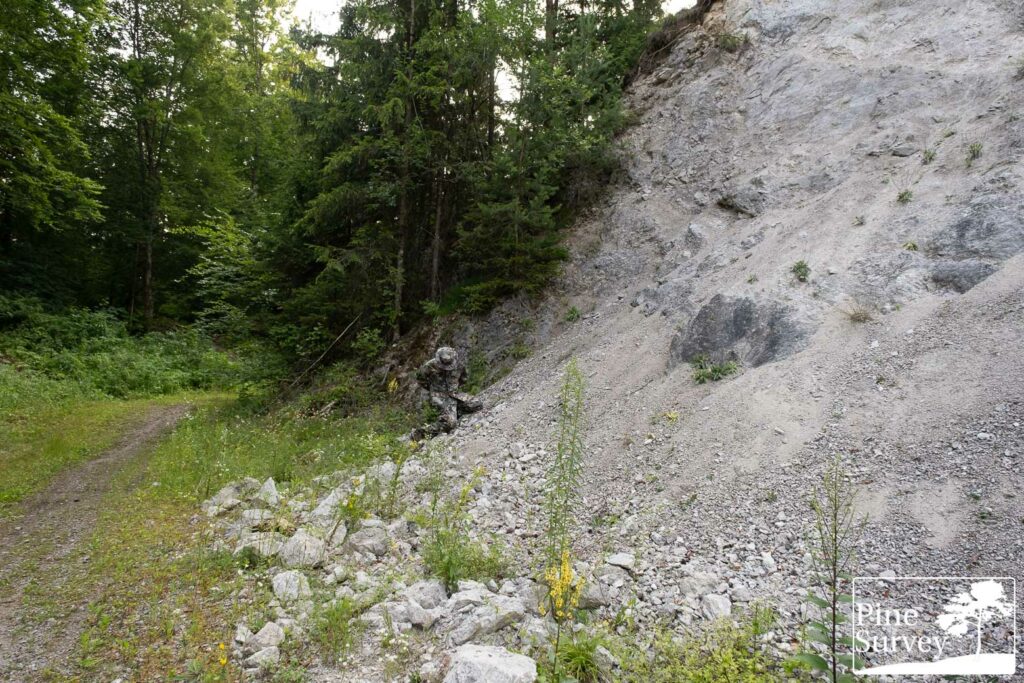

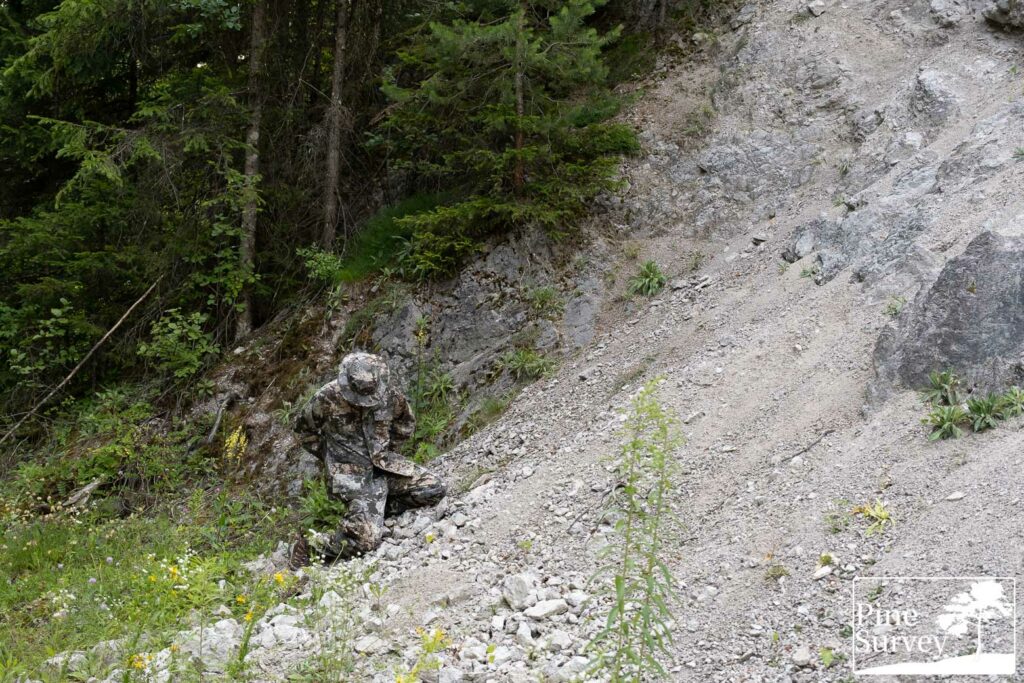
Observations – Location 2
In a previous article I mentioned that – obviously – not all rock areas are alike and not all of them feature a bluish tint, or are black and white and so on. This gravel pit is such an example. A prone position was not necessary in these two spots (tbh, I didn’t want to).
So the pictures at the gravel slope show similar results as those on the rock face. Against the backdrop of the rocks and forest, Phantomleaf WASP I Z1B easily blends in, even if there is some backlight.
The brown and green colors in the patterns provide enough blending effect in this location and the disruption of the WASP I pattern works effortlessly. When kneeling, the silhouette becomes more abstract and the blending effect is even better.
This can be better seen when looking at the 35mm focal length pictures. One can see the organic shapes of the pattern and how the micro, midi and macro elements are clearly separated from each other, providing maximum disruption. When kneeling down, this balance of blending and disruption is resulting in an effect that makes it hard to clearly identify the borders of the person, e.g. on the lower left and upper right.
Addendum
As always I will add a few more shots for additional impressions. Some are from the same gravel pit but at a different spot, with way more vegetation. It shows how Z1B can even work in a more green dominant environment.


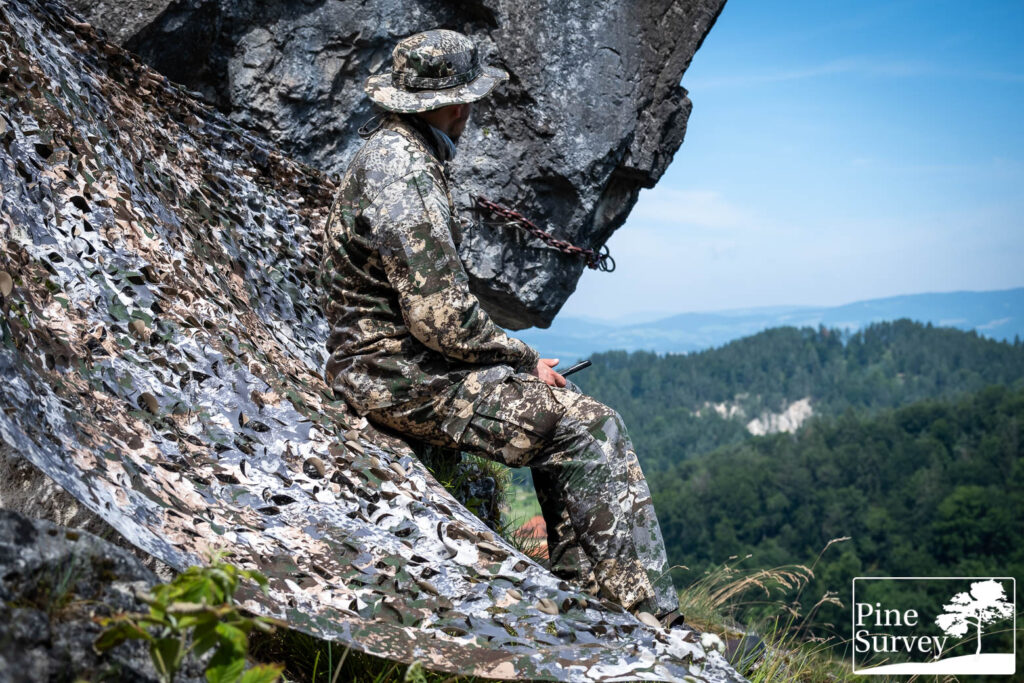
And there are two pictures with the camouflage net of Mil-Tec in Phantomleaf’s WASP I Z1B pattern.
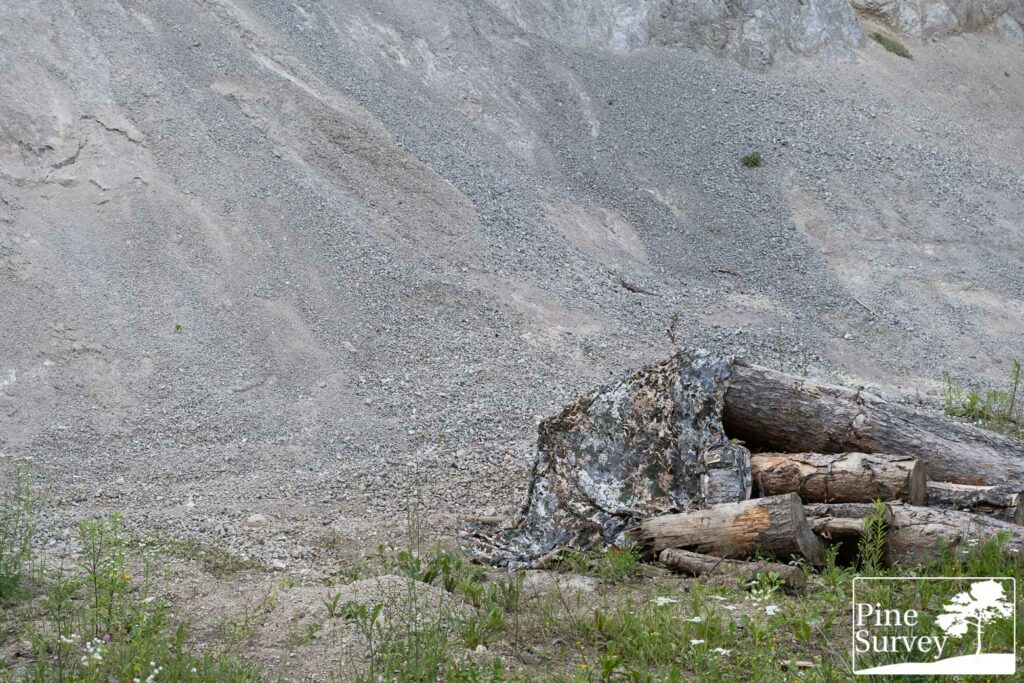
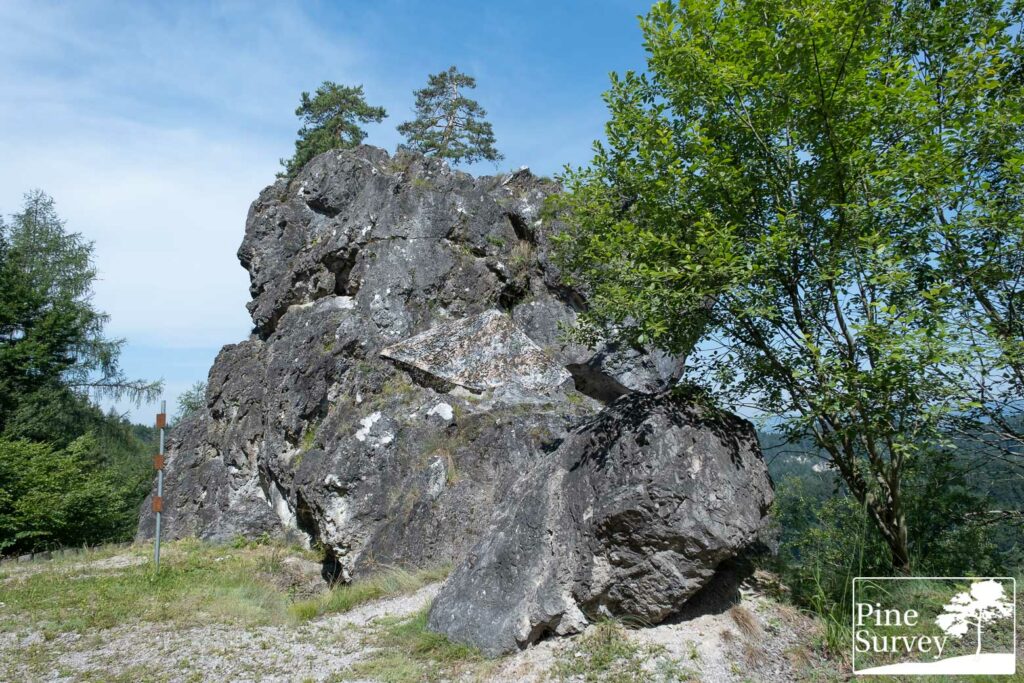
The picture in the rock face shows the repetition pattern of WASP I Z1B as well as the importance to avoid straight lines when using camouflage netting.
Conclusion
There are not many camouflage patterns out there specifically for mountainous or alpine environments. It is a niché segment for patterns, even though mountain warfare is an extensive issue and examples for it can be found throughout history.
Phantomleaf’s WASP I Z1B pattern is primarily designed for rock deserts. However in an alpine or mountainous environment it works just as well, given the balanced color choice and the disruptive and organic shapes of the pattern.
Given the coloration and previous experiences with urban patterns working very well in rocky environments, one can assume that WASP I Z1B will work just as well in an urban environment. Unfortunately I will not be able to provide such pictures as I currently have no urban location, where I can take pictures undisturbed and without having legal issues.
That being said, the pictures of this field test show the excellent performance of Phantomleaf WASP I Z1B in various rocky environments. I hope I was able to give you a decent impression of the pattern!
With that being said, many thanks to Mil-Tec for making this test possible.
Thank you for reading!
Take care!

No Comment
You can post first response comment.