

Die deutsche Version dieses Review kann im Tacticalforum nachgelesen werden.
Alright, it has been too long. My every day job kept me from continuing the last parts of this pack review and I am hoping I can finish this up properly now.
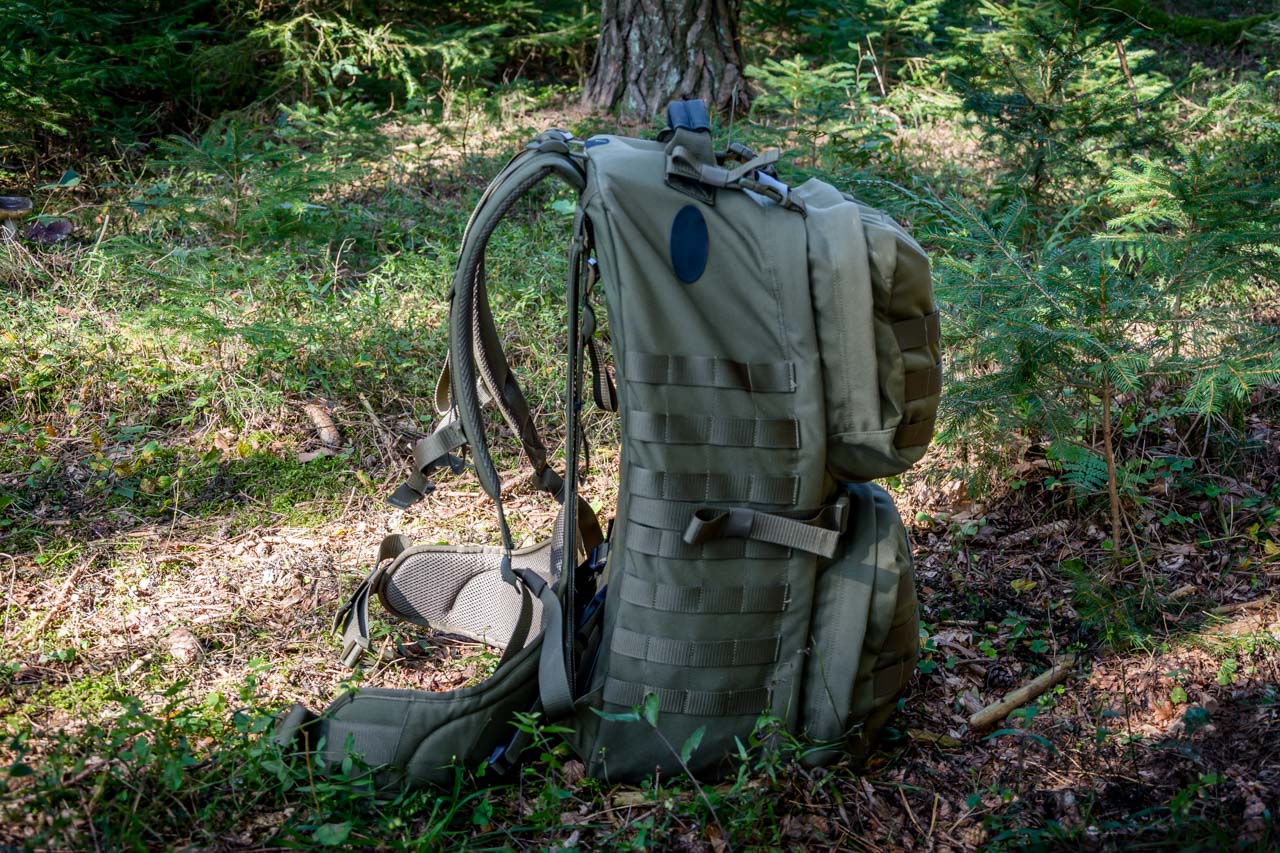
In my last review about the Tasmanian Tiger Bug Out Pack I took an overall look at the features of the backpack itself. I kept the detailed look on the load bearing system for this second part, since it is quite unique for this kind of pack and has various features built into it, which deserve a closer look.
Tasmanian Tiger is calling this specific system the “X Vent-Zero Plus SYSTEM”. It is meant to give the user a “perfect” air ventilation of the pack by putting little weight on the scale at the same time.
Overview:
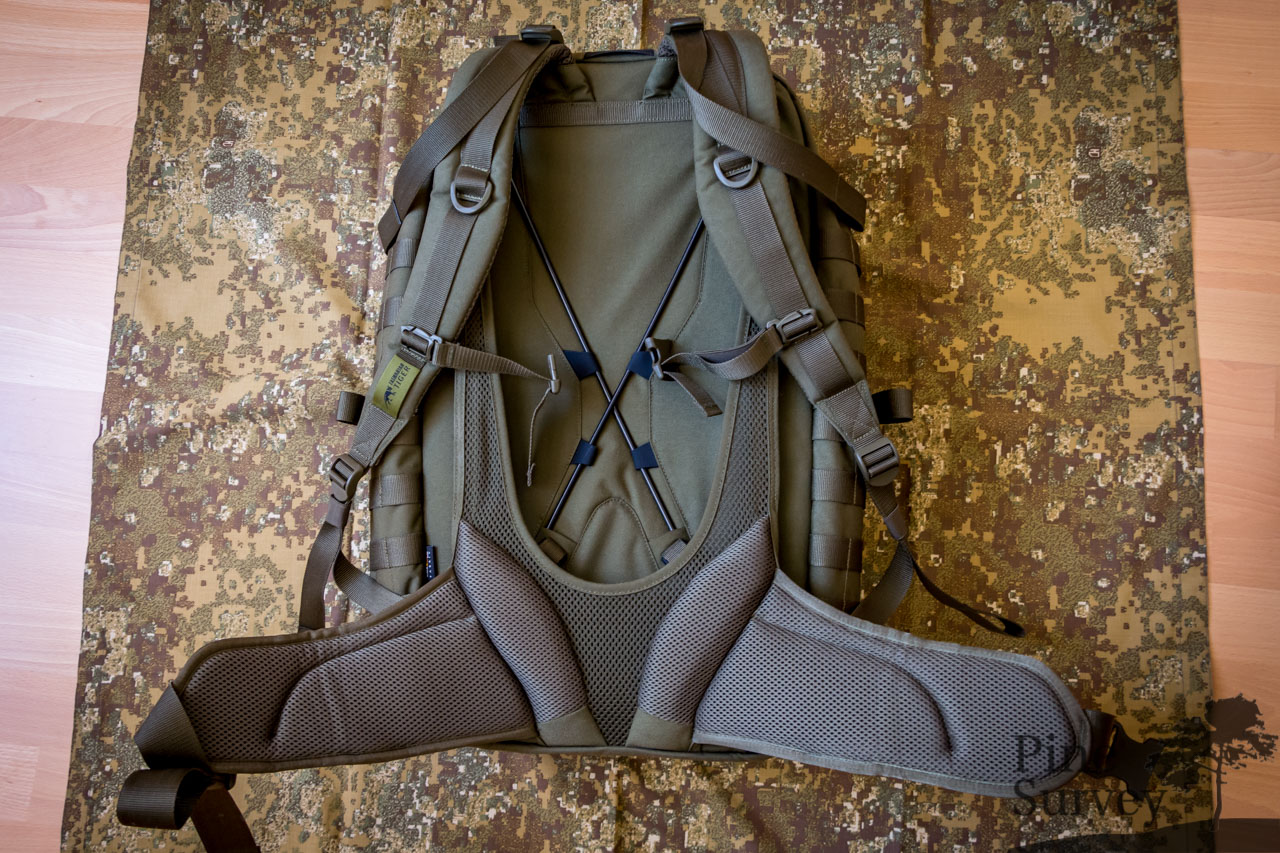
If you look through the description of the system, it says that two glassfibre sticks are lying on the back of the pack crosswise and connect with the waistbelt to divert the weight directly to the hip. The mesh net on the back has a large opening to give a maximum area of ventilation. The connection of the mesh net to the load carrying system can be tightened and untightened to increase the ventilation area or put the backpack directly to the back of the user to increase contact.
The X Vent Zero Plus System
So let’s take a closer look on how this transfers to the actual use of the pack.
Framesheet:
First of all I would like to mention the framesheet, which is accessable through a slot in the back of the interiour of the back. It keeps the back rigid and is also very important for the actual load bearing and ventilation system as we will see.
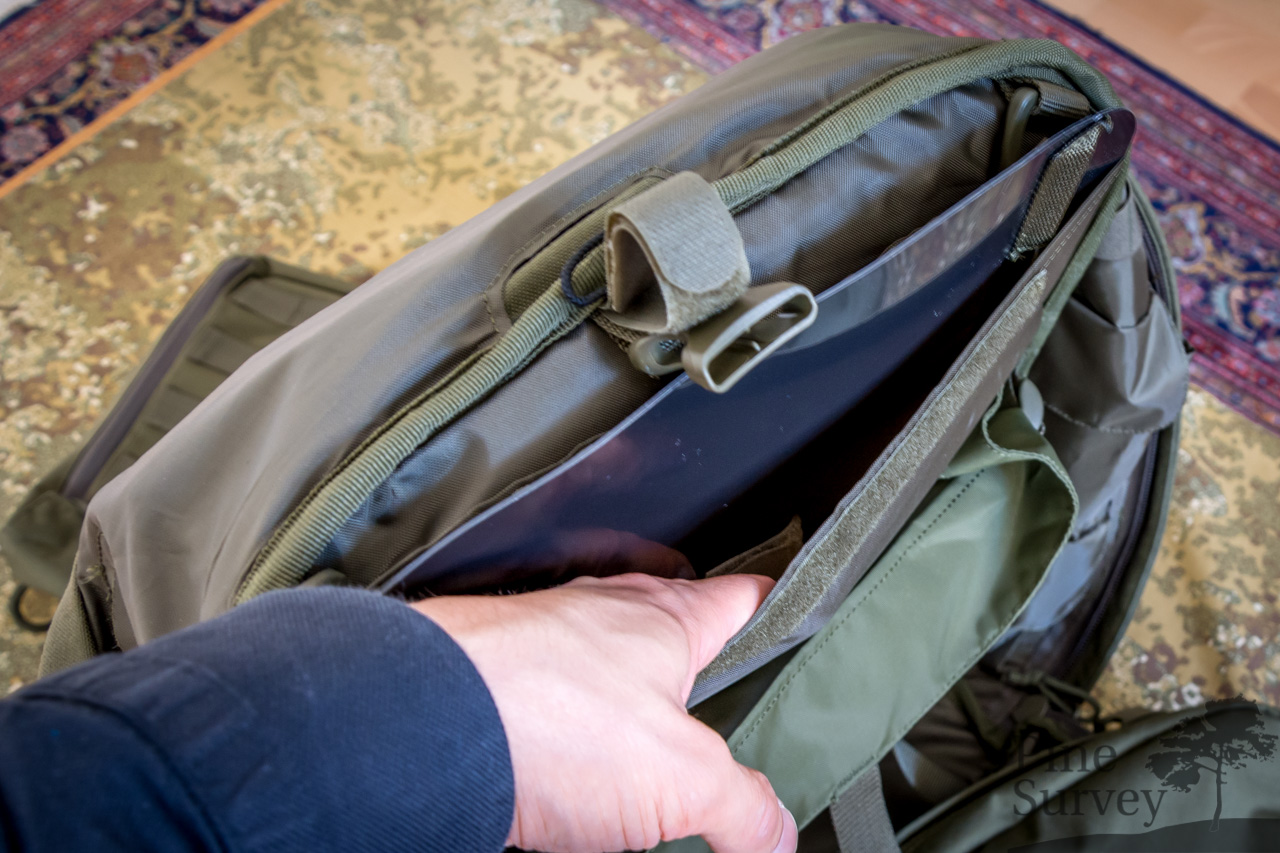
Access to the frame sheet slot
It also keeps the pack in its rectangular shape at the back and is arched concave in a direction away from the user to the inside of the pack.
Shoulder straps:
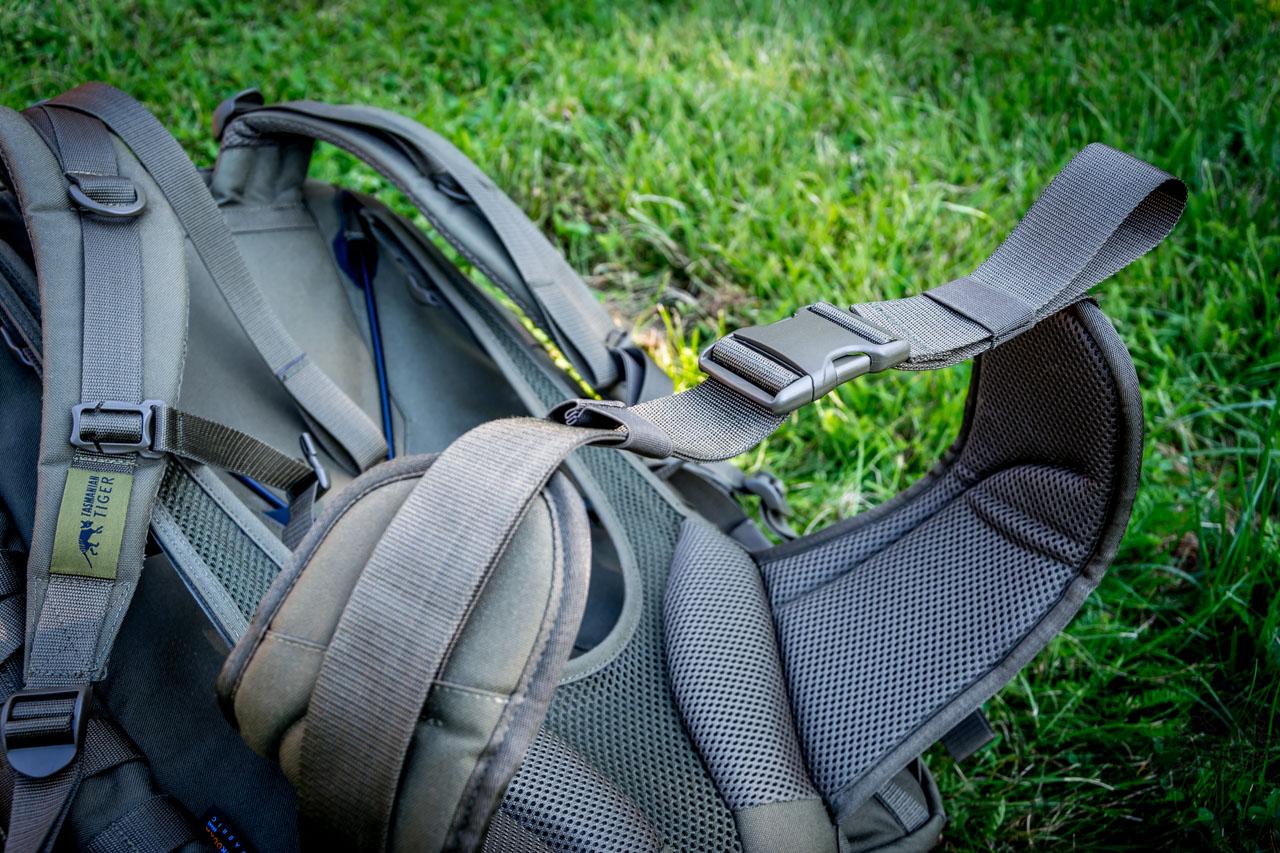
The shoulder straps feature a good relation between thickness and width and are ergonomically formed. They are padded with mesh material which distributes not only the weight of the pack quite nicely but also offers some air circulation and moisture distribution.
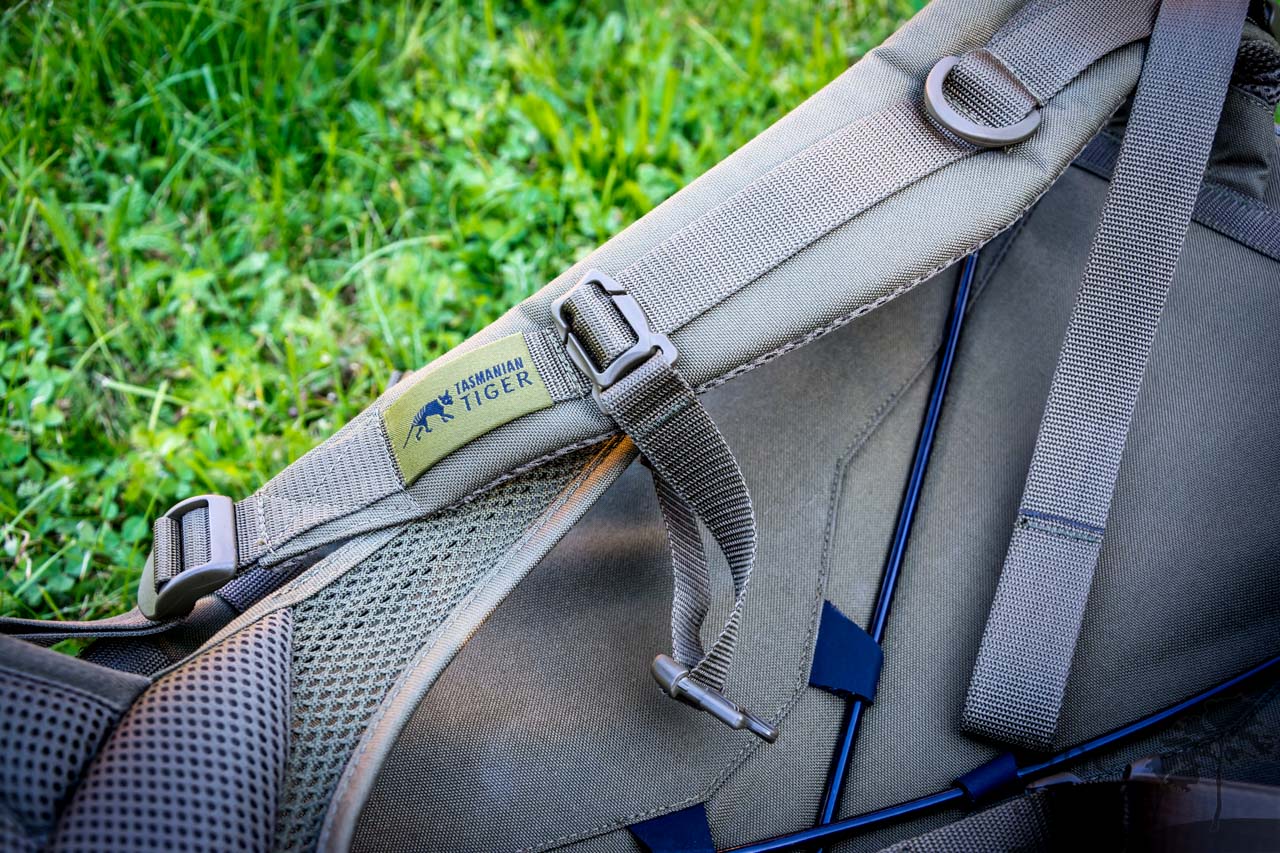
The shoulder straps
Using two straps the shoulder straps can be fastened closer to the pack. At the same time these two straps feature a loop for your fingers and are long enough to serve as a grabbing point during marches.
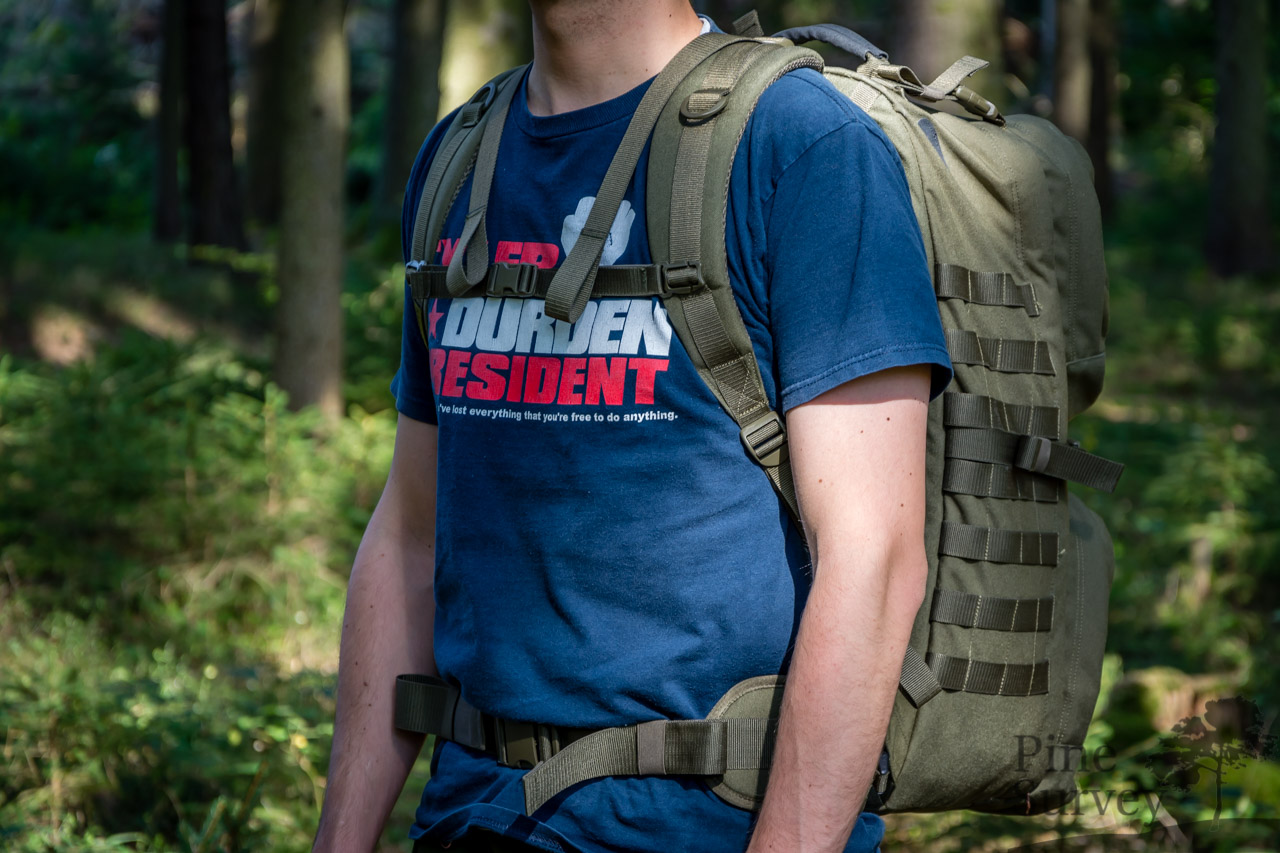
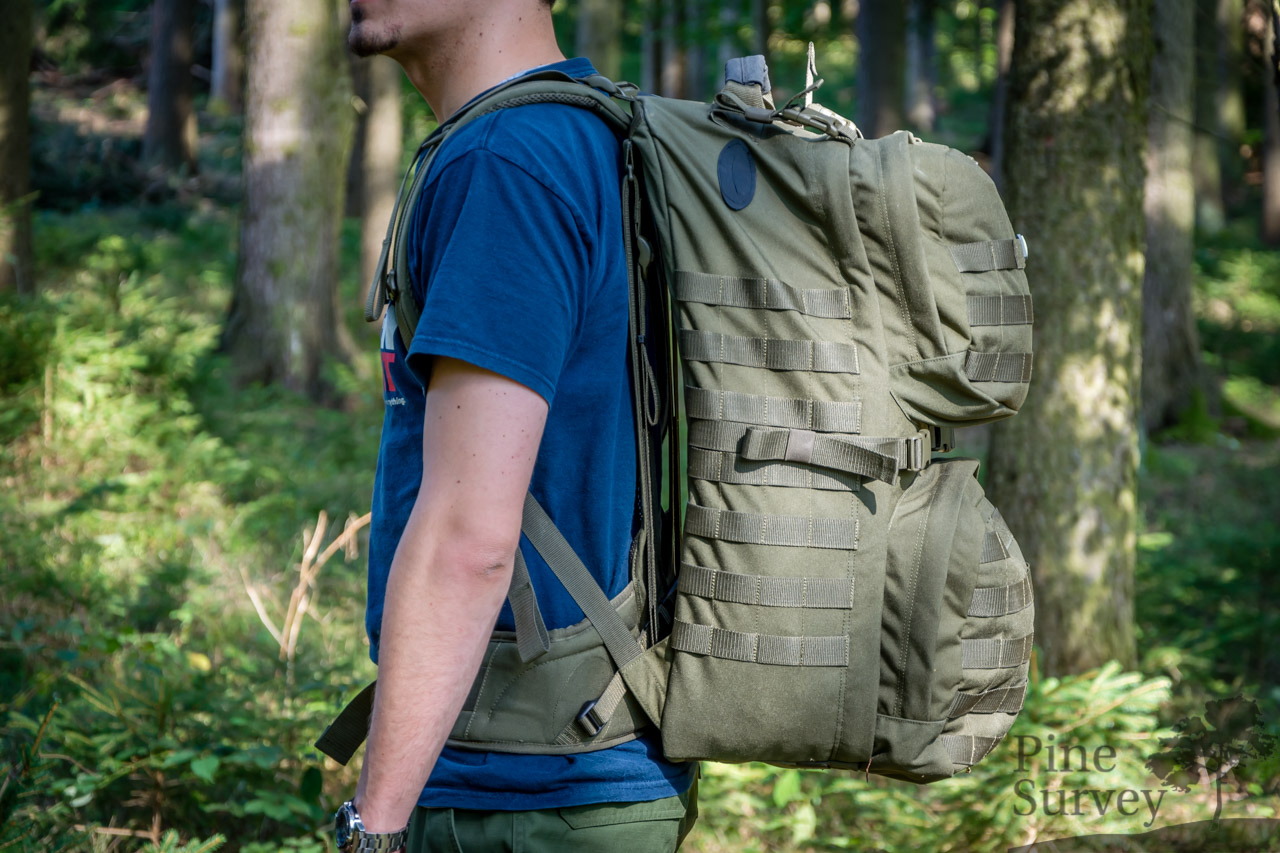
The pack on the user – shoulder straps and straps with loops for grabbing
The shoulder straps themselves are sewn strongly to the back of the pack using two sets of bartack seams and an additional strap of webbing. In combination with the two mentioned straps as well as the waistbelt (which is carrying the main weight) there should be no way to tear them out.
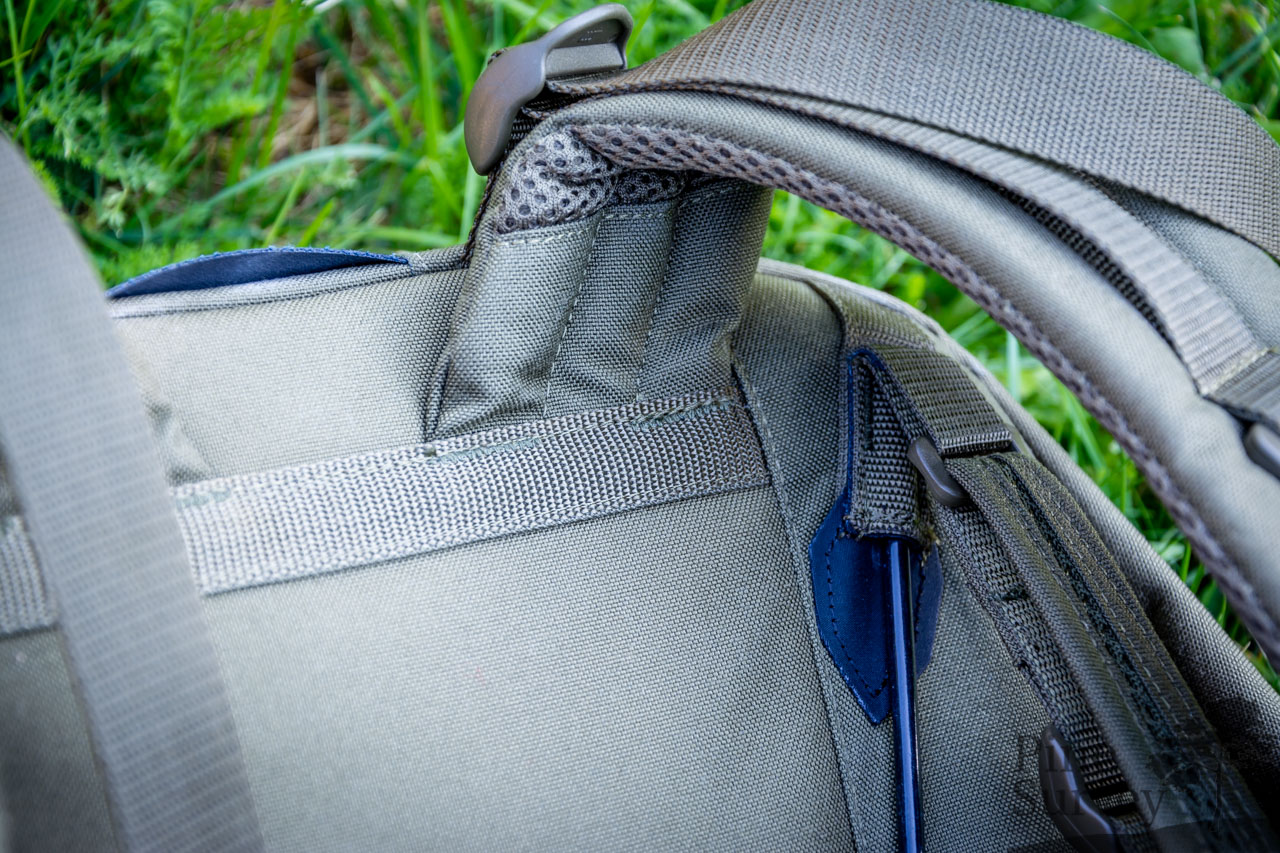
Attachment points of the shoulder straps and glas fibre sticks
One aspect which could be critizised is the close attachment of the shoulder straps in relation to each other. Tall persons with wide necks could find this to tight and uncomfortable for the neck. But as I said before; the main weight is to be carried by the waistbelt.
X Vent-Zero Plus SYSTEM
So let us have a look at the actual load distribution system, that this whole review is supposed to be focused on. As mentioned before, the system is using fibre glass sticks to distribute the weight. But how does it work?
The fibre glass sticks are divided in two separate configurations consisting of two sticks each. One set is being used to press the concave shape of the frame sheet into position by using the straps that are behind the mesh net.
The concave shape, being held in place by the sticks
The sticks are positioned crosswise and are kept in place by Hypalon loops. On the top side the sticks are cased in a mix of hypalon and webbing. On the bottom side you will find the end going into a plastic hardware buckle.
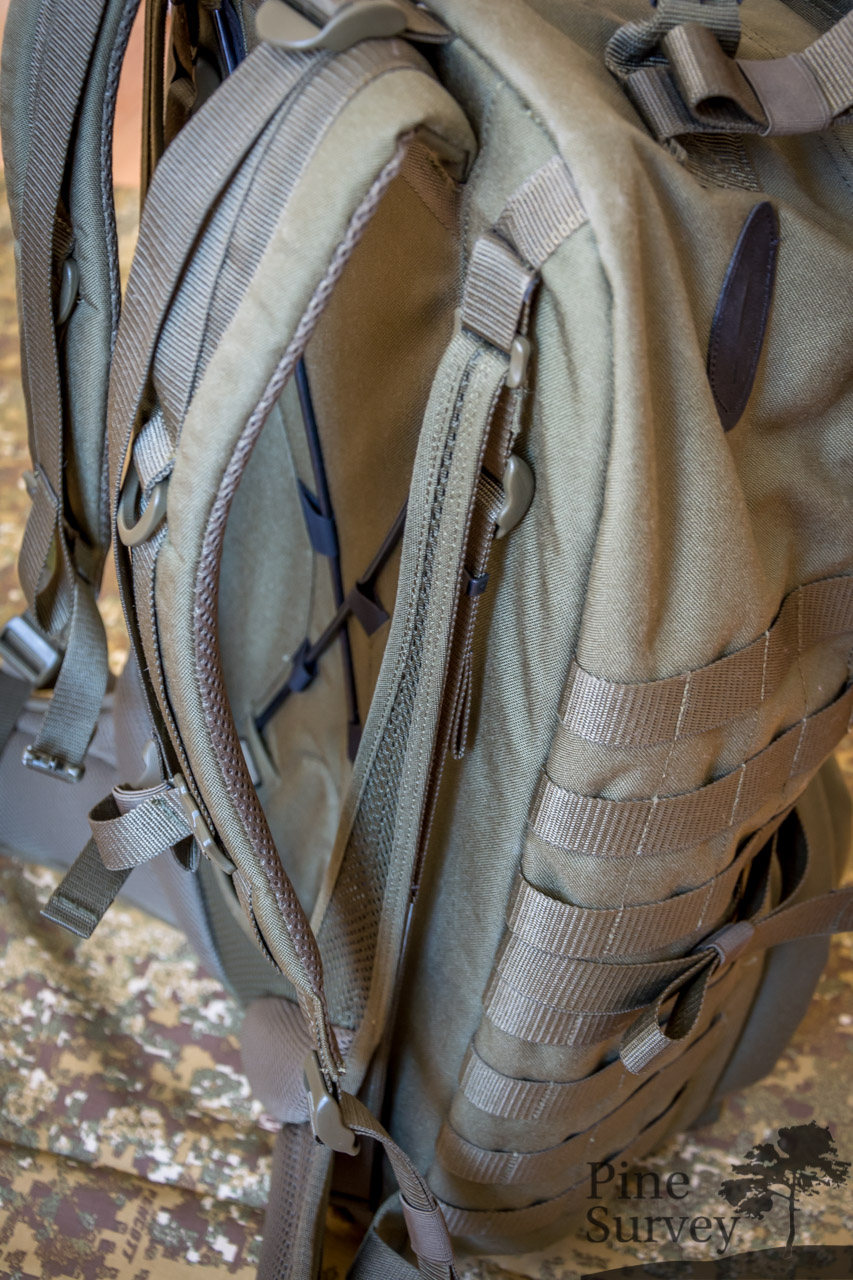
The mesh net with its straps for tightening.
Both the top and the bottom connections are attached to the straps of the mesh net and serve as tightening or tackling points, in order to put the framesheet into position as mentioned.
In order to do so, you grap the above mentioned straps (which both have loops at their ends) and pull them down.
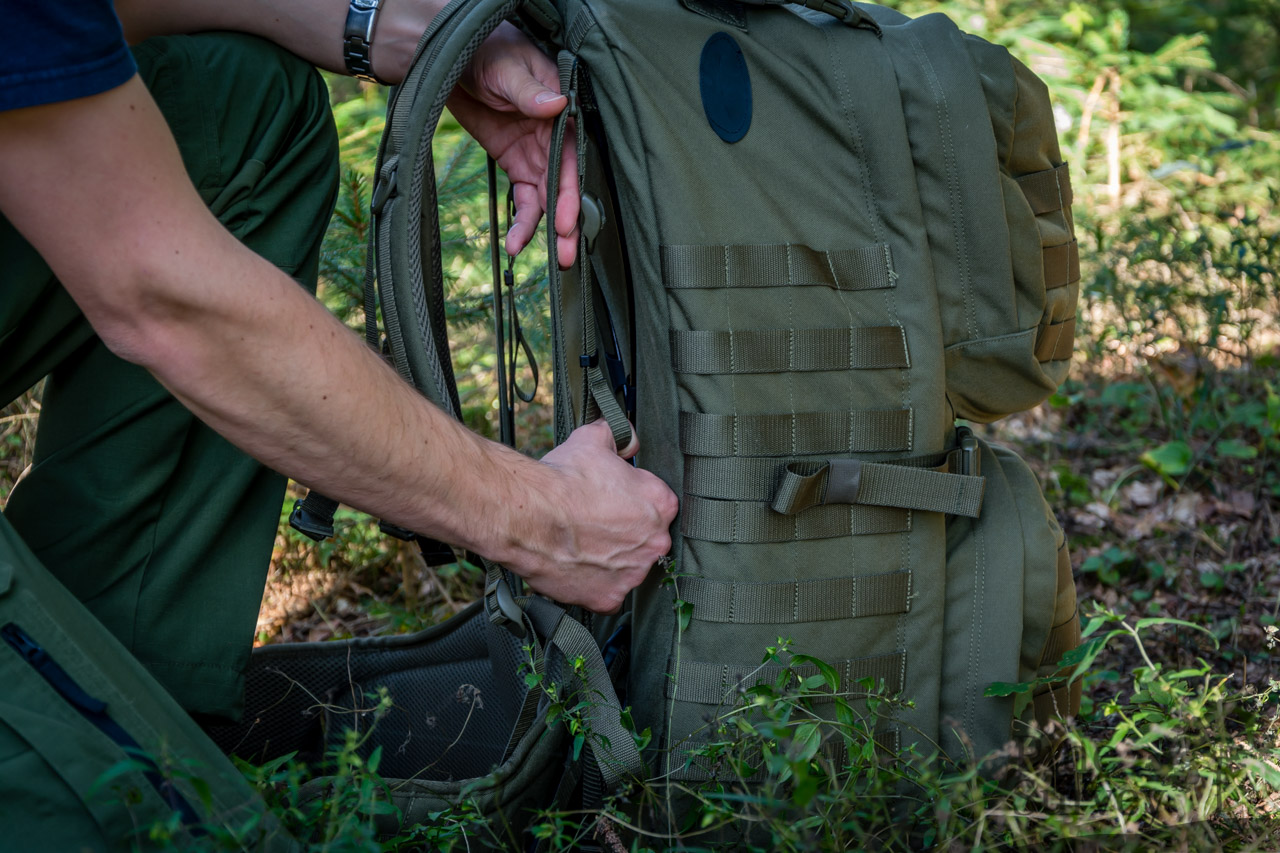
Tightening the system
The concave shape
If you want to untighten the strap, to bring the back of the pack closer to the body, you just use the webbing adjuster to loose the straps.
From the side
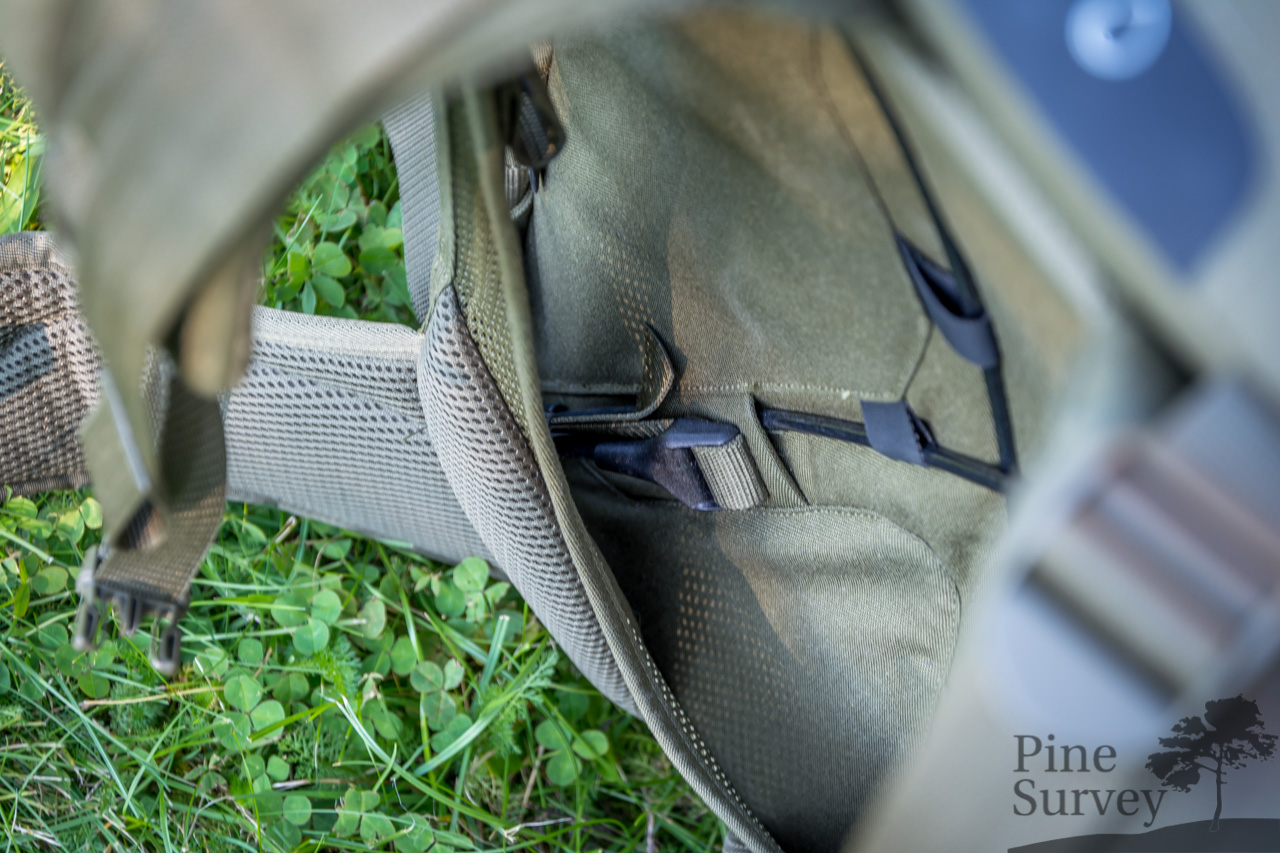
The second configuration of the fibre glass sticks is combined with the waistbelt. On each side one stick is attached diagonally to the hip belt on the one end and to the backside of the pack on the other. The attachment points look the same like the first configuration, only the purpose is another one.
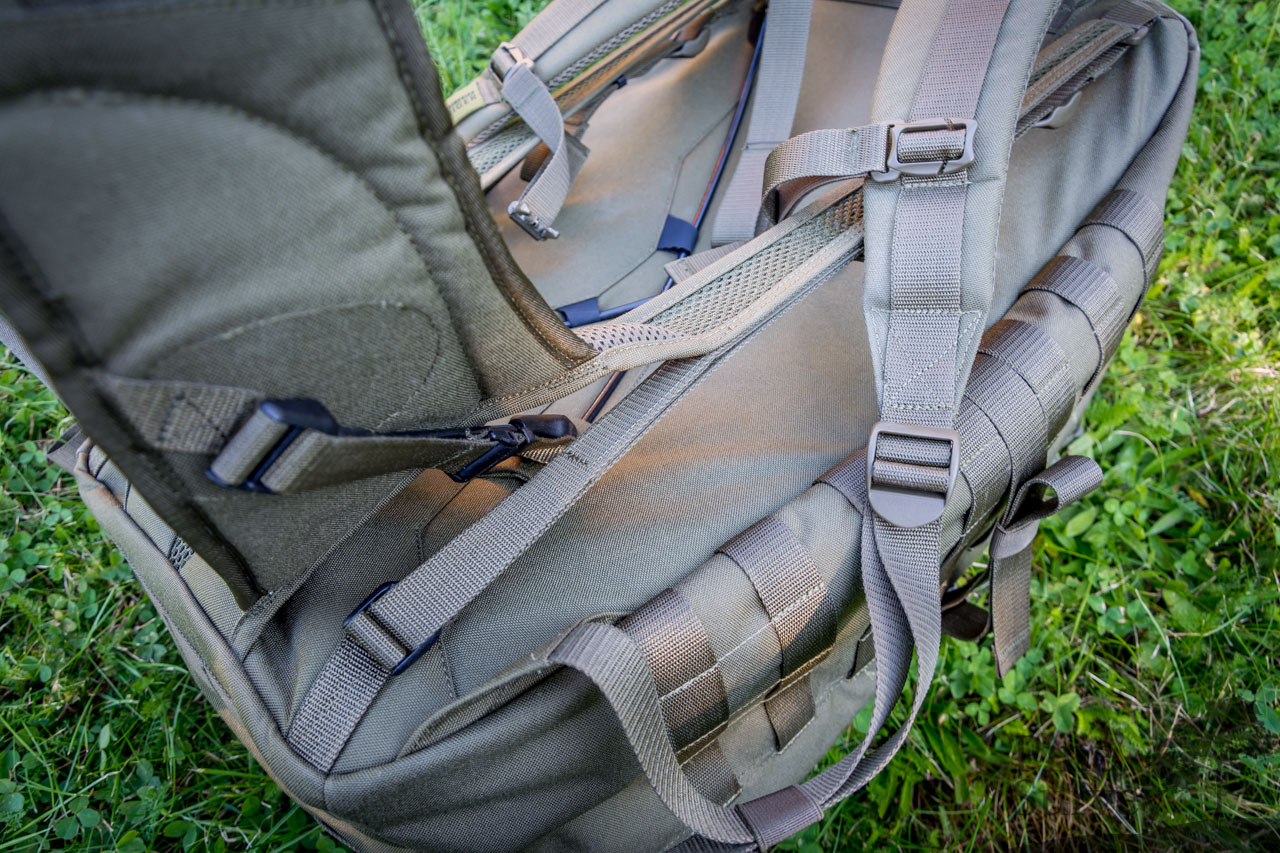
The second set of fibre glass sticks
Through the attachment on the lower side of the back – which is being done with webbing and strong seams – the weight of the back is effectivly distributed to the waistbelt. That way the distribution system could be comparable to a framepack. I am saying „could“!
Waistbelt:
The Waistbelt itself cannot be removed and just like the Shoulder straps is not too thick and not too thin. It is closed by a big buckle in the front, but what I am missing are some glides for the strap that closes the belt. With a backpack that size a tackle system would be nice to help with tightening the belt.
The waist belt
Another disadvantage is the connection with the fibre glass sticks. They do distribute the weight perfectly, but at the cost of making the hip belt foldable. Therefore you cannot put the belt around the pack if you don‘t need it or store it away if you transport it in a car, train, plane etc. Sometimes I was afraid to break the sticks, but so far they did not fail on me.
Conclusion:
With that being said I will finish part two of my review on the Bug Out Pack. I have already mentioned my opinion in some of these two parts, but I will go into further detail in my third and last review, that will take a look at the quality of the pack as well as my observations that I was able to collect in the last few month of use.
The „X Vent-Zero Plus SYSTEM“ so far is an interesting concept which works very well. At the same time I feel like the dimensions of the pack are on the limit for this system. It must not be bigger. Big enough it is nevertheless, but I will go into that next time.
Thank you for reading. Stay tuned.
As a referrence: In this pictures I am 1,80m tall, with a weight of 75kg.