Maybe you are familiar with the proverb:
“Beware of an old man in a profession where men usually die young.”
It holds a truth in it and you can directly apply it to one particular design, originating from South Africa – which is still going strong today, over 30y after its deployment with the then SADF. I am talking of course about the Pattern 83 ‘Battle Jacket’, also known in various circles as the SAAV, the South African Assault Vest.
The P83 Vest was adopted in 1983 to replace the then outdated Pattern 70 webbing used by the SADF, and is still used today by the (now so called) SANDF. As many other designs developed for the South African military, this vest was ahead of its time and was adopted by many other military units around the world. SAS Soldiers were known to be quite fond of it, with the result that the vest even saw use in Afghanistan (here is a link to a modded vest showcast in the Australian War Memorial Museum).
The vest is even so popular, that you probably saw it while watching a movie or television at some point, because it was used in movies like Blood Diamond, District 9, Mad Max, but also TV shows like Strike Back.
With this legacy in mind, I want to dedicate this review to this piece of gear history and take a closer look at it. Because of my personal history of studies and my interest in the African Borderwars as well as their impact on modern security issues, I wanted to have one of these in my possession, which is why I can give you some detailed pictures of it.
Afterwards I want to take a closer look at a modern take on this Assault Vest, namely the Predator Combat Vest, manufactured by KarrimorSF. More on that in part II.
The Pattern 83 Battle Jacket
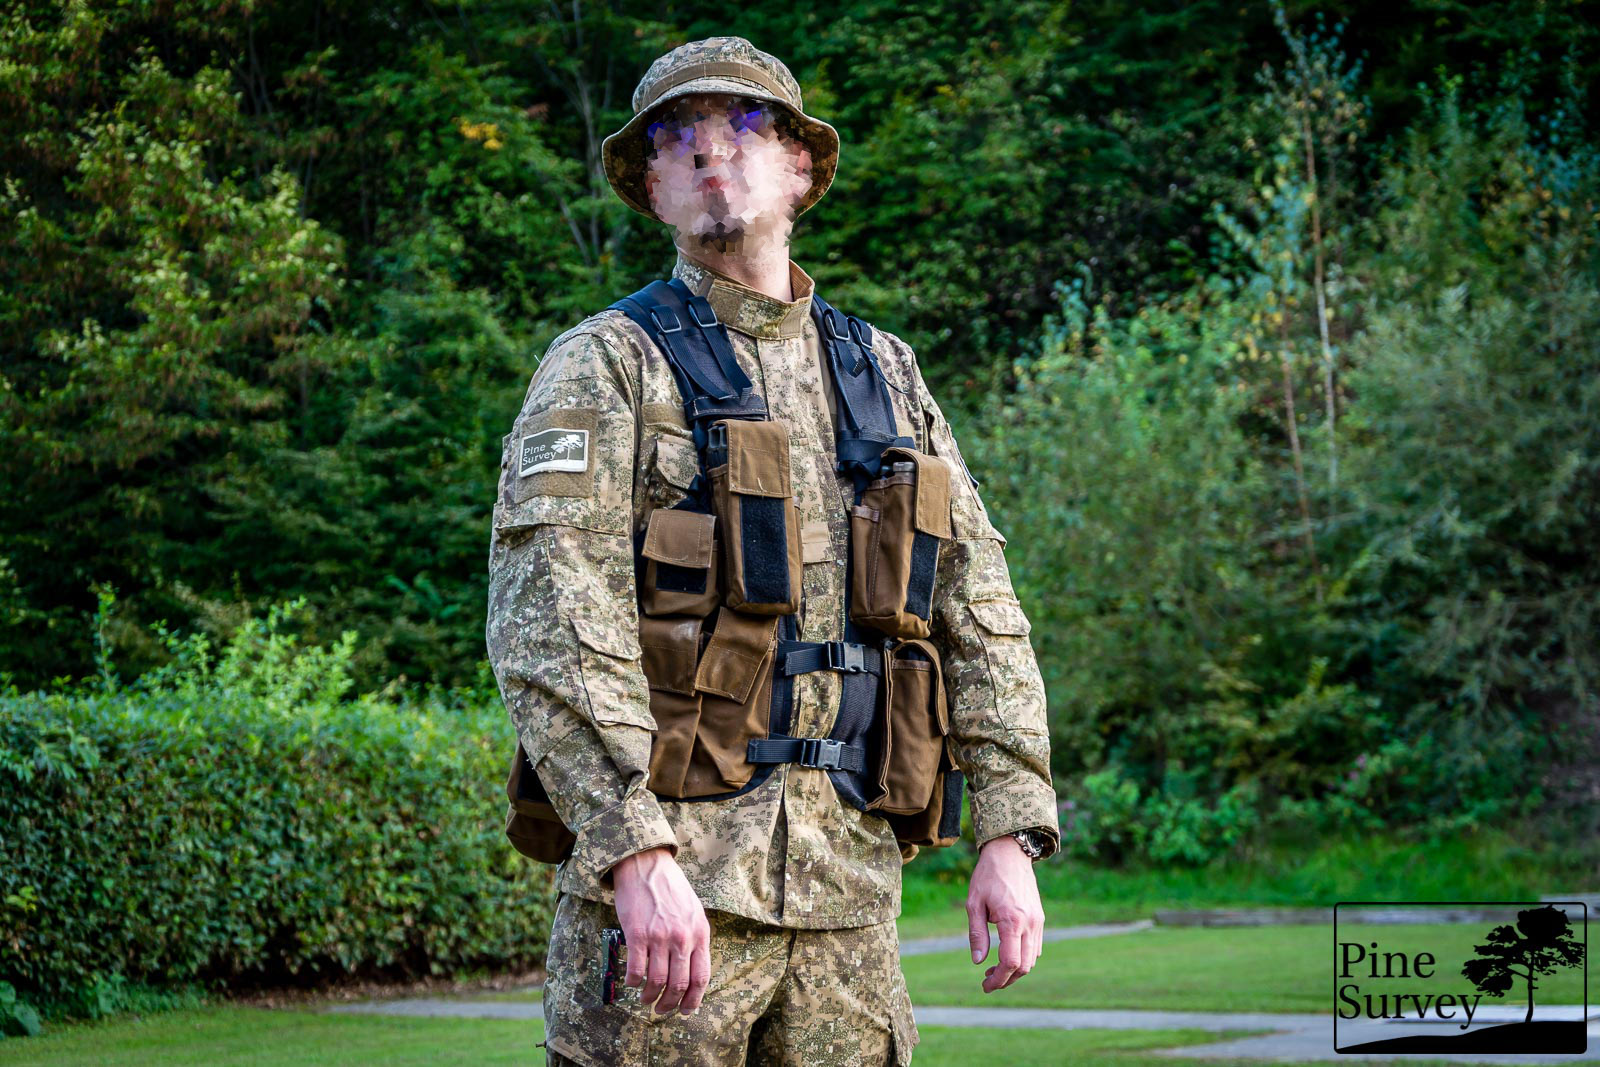
SADF Pattern 83 ‘Battle Jacket’
Build up
Starting with the backside, you will find two large pouches attached above each other, making it look like there is one slim backpack sewn to the vest. The pouches can be opened by a zipper, one in the middle and one on top of the pouch. On the top lid you can also find a velcro flap, which gives you direct access to the inside just like a drop pouch (remember this was back in 1983!).
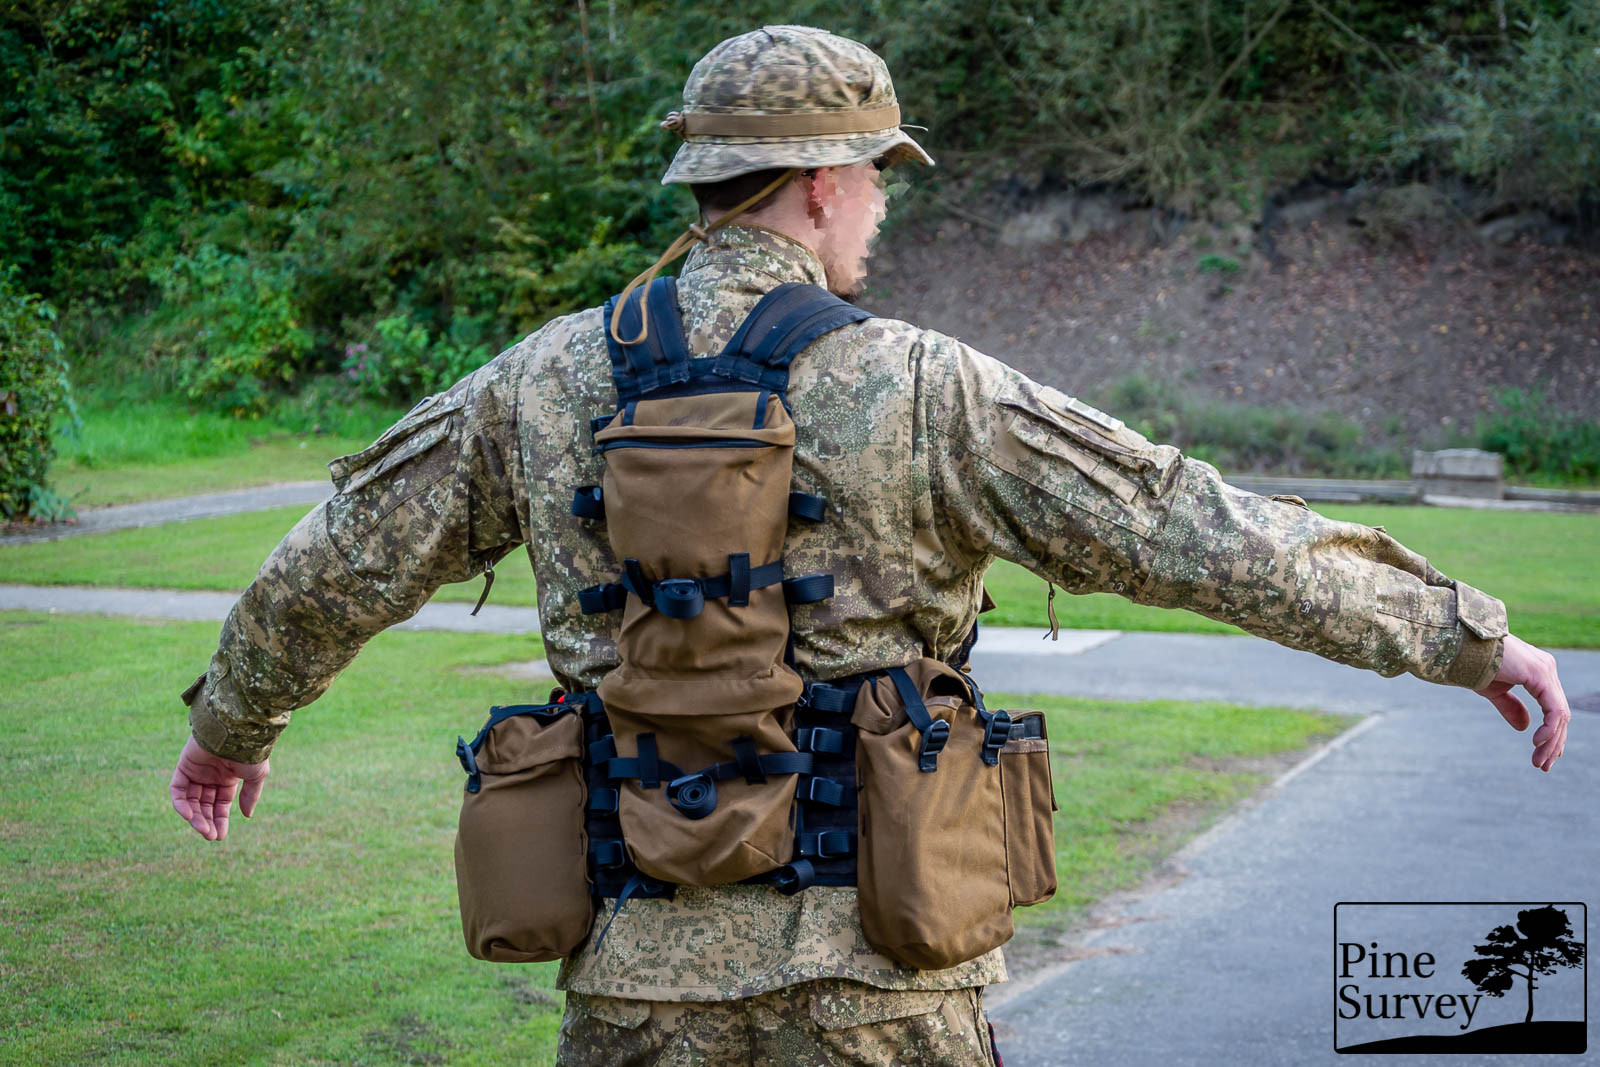
The backside of the P83 Vest, featuring the back pouches.
On the back pouches you will find four loops to attach additional gear as well as two straps at the bottom to fasten a ground mat or sleeping bag.
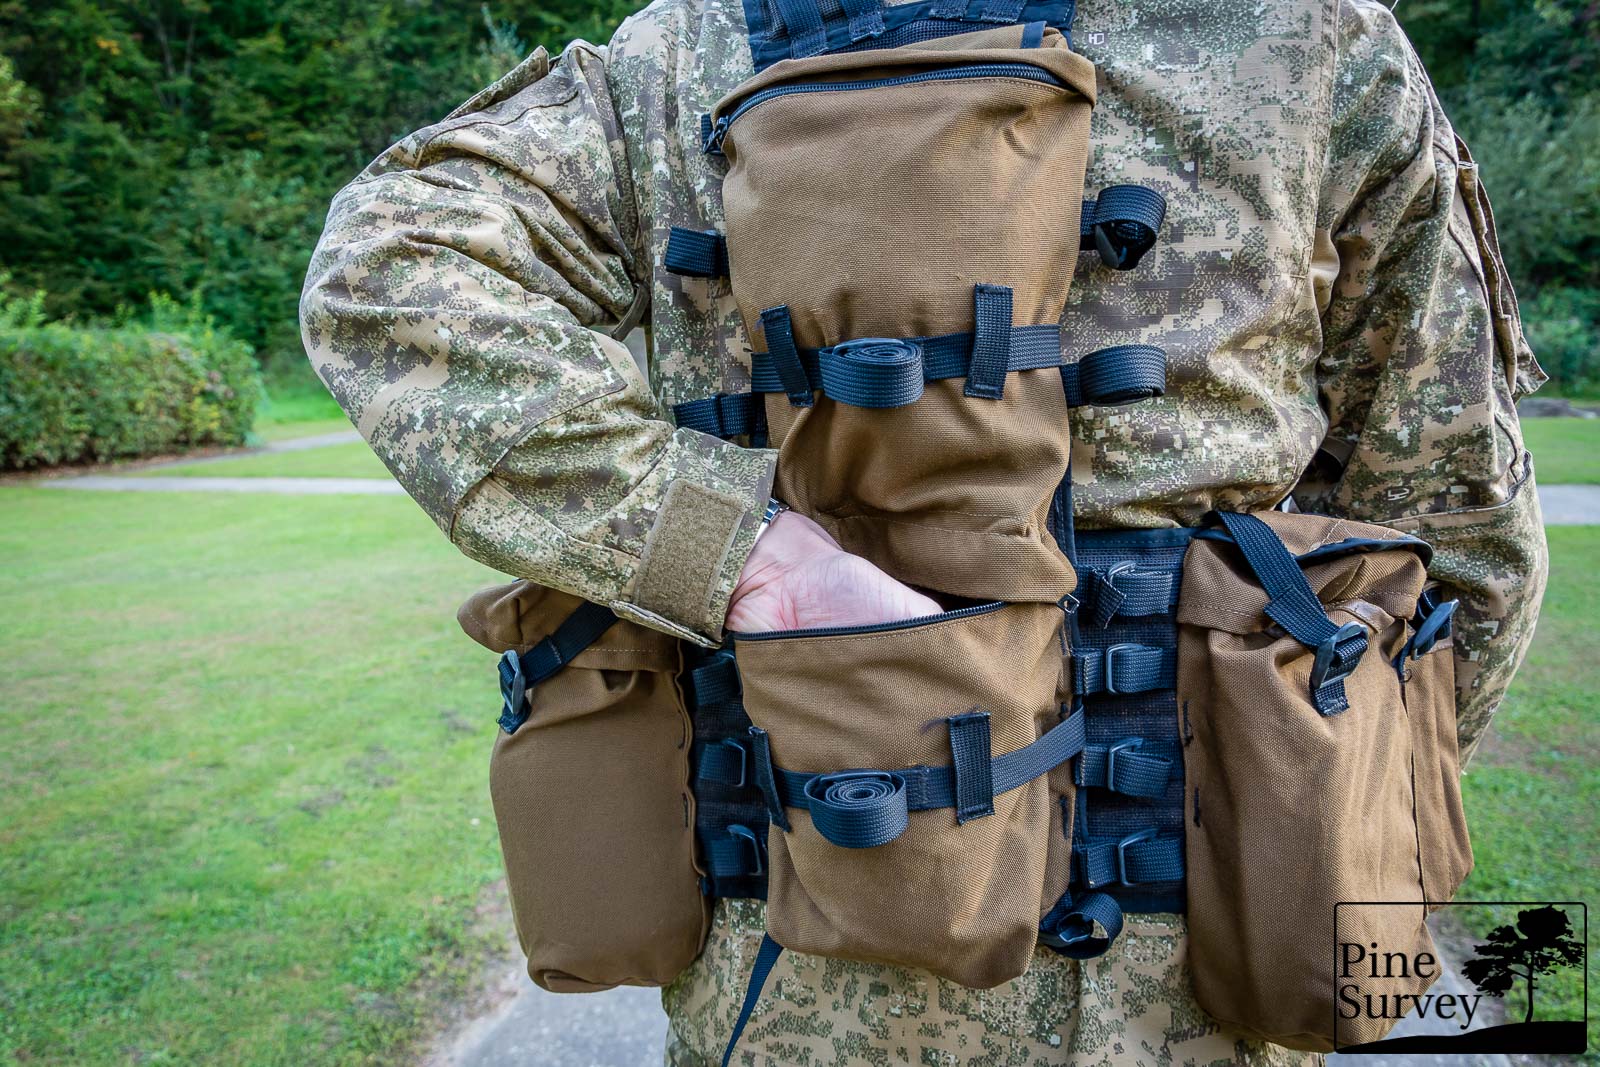
Close up showing the middle zipper as well as the various straps.
The sides of the back pouches also feature 3 long straps which were used for all kind of things – be it as attachment point for jackets, mats, or as the P83 Manual says: “Mortar Bomb straps”.
The back pouches were usually used to carry the mess kit, additional ammo or a radio. In fact the velcro flap on top was termed “radio access flap” in the said manual. Soldiers also used to carry the radio in the large side pouch though, which I will mention in a second.
At 5 and 7 o’clock you can find 4 straps each to adjust the vest and its hip padding to your personal size. If you took a look at the vest of the Australian SAS soldier, you will understand that this area was also used to attach additional gear – in his particular case a knife.
Coming to the right side of the vest you can find a large pouch which is closed by two straps and which also features a velcro flap on top. So you could basically use it as a mag drop pouch as well – although it was mainly used for 2L canteens. As mentioned above, this pouch was also used to carry the A53 Radio used by the SADF – the reason was the radio’s antenna, which could be attached to the loops on the backside of the vest and therefore did not entangle in foliage of the bush.
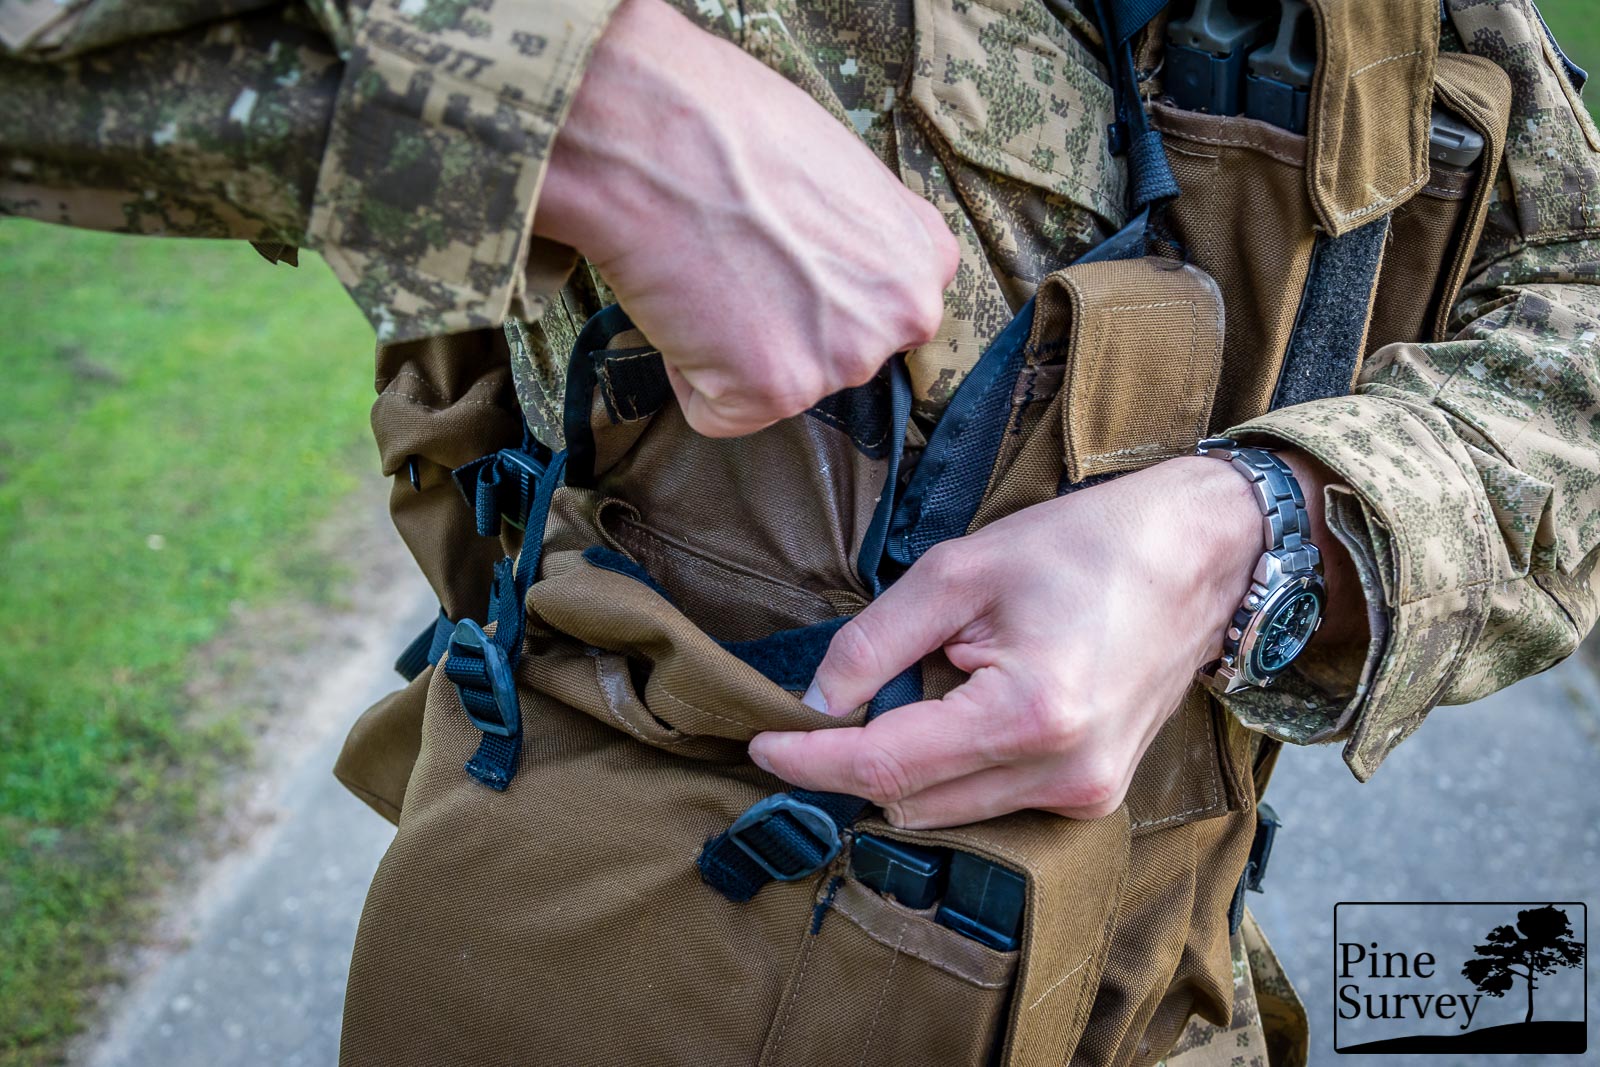
The large 2L pouch with velcro flap on top
Attached to this large pouch (and pointing to the front) is a mag pouch which is divided in the middle to prevent the magazines from rattling (again… 1983!)
On the right hand side of the front you can also find two pouches, which are not divided in the middle and can be used for smoke grenades. Of course these are also able to house magazines for a rifle as well.
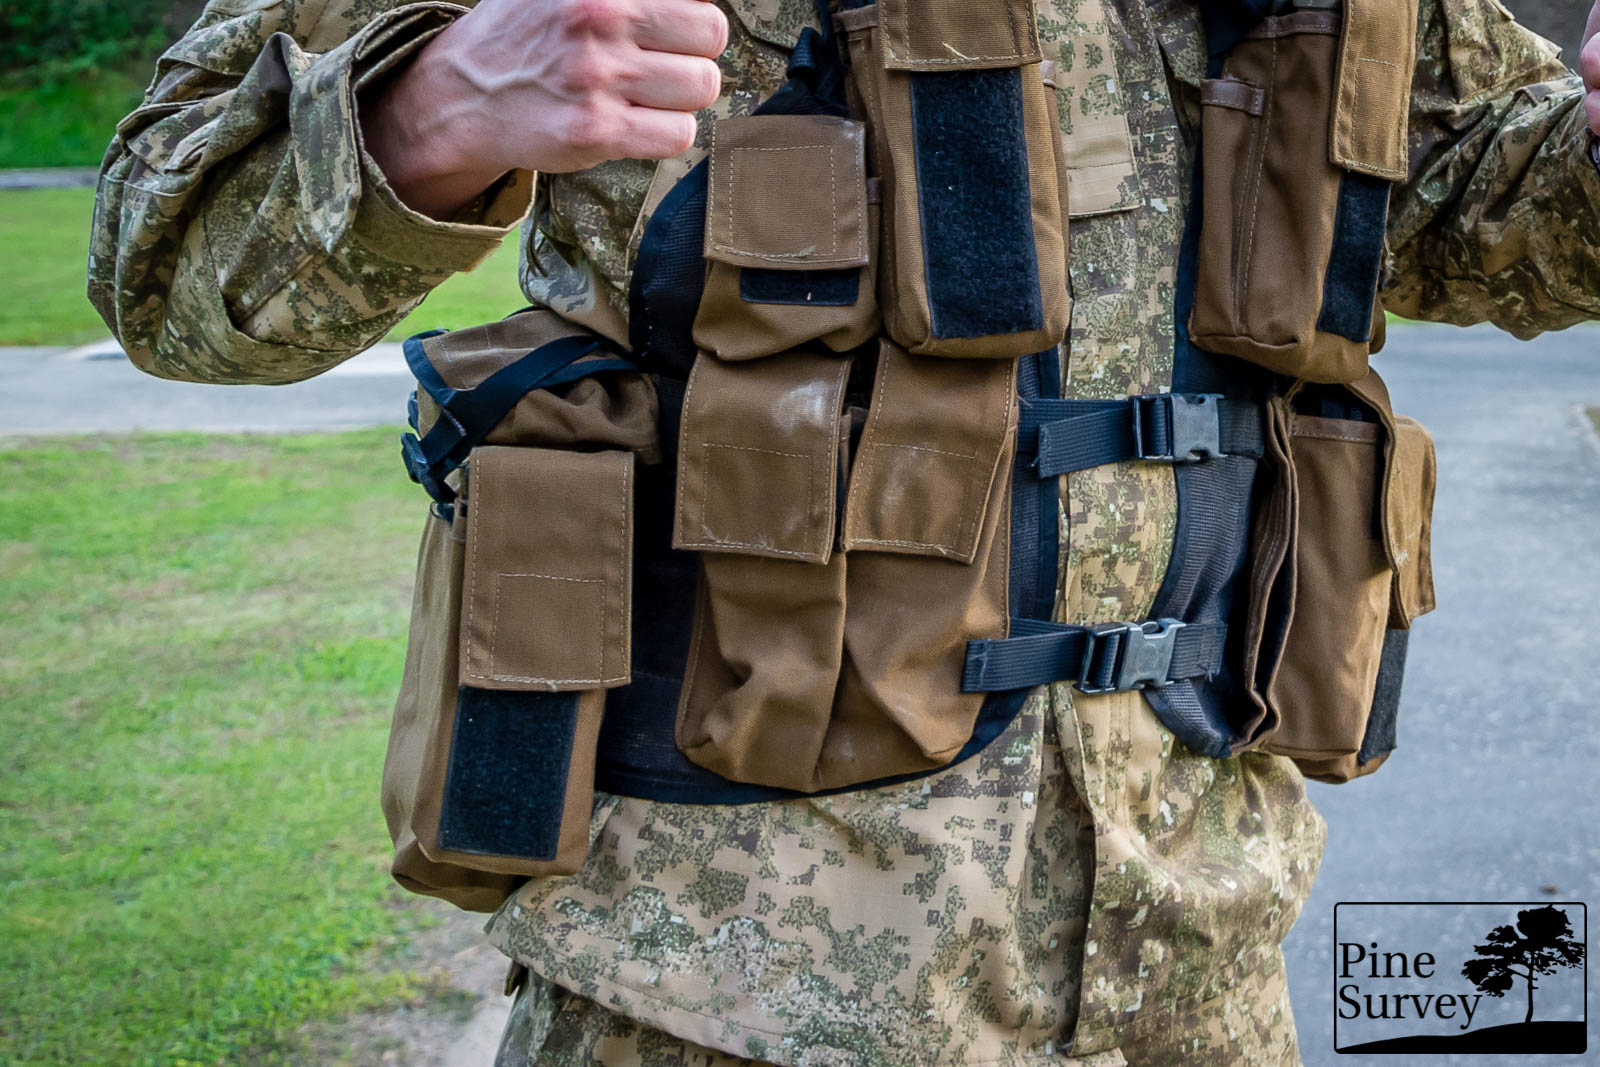
Front pouches for smoke grenades and/or magazines
On top of the right hand side you can find a handgrenade/compass pouch as well as another magazine pouch with the internal divider feature. On the side of the Mag pouch you can find a slim slot for pen flares or chemlights.
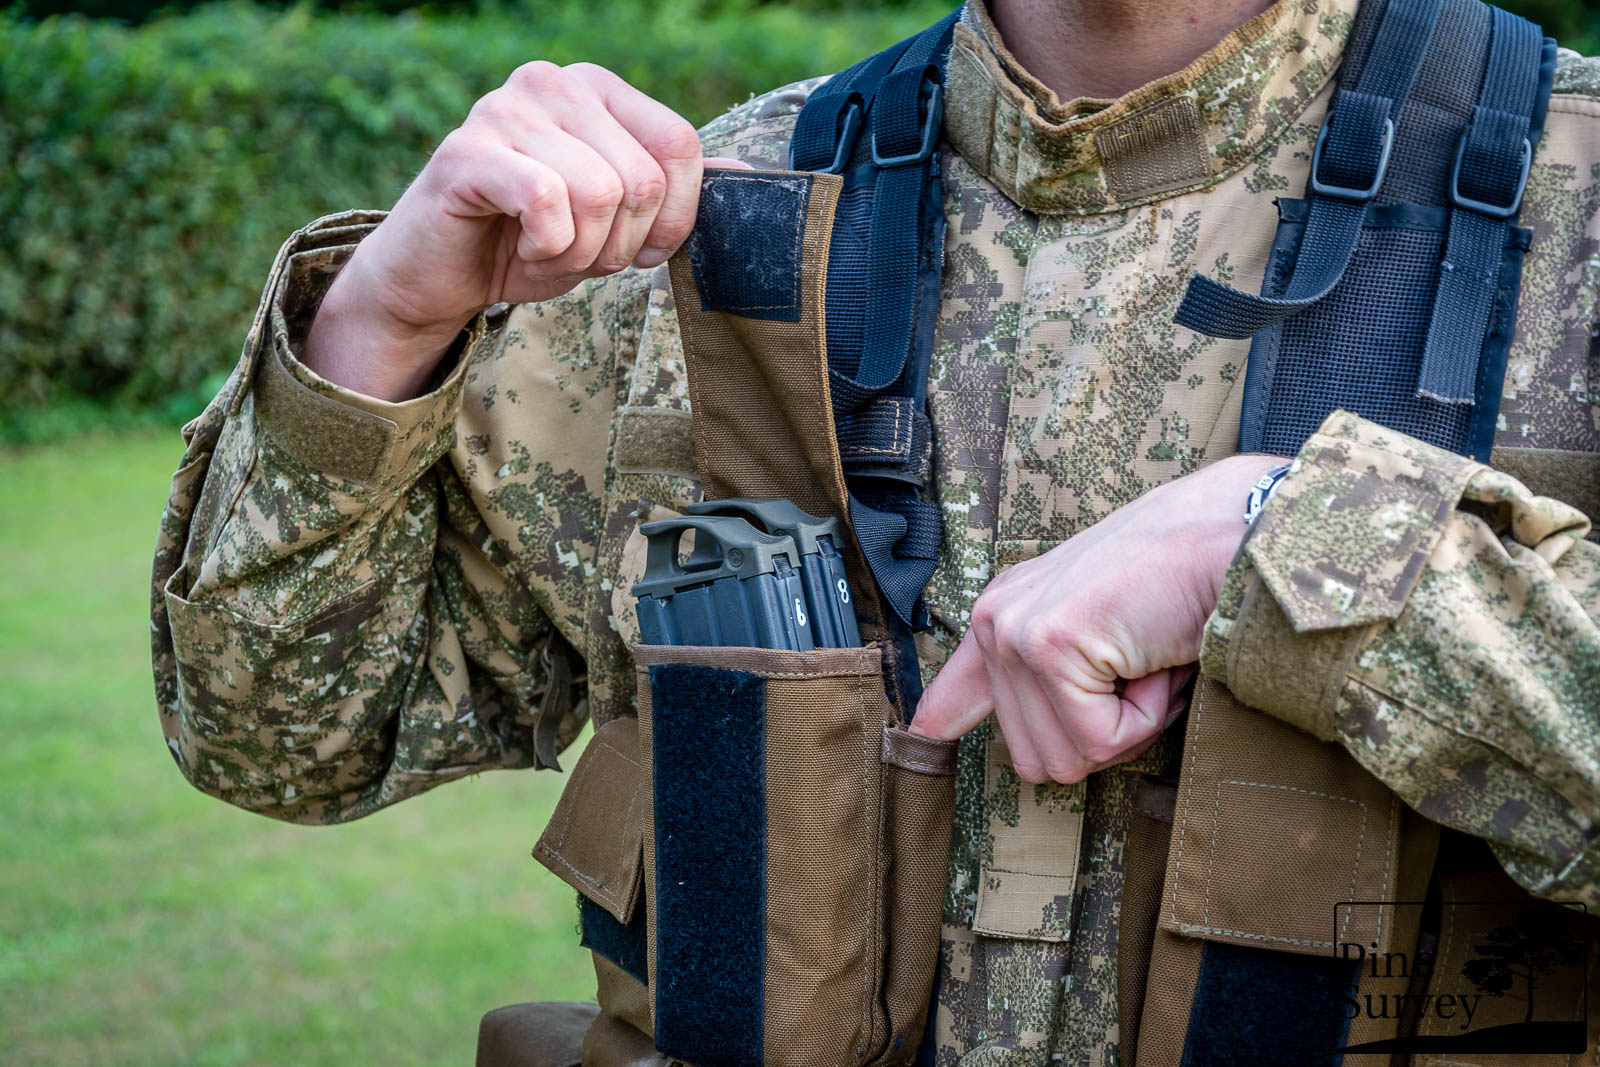
Magazine pouch with chemlight/pen flare slot on the side
The shoulder straps feature two straps with glide buckles to adjust the length of the straps as well as rubber bands to attach additional gear. A velcro strap for further gear attachment can be found as well.
The left front side features a medium sized general purpose pouch for IFAKs or other similar equipment. Above it, you can find another magazine pouch with dividers and another grenade/compass pouch – just like on the other side of the vest, including the slot for a chemlight. The vest even features small loops above the grenade/compass pouches to secure the content with a lanyard.
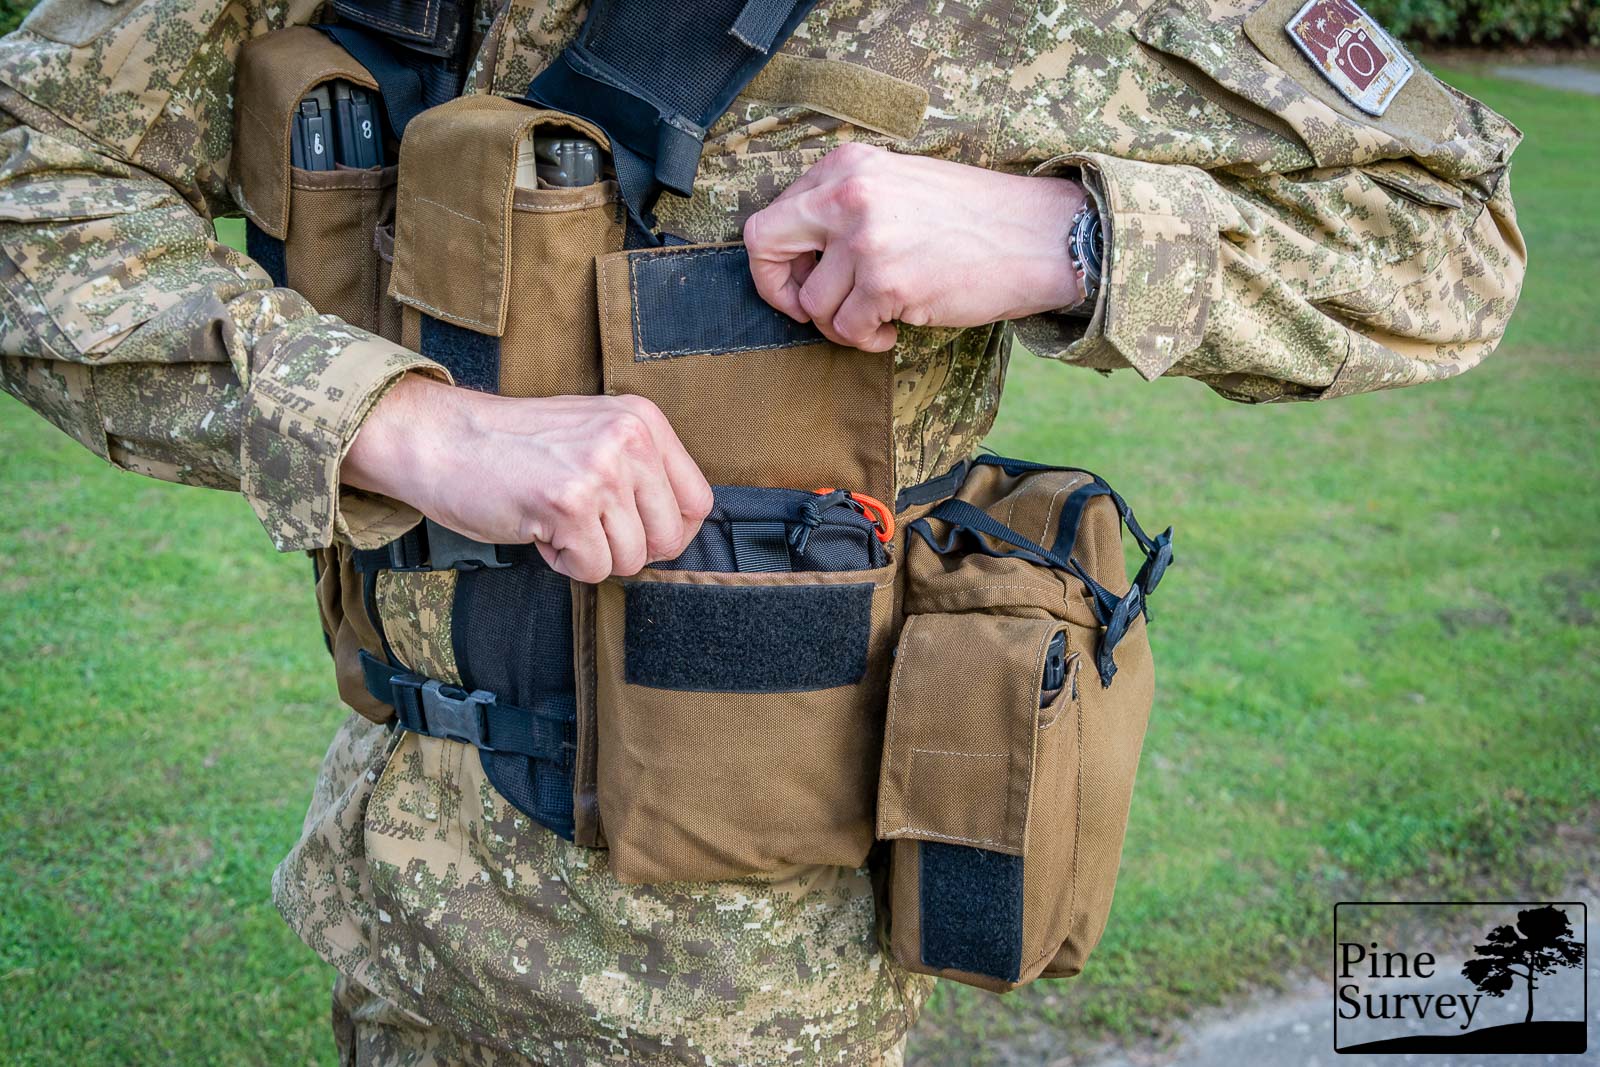
General Purpose Pouch for IFAK
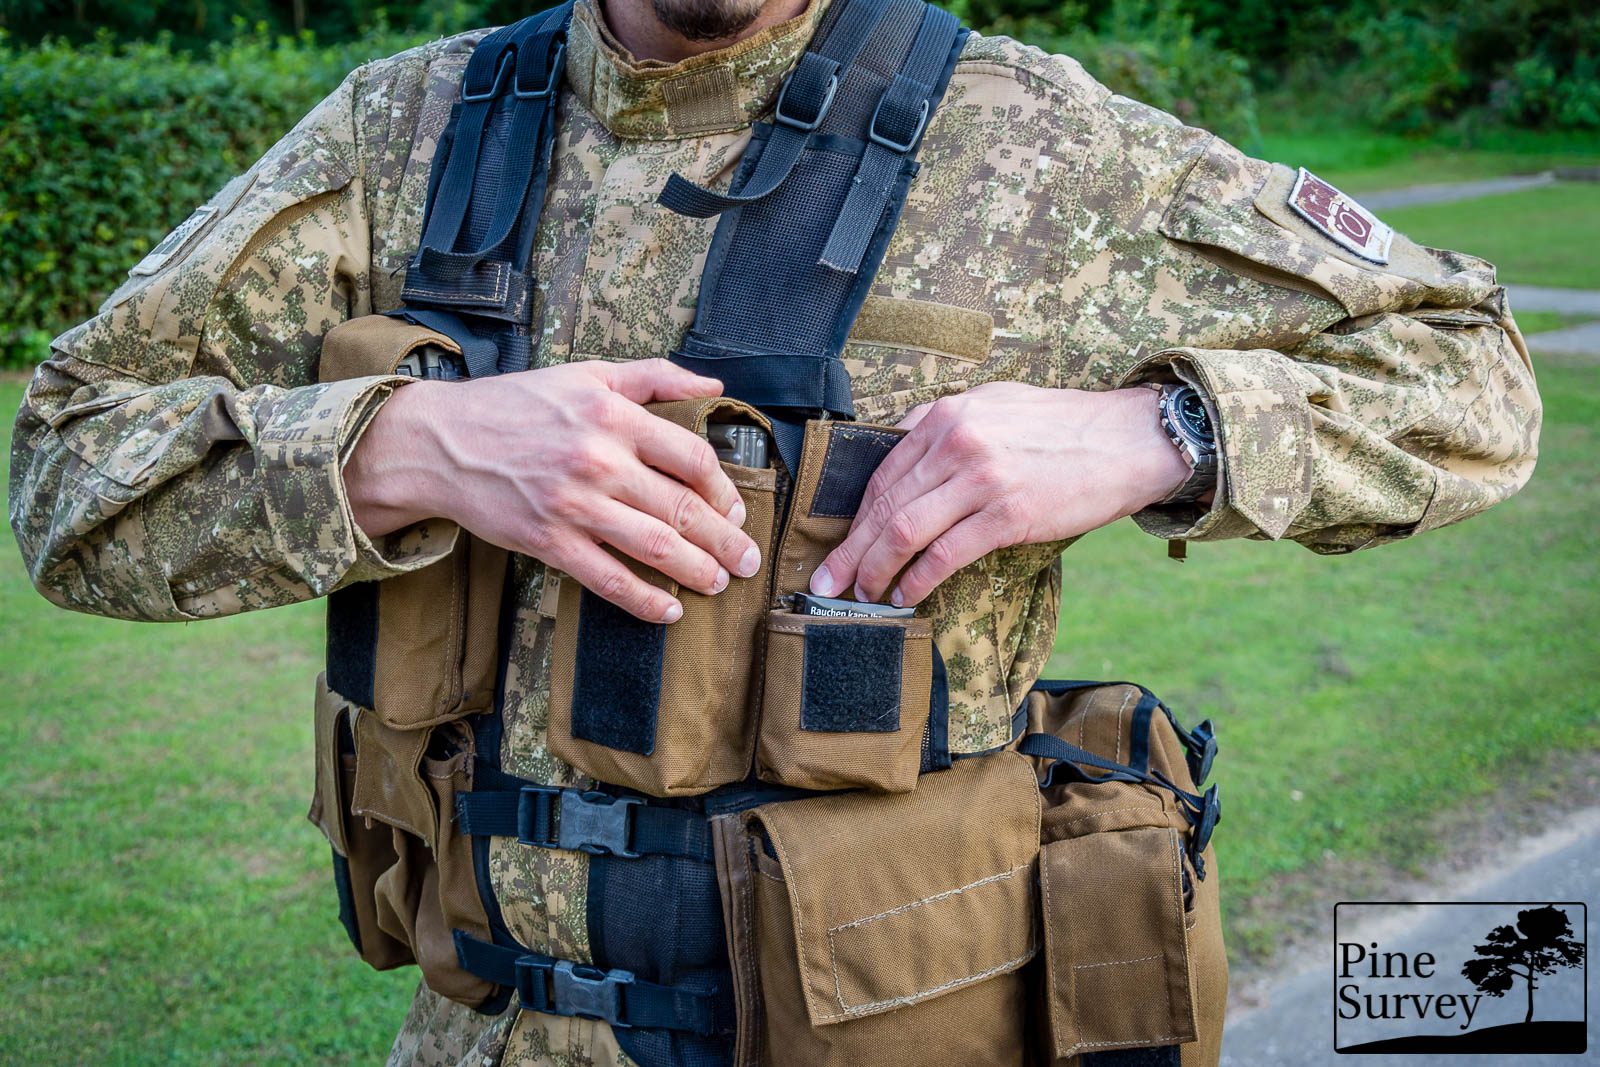
Compass/Handgrenade Pouch on top – pack of cigarettes for size reference
Behind the GP pouch you have a map pouch which is between the mesh structure of the vest and the sewn on pouches.
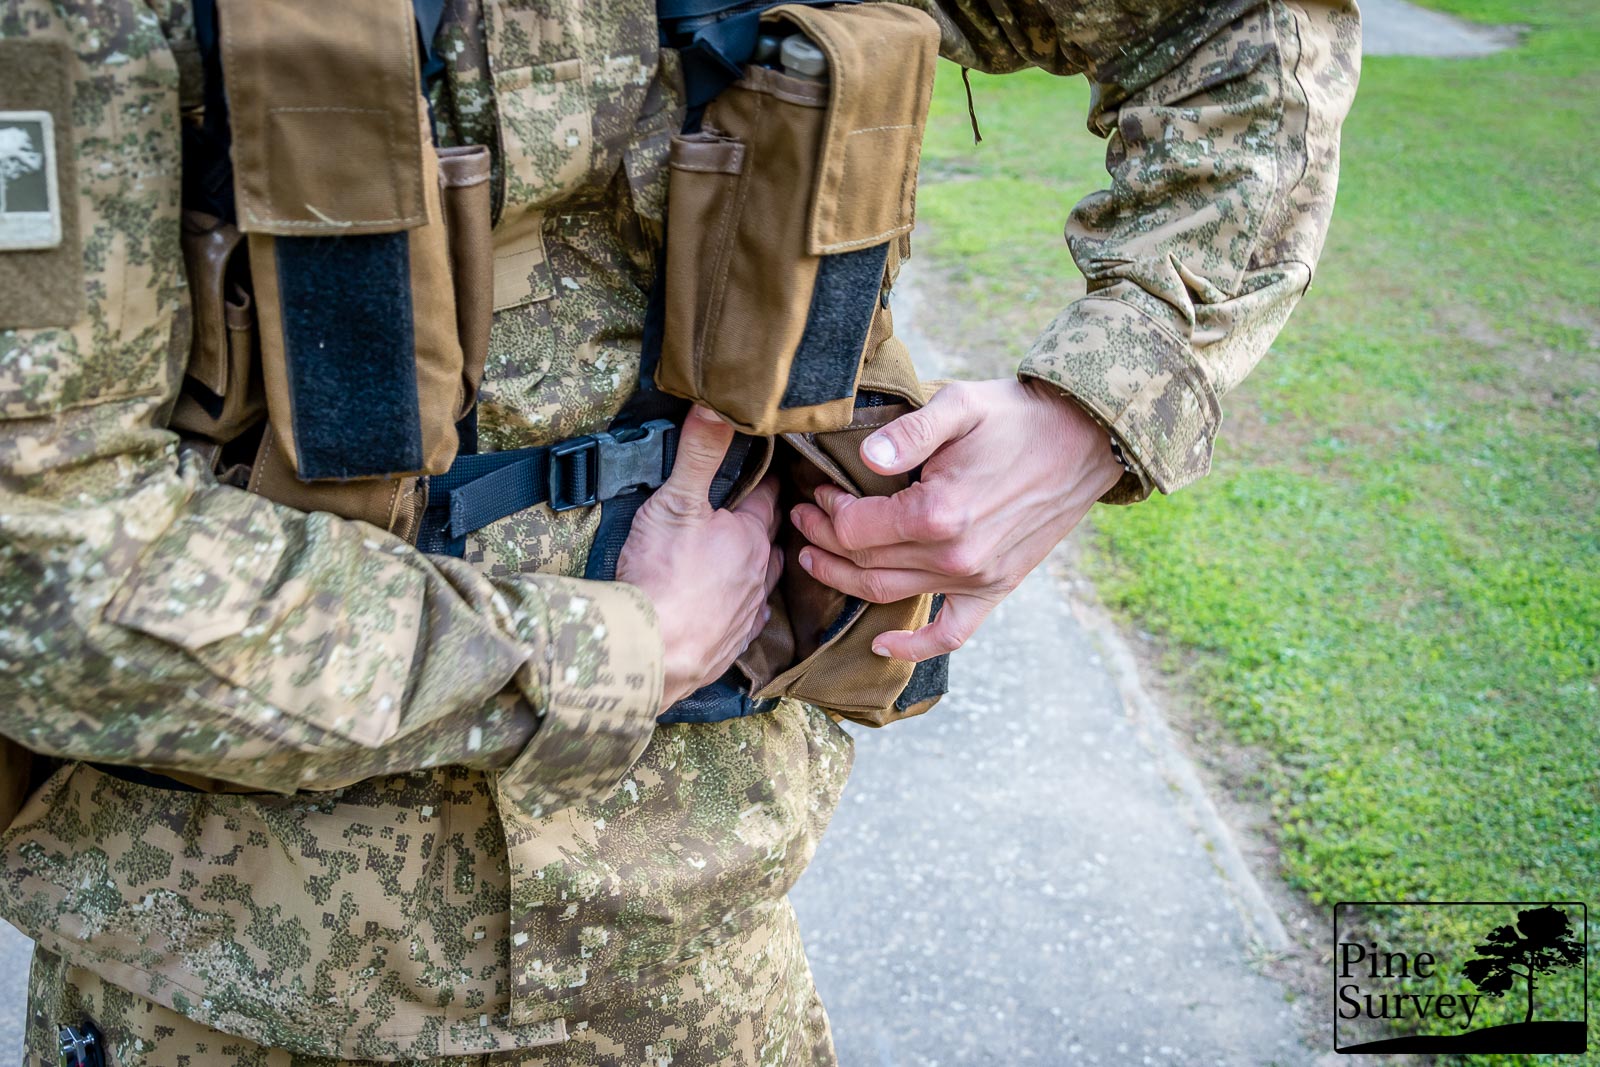
Hidden Map compartment
Next to the GP Pouch you can find the same setup as on the right side: a large pouch for the 2L canteen with the sewn on magazine pouch.
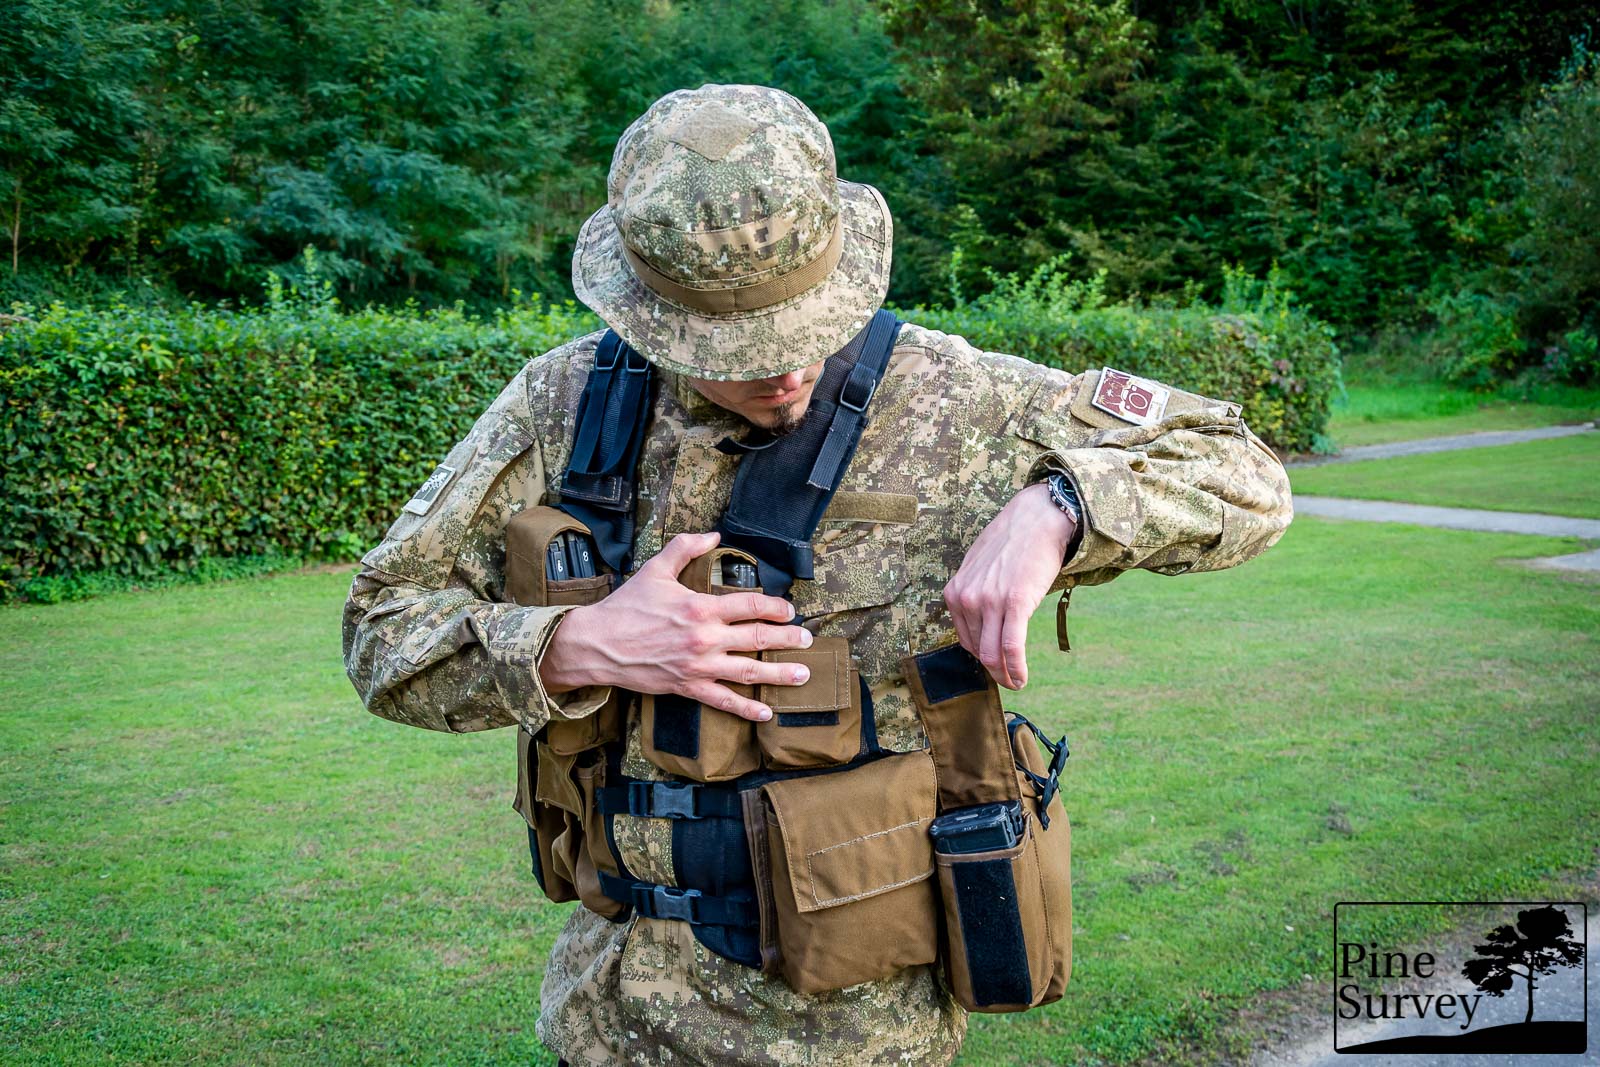
Large 2L pouch with attached Magazine pouch
The whole setup is attached on a thickly padded mesh structure and can be closed in the front by two straps with buckles. All in all you can carry either 8 mags, 2 smoke grenades, 2 hand grenades or 12 mags, 2 hand grenades and the other mission critical gear.
Manufacture
What can you say about the manufacture of a piece of equipment that is as old as the one in my possession?
For one, the materials were top notch, since it is holding up until now. There are no major breaks of the seams, no tears in the fabric. The material used is a 1000D Cordura type material in the famous Nutria Brown color. The vests were made by various sporting goods companies either in South Africa or Botswana, so quality might vary.
Thoughts and Conclusion
The magazine pouches are said to be able to hold almost any magazine there is. From FN FAL to AR type magazines up to AK mags – but there is only partial truth to it.
This versatility might ably to the P83 Chest rig, but not to the P83 Vest. Although you can stuff AK magazines into the magazine pouches, the banana shape of the magazines prohibit a decent closure of the flap. The bulkier AK-47 type magazines make more troubles than the AK-74 mags, which are a bit slimmer and somehow manage to get in.
Essentially the mag pouches were designed for the R4 (the South African Galil type rifle), but since the vest was also used by units which would use enemy weapons, the offered versatility made sense.
I often hear the vest is too bulky, too “busy” in the front and similar other remarks. Having in mind, that this design survived three decades of combat in various continents and is still favored by the Special Forces community I can only say these remarks are BS. There are very rare examples of the survival of the fittest in the tactical gear world, and you are looking at one.
With that being said I want to end this review by acknowledging the innovation this vest brought to the infantry soldier. It not only offers a thought through concept of pouch configuration, it also offers you enough room for equipment to carry for a 1-2 day mission (and I am sure some units extended that estimated time frame of mine).
In a world that offers the individual soldier hundreds of configuration options for the personal assault gear, this piece of equipment shows, that sometimes these configuration options only lead to an “overkill”, therefore concentrating only on the mission critical gear.
There would be so much more to say. The use of this vest in various units, the history of various other variations of the vest and and and…
In a next part I will to take a closer look at KarrimorSF’s modern take on this battlefield classic and how the vest was modified to meet today’s necessities.
Up until then I want to thank you for reading!
Take care, until next time!
PS.: Much thanks to N. and B. for helping me with the photoshoot!

One Response Comment
I bought one of these recently, partly because I believe it will be very useful for hiking and any other outdoor activities, and partly because the more I read about them and their reputation the more I simply wanted to own one. I had to carry out some minor repairs on my example, mostly just re-stitching loose Velcro, and I re-sewed one of the 8 rear adjustment straps which had torn loose. Beyond that it was in remarkably good condition, despite clearly having seen decent use in the past, and I can attest to this article’s description of the materials and construction being top-notch.
This post was also instrumental in my research prior to my deciding to go ahead and buy one and was very helpful, so thanks for providing such a detailed look at the M83 and its features!