Fieldtest: Distinctive Camo Designs – TrigonCamo Multi
Introduction
Distinctive Camo Designs is an Austrian camouflage developer who I already had the pleasure to introduce back in 2019. Back then I took a closer look at the Woodland version of his TrigonCamo concept.
To my embarrassment I have to admit, that I also have a top and boonie in TrigonCamo Multi since then, but I never really came around to do a decent test, because I was lacking the suitable environment and couldn’t decide on how to combine it with pants. Stopping with the excuses and starting with the review, let’s take a closer look at the “Multi” version of TrigonCamo Multi.
TrigonCamo Multi
Just like TrigonCamo Woodland, the pattern consists of triangular shaped midi elements, which form macro elements using several colours. By mixing these colours, transitions and shades are being created, giving the pattern various nuances and a distinctive appearance (no pun intended). As already mentioned in the previous field test it does not create levels of depth, but rather confuses visual perception and works with disruption and blending.
Before looking at the actual review, I will post the usual disclaimer with the methodic remarks for those of you, who visit Pine Survey for the first time.
Methodic Remarks
As always, I want to mention the usual caveats beforehand: First of all, I do not claim any scientific standard with my camouflage comparisons. Also, I conduct them with my best knowledge and the available resources. This time for example, I had only a sweatshirt like top and a boonie hat in TrigonCamo Multi at hand and had to mix it either with a solid colour bottom, or a different camouflage.
The pictures were taken at some of the same locations I always use to make my camouflage comparisons. That way you can compare the various field tests I have done so far with each other.
Before I start, please consider the following – as always:
I did not edit the pictures in any special way, except the following:
- Lens correction
- Watermark
- Blurred my face out if necessary
- .jpeg compression to make it web compliant
- I always do a proper white balance to make colors appear the way they are.
A short explanation to the environment and the procedure:
As this is a more universal pattern, I took pictures in the gravel pit and a rock face, with sparse and or diverse vegetation in the surroundings. Information about the various locations will be stated in the subsections. The pictures portray three different positions:
- Standing in the open (to get an idea of the pattern in this particular surroundings and if the colors match it)
- Kneeling
- The prone position (to mimic basic, up to ideal concealment without using vegetational enhancements) If the position is not possible or doesn’t make sense, I leave it out.
As always I photographed the patterns with a wide angle lens at first and then with 35mm focal length, which mimics the actual picture the human eye would perceive at this distance. Having in mind the three different positions mentioned before, I usually end up with 6 pictures of each location.
Furthermore:
I will continue with my modus operandi from my previous camo reviews and not describe or comment on each picture. Instead I will give a more thorough analysis at the end of each location subsection.
With that being said, let’s take a closer look at the pictures themselves. Please keep the description of the locations in mind, especially with regards to the environmental situation.
Location 1
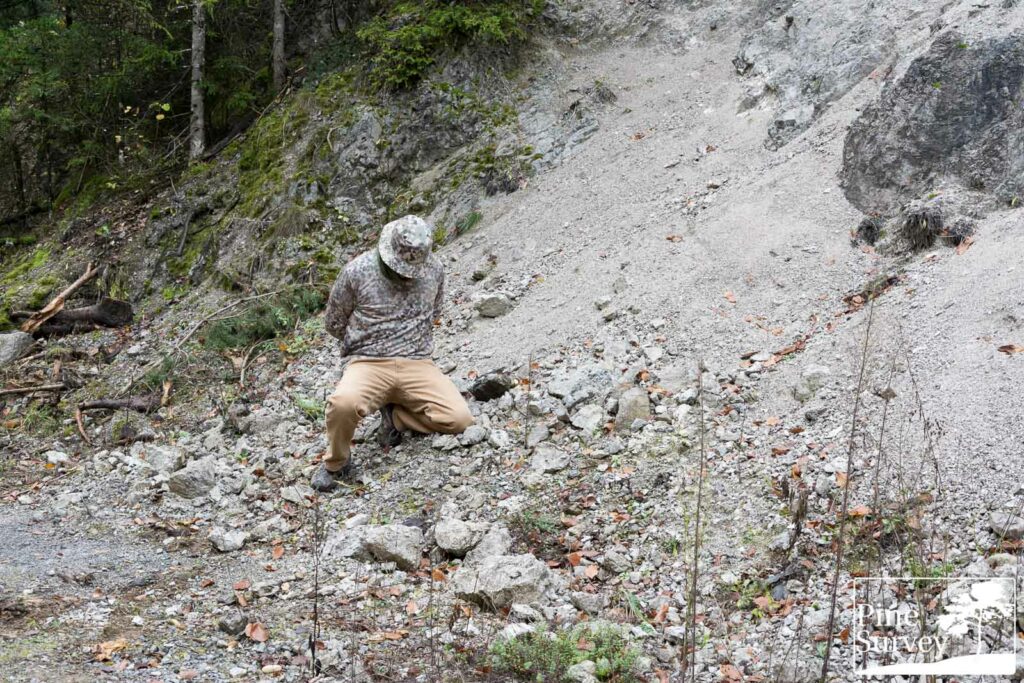
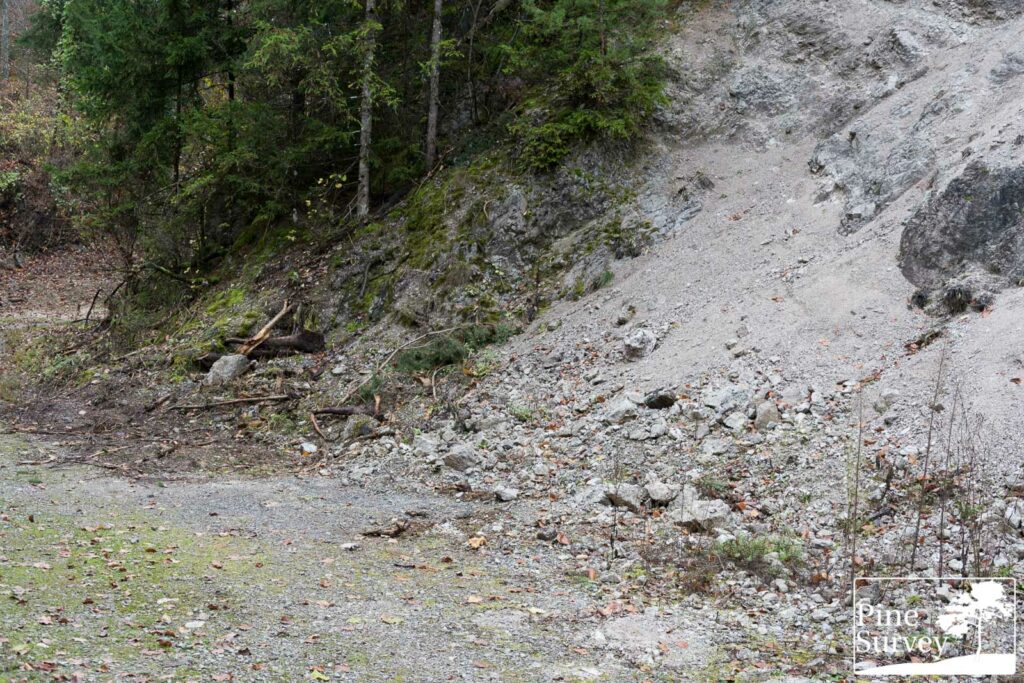
This time I will start with the gravel pit, which I use sometimes to show the effectiveness of a pattern. In this case I will not post pictures of the prone position.
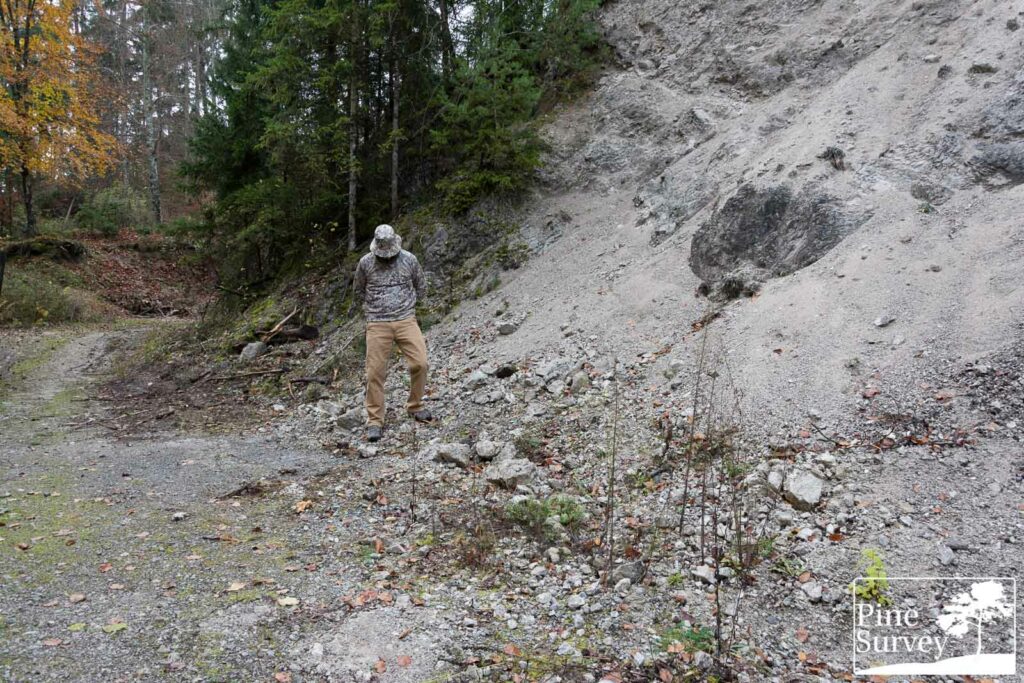
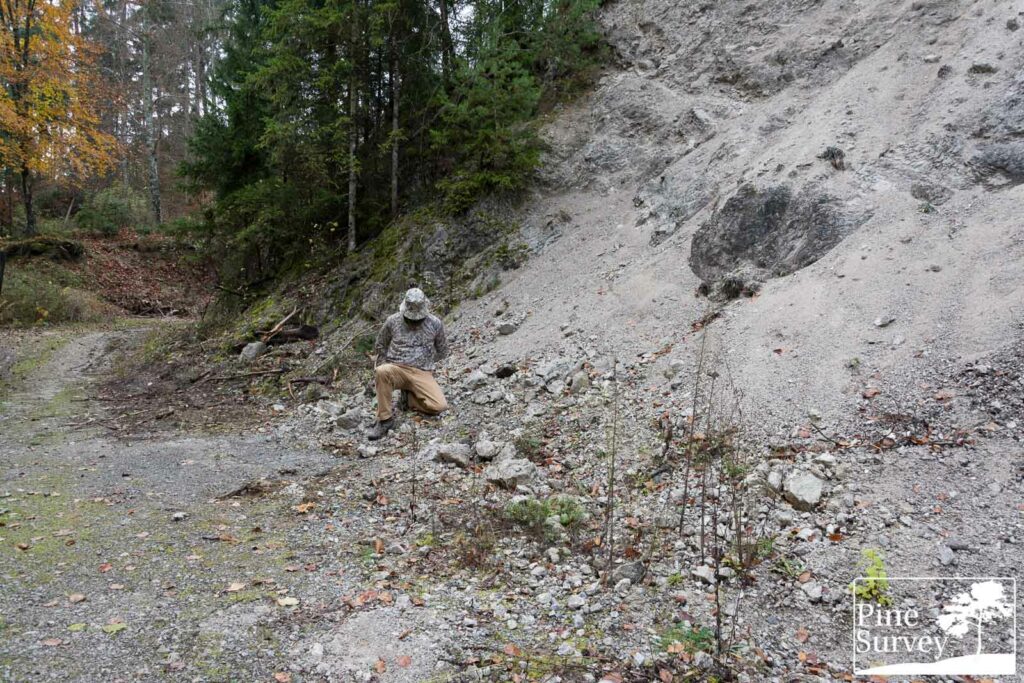
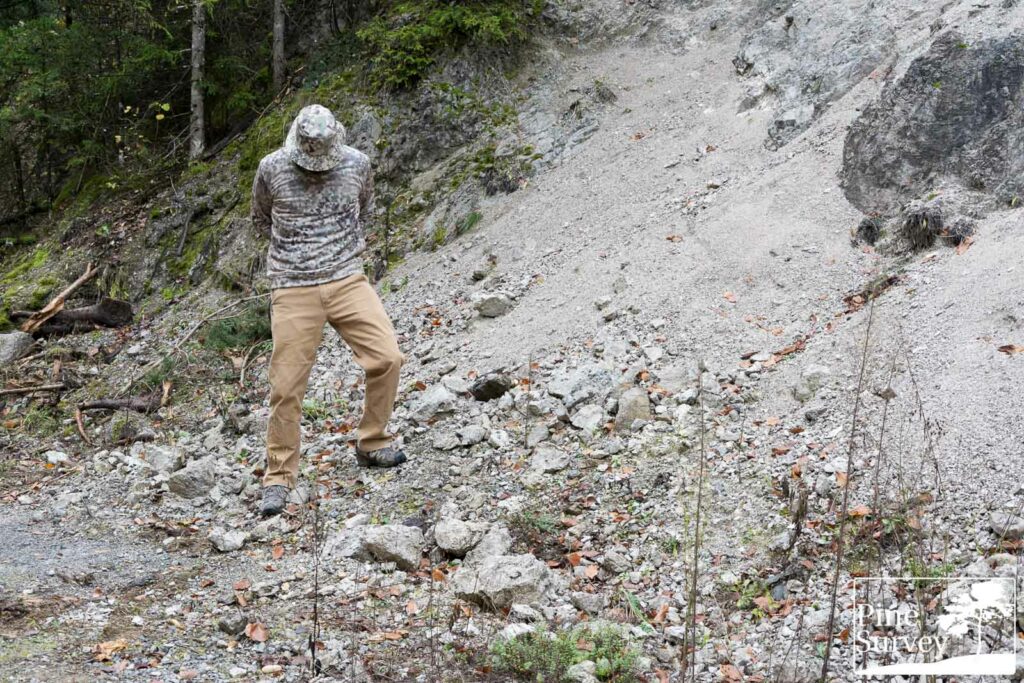
The pictures were taken in autumn, during a cloudy day, so the light is soft and clear, without any harsh contrasts or distracting light spots. On this day I decided to combine the TrigonCamo Multi top with a pair of solid coloured pants, so don’t expect a puzzle or search pic (although you might get one at the end). The distance to the camera: 10m.
Observations – Location 1
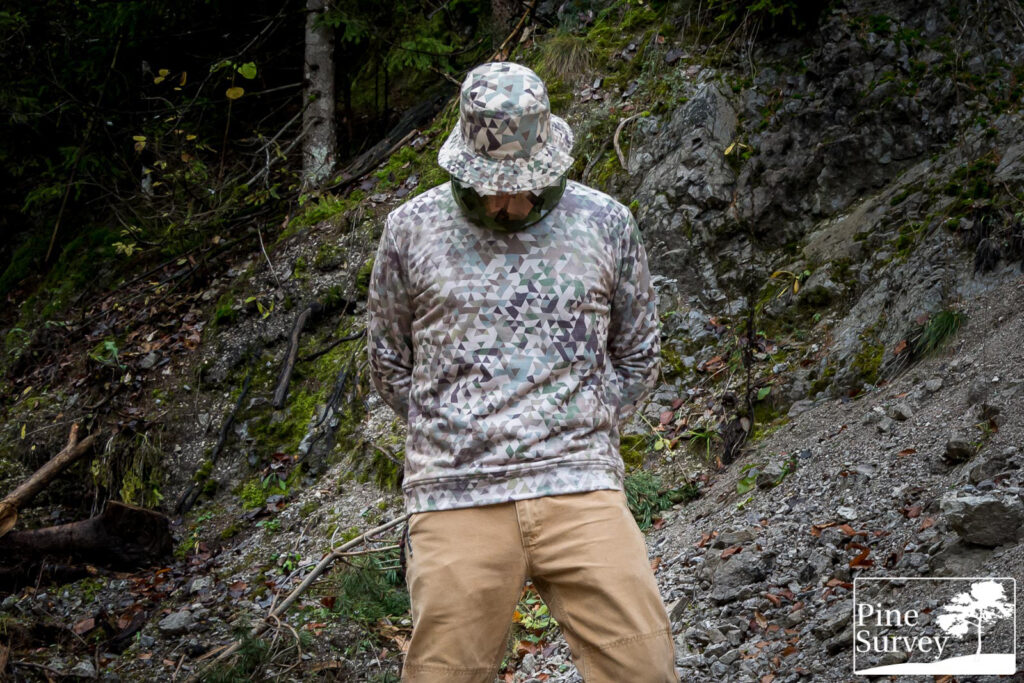
As you can see in the first picture the colours of TrigonCamo Mulit are a perfect match for this environment. The darker tones not only resemble the colours of rocks and dead leafs but also form a thin macro element. The lighter more greyish and tan colours blend in with the brighter rocks.
In the standing position at 10m distance (wide angle) you can make out the person obviously, especially with the solid colour pants. This doesn’t change when kneeling down, however you get a much better understanding on how well the pattern and its colour palette blends into the surroundings. With a matching pair of pants one would already have issues in immediately identifying the silhouette at short distance.
The two pictures with 35mm focal length provide better pictures of the pattern itself. If you want to have a search picture, the last one of location 1 is for you. Putting the Boonie on the ground gives you an excellent idea of the effectiveness of the TrigonCamo Multi pattern. Again, the colours used do their best to blend in, while the triangular shapes of the pattern create various midi elements for disruption.
Location 2
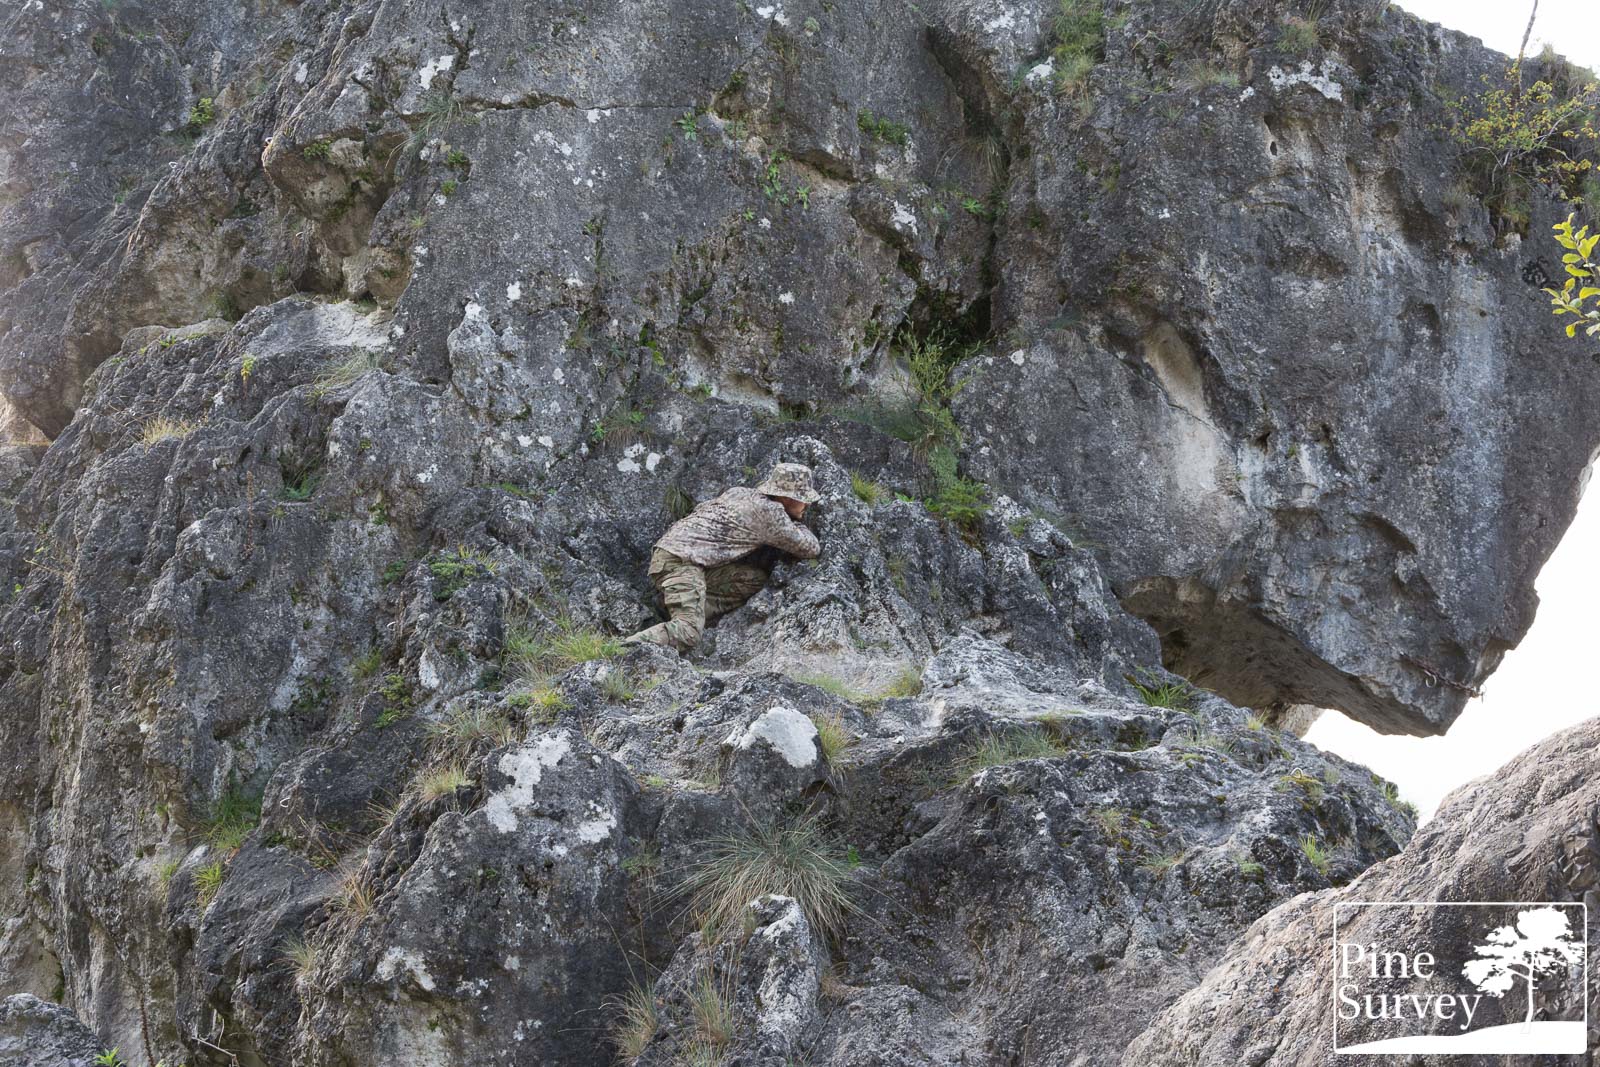
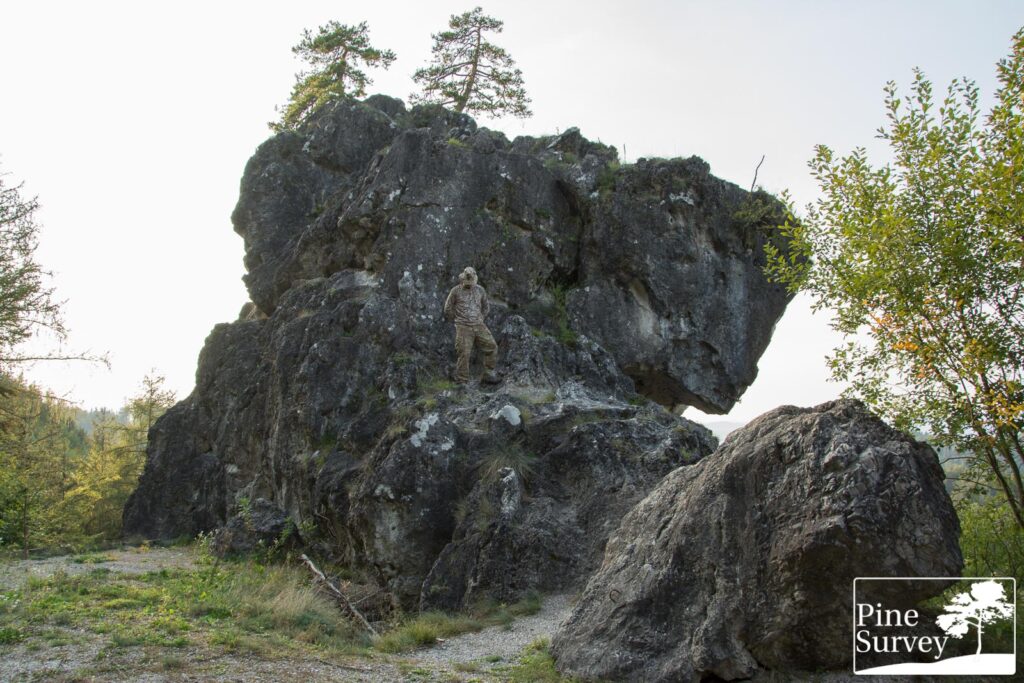
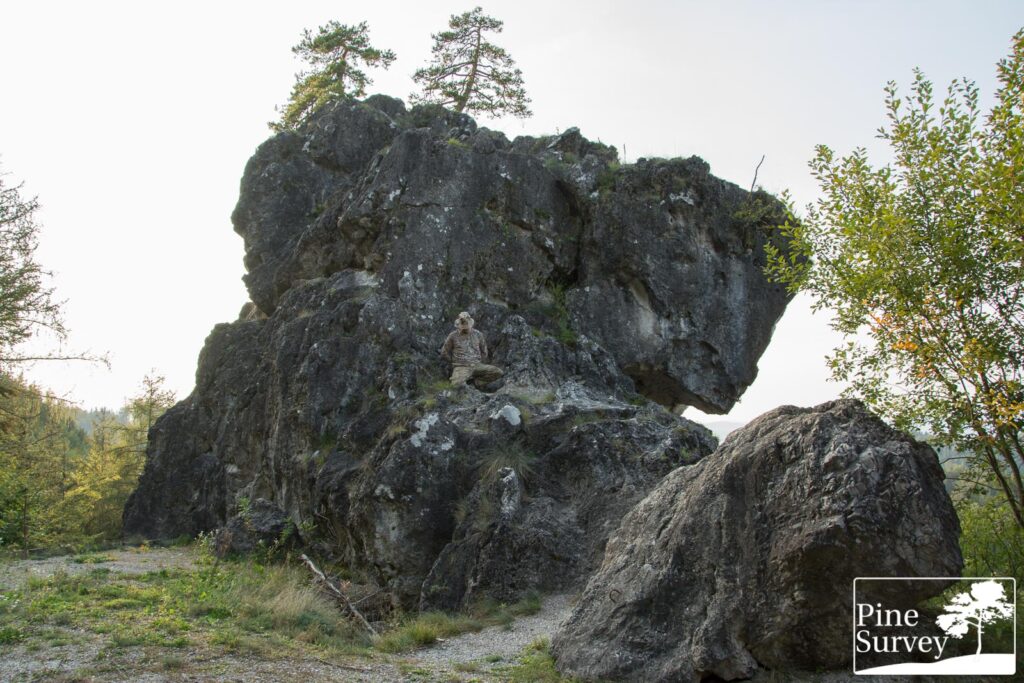
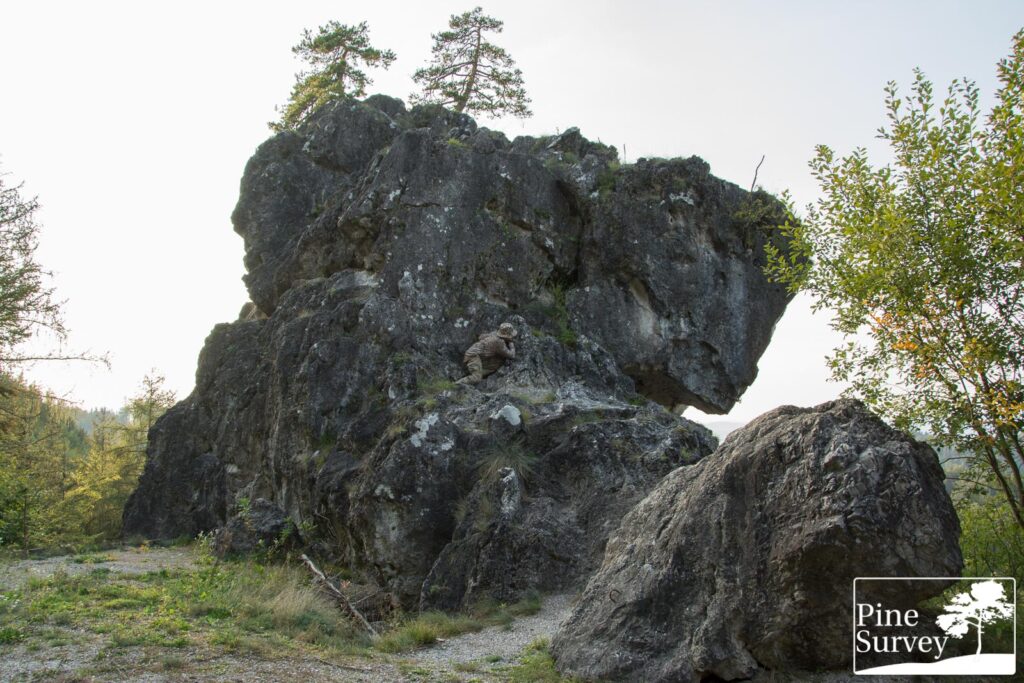
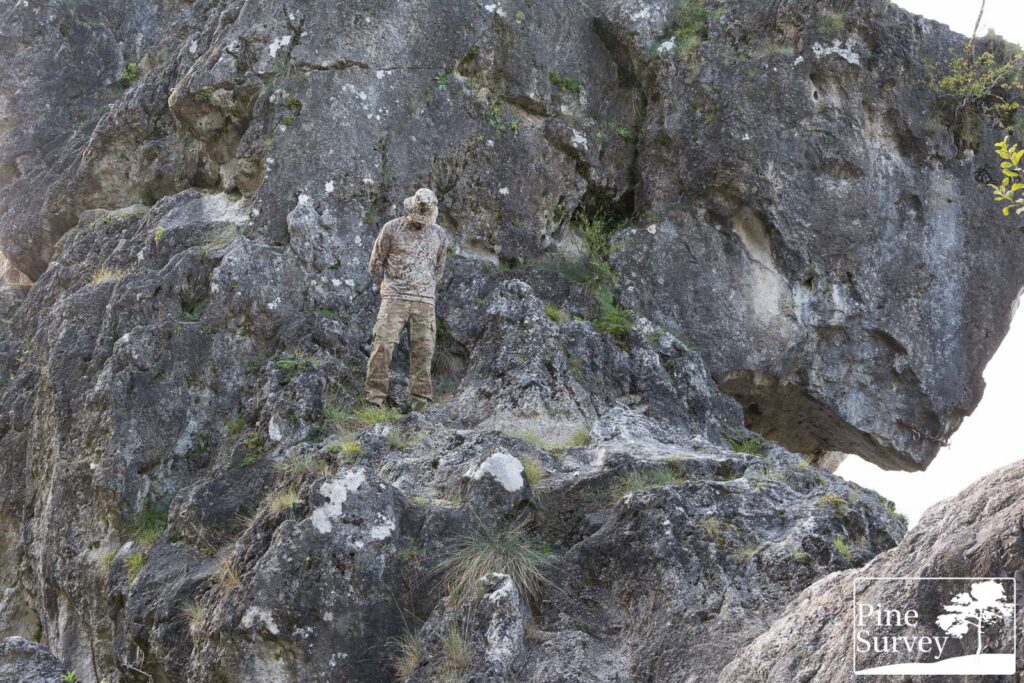
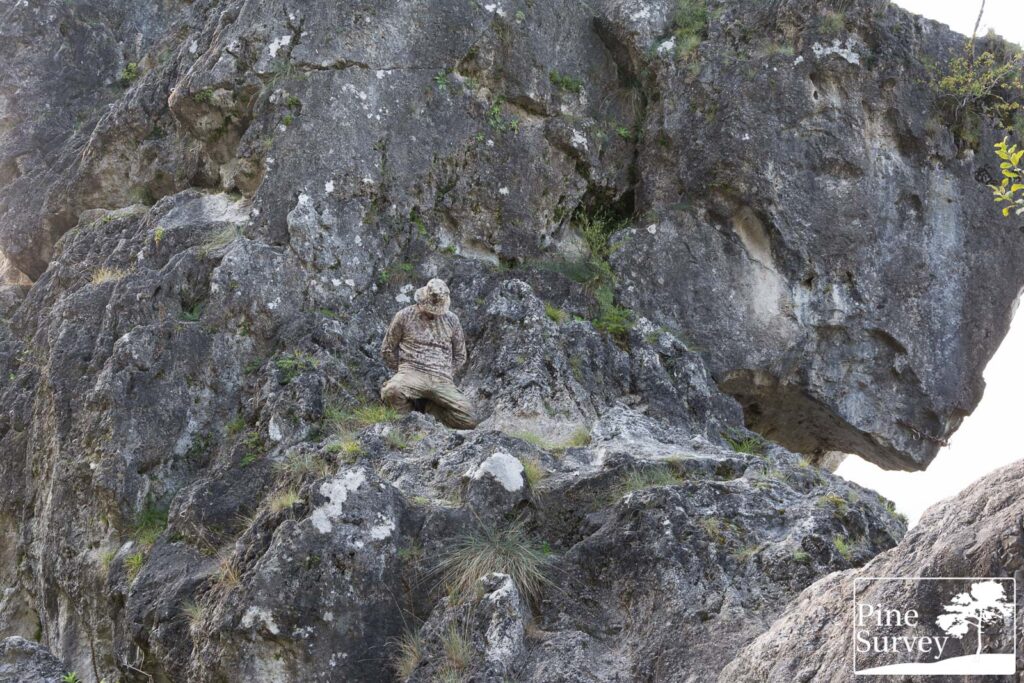
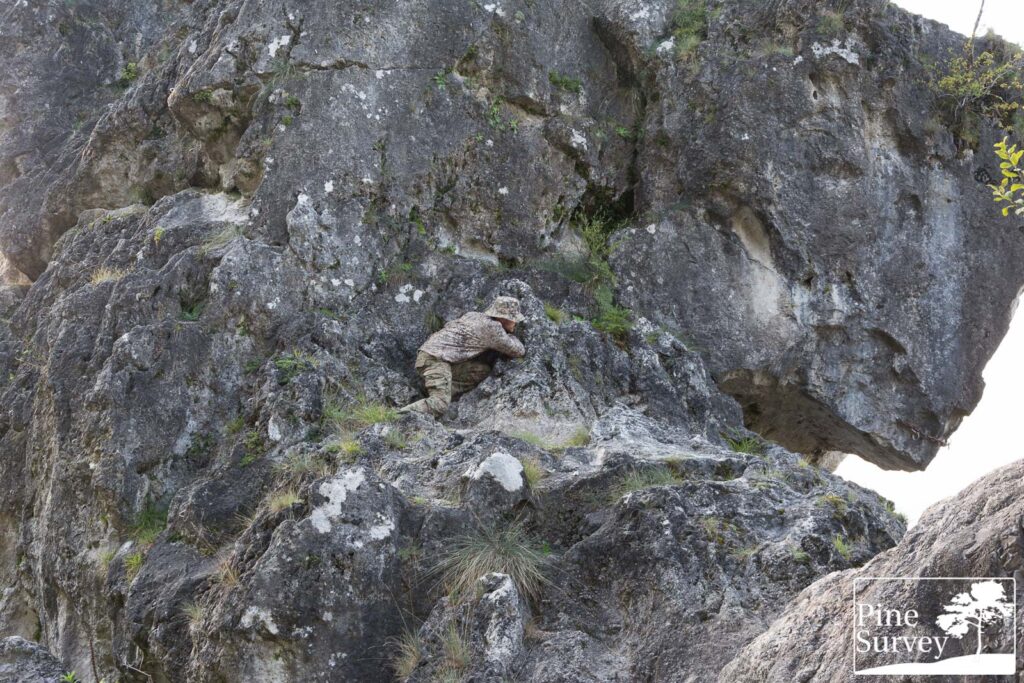
The TrigonCamo Multi pattern was tested on a rock face. There is almost no vegetation other than moss, everything is under the open sky and the only concealment are stones and rocks, maybe little holes. So a quite tricky environment which makes camouflage even more important. This time I decided to combine TrigonCamo Multi with another universal pattern: Multicam. That way there is no distracting solid colour and a full camouflage effect. It also serves as a reference to what is available at the market.
The distance to the camera is always 10-15m, the wide angle makes it look further away (which is the point).
Observations – Location 2
Combining camouflage patterns is a first here on the blog. Usually I try not to do it. In this case however, I chose Multicam in order to have a more homogenous picture, with the side effect of having a direct comparison.
So looking again at the wide angle pictures, you can see how both patterns are blending into the surroundings in a feasible fashion. The contrast of TrigonCamo is considerably better than that of Multicam and creates a noisy and notable smaller pattern in comparison. Having in mind the much darker rock face, the colours of TrigonCamo are not a perfect match. They do however work decently enough like any other “Multi” camouflage would in this environment, as one can see when looking at Multicam. When kneeling down the silhouette is less noticable and the blending and disruptive effect of TrigonCamo Multi improves. The same can be said when leaning at the surface in a semi prone position.
Looking at the pictures with 35mm focal length, one can see the difference in contrast better. In the standing position, TrigonCamo Multi has a Fleck type appearance, working with noisy elements that create several micro and midi patterns. Especially when kneeling down the blending effect improves quite a lot in this specific environment. The same can be said about the leaning position. The area around the boonie is a good example for this and one might wonder how the pattern would perform, if it was darker.
Conclusions
Having in mind that this field test was way overdue, I am glad I was able to share my findings. As all “multi” or “universal” camouflage patterns, TrigonCamo Multi works good enough everywhere, by providing a blending and disruptive effect. While the contrast is higher than e.g. Multicam, the smaller elements work only to a certain distance.
The availability of TrigonCamo has improved since my last review and you can get fabric not only from Spoonflower, but also Dutchware. Check out their social media for more info and other patterns by Distinctive Camo Designs.
With that being said, I want to thank you for reading!
Take care!

