
Introduction
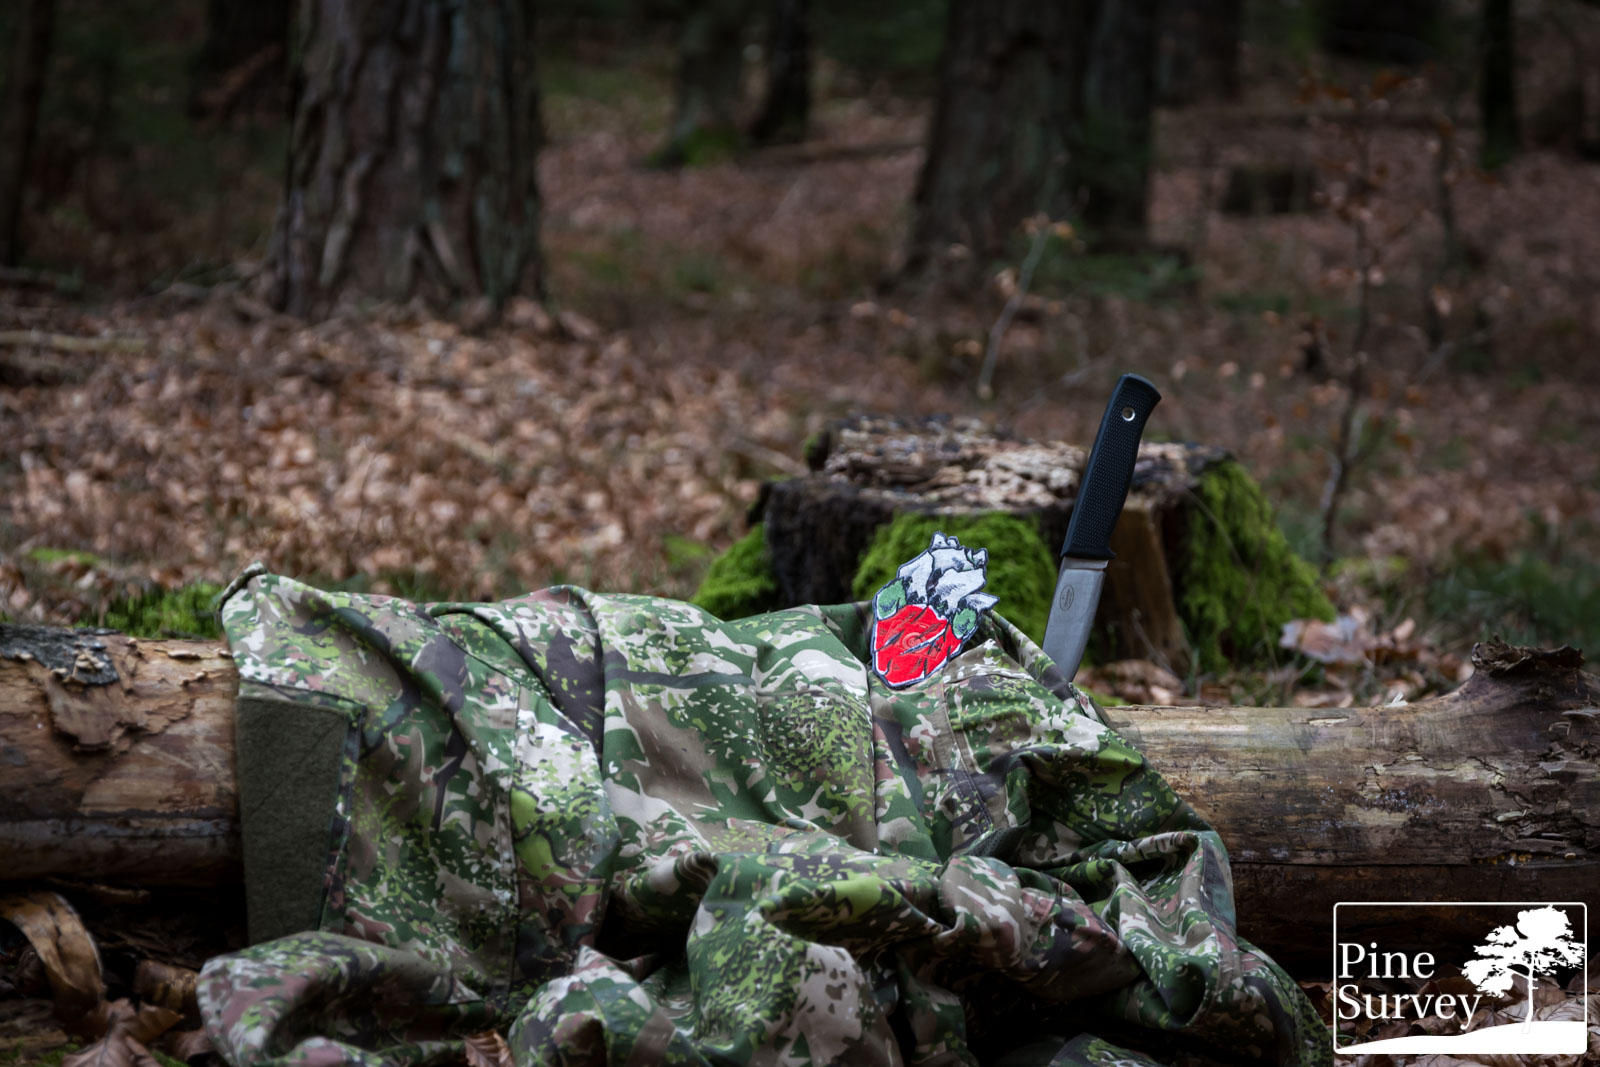
One of my last camouflage reviews was about a new German pattern called ConCamo – Confusion Camouflage. It took me some time to make additional pictures in autumn since I was quite busy, but in the last few days I was finally back home in Carinthia. As a result I had the opportunity to visit several of my favored places in the woods to make some long overdue pictures.
Methodic remarks
As always I have to point out several aspects beforehand. I do not claim any scientific standard with my camouflage field tests. Also, I conduct them with my best knowledge and the available resources. For example there is not much gear available in ConCamo at the moment, and I have no matching hat for example.
The pictures were taken at the same location I always use to make my camouflage comparisons. As a result you can compare the various field tests I have done so far with each other. With this review two more spots have been added.
Before I start, please consider the following – as always:
I did not edit the pictures in any special way, except the following:
- Lens correction
- Watermark
- Blurred my face out if necessary
- .jpeg compression to make it web compliant
- I always do a proper White Balance to make colors appear the way they are.
A short explanation to the environment and the procedure:
The pattern was tested in a typical European mixed forest with (if not stated otherwise) a high foliage canopy and some basic bushes, ferns and little trees on the ground. The pictures portray three different positions:
- Standing in the open (to get an idea of the pattern in this particular surrounding and if the colors match it)
- Kneeling
- The prone position (to mimic basic, up to ideal concealment without using vegetational enhancements)
As always I photographed with a wide angle lens at first and then with a 35mm zoom which mimics the actual picture the human eye would perceive at this distance. Having in mind the three different positions mentioned before, I ended up with 6 pictures of each location.
With that being said, let’s take a closer look at the pictures themselves.
ConCamo in Autumn/Winter
Location 1 – Autumn/Winter
This first location is one you already know from my previous reviews. It is a typical European mixed forest with a high foliage canopy and some basic bushes, ferns and little trees on the ground. In the last review, this location was full of lush greens. Now in December everything turned into more colorful Autumn colours, with way more browns and less green.
The camera is standing roughly 10m away from the human silhouette.
Wide angle shot – standing
The mix of 8 different colours with dominantly brown and reddish tones, and the green background make ConCamo more effective during this time of the year. The pattern breaks up the silhouette quite good in the standing position. The few macro elements are evenly distributed over the uniform, breaking up the human shape effectively. At the same time the colours blend into the surroundings.
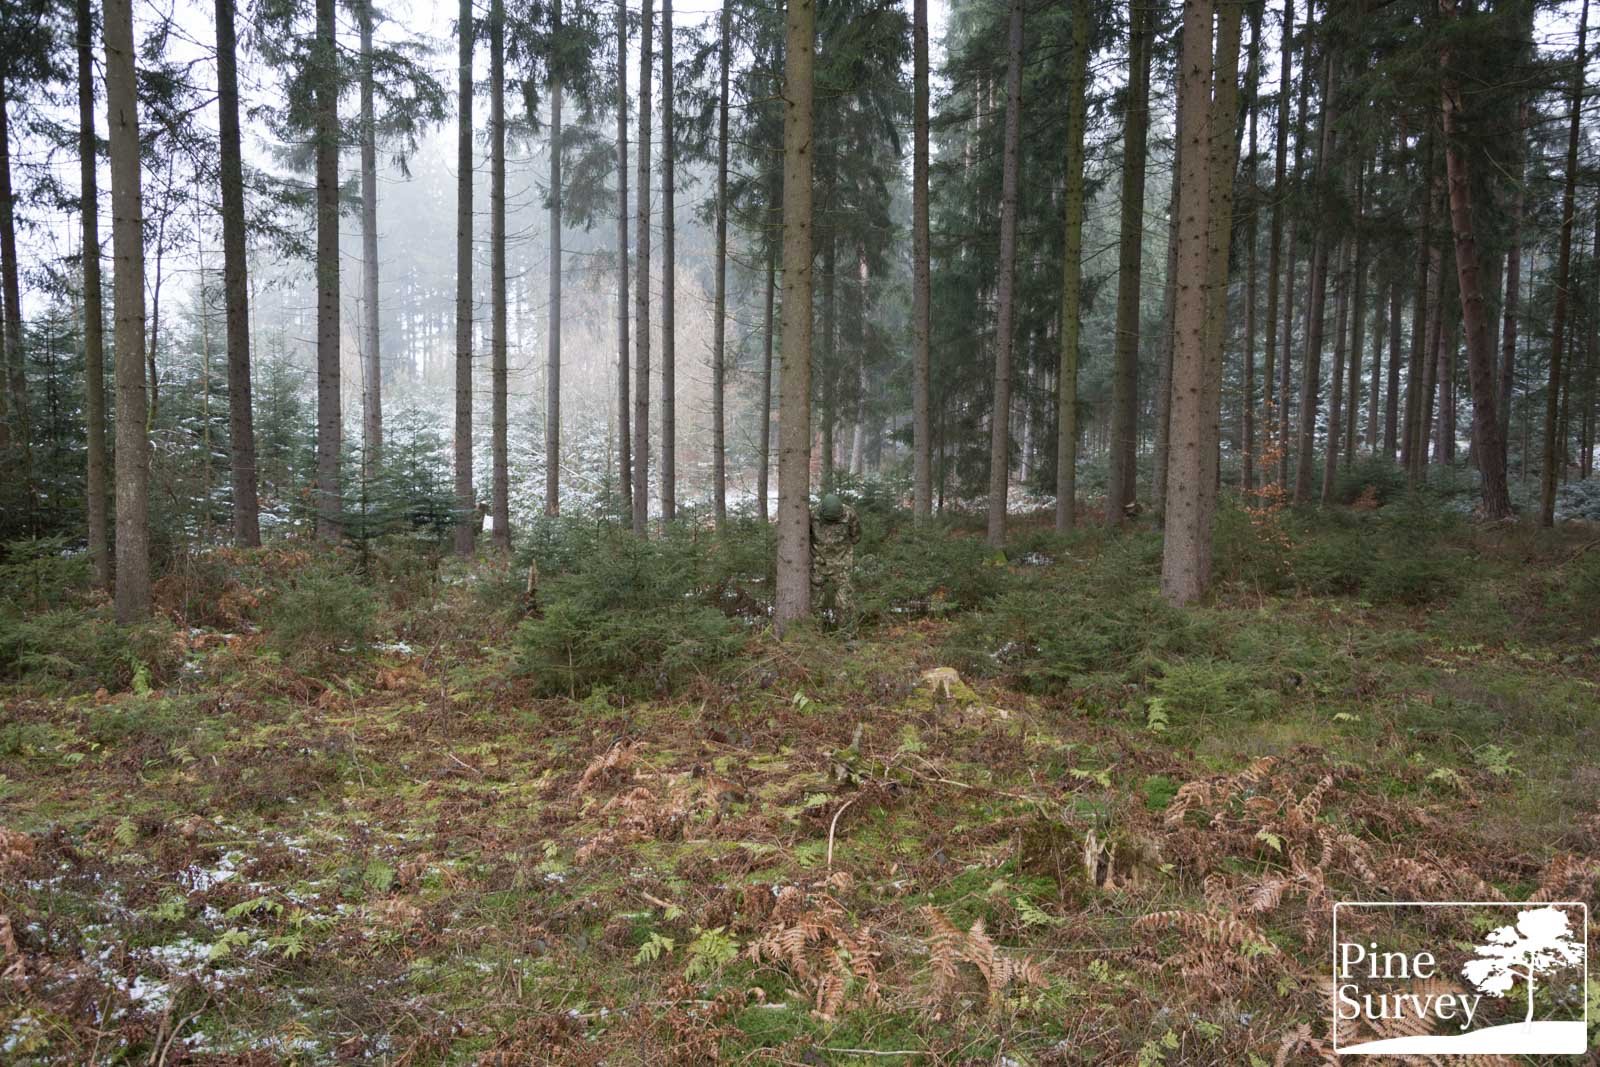
Location 1 – wide angle, standing
35mm, showing the actual distance – standing
Taking a closer look at this scene, you can actually see how the pattern is breaking up the human shape. The colours are ideal in this setting and looking at the surroundings this should be obvious. The 35mm picture depicts the actual perceived distance at close range, giving you a wonderful example of the effectiveness of ConCamo.
Location 1 – 35mm, standing
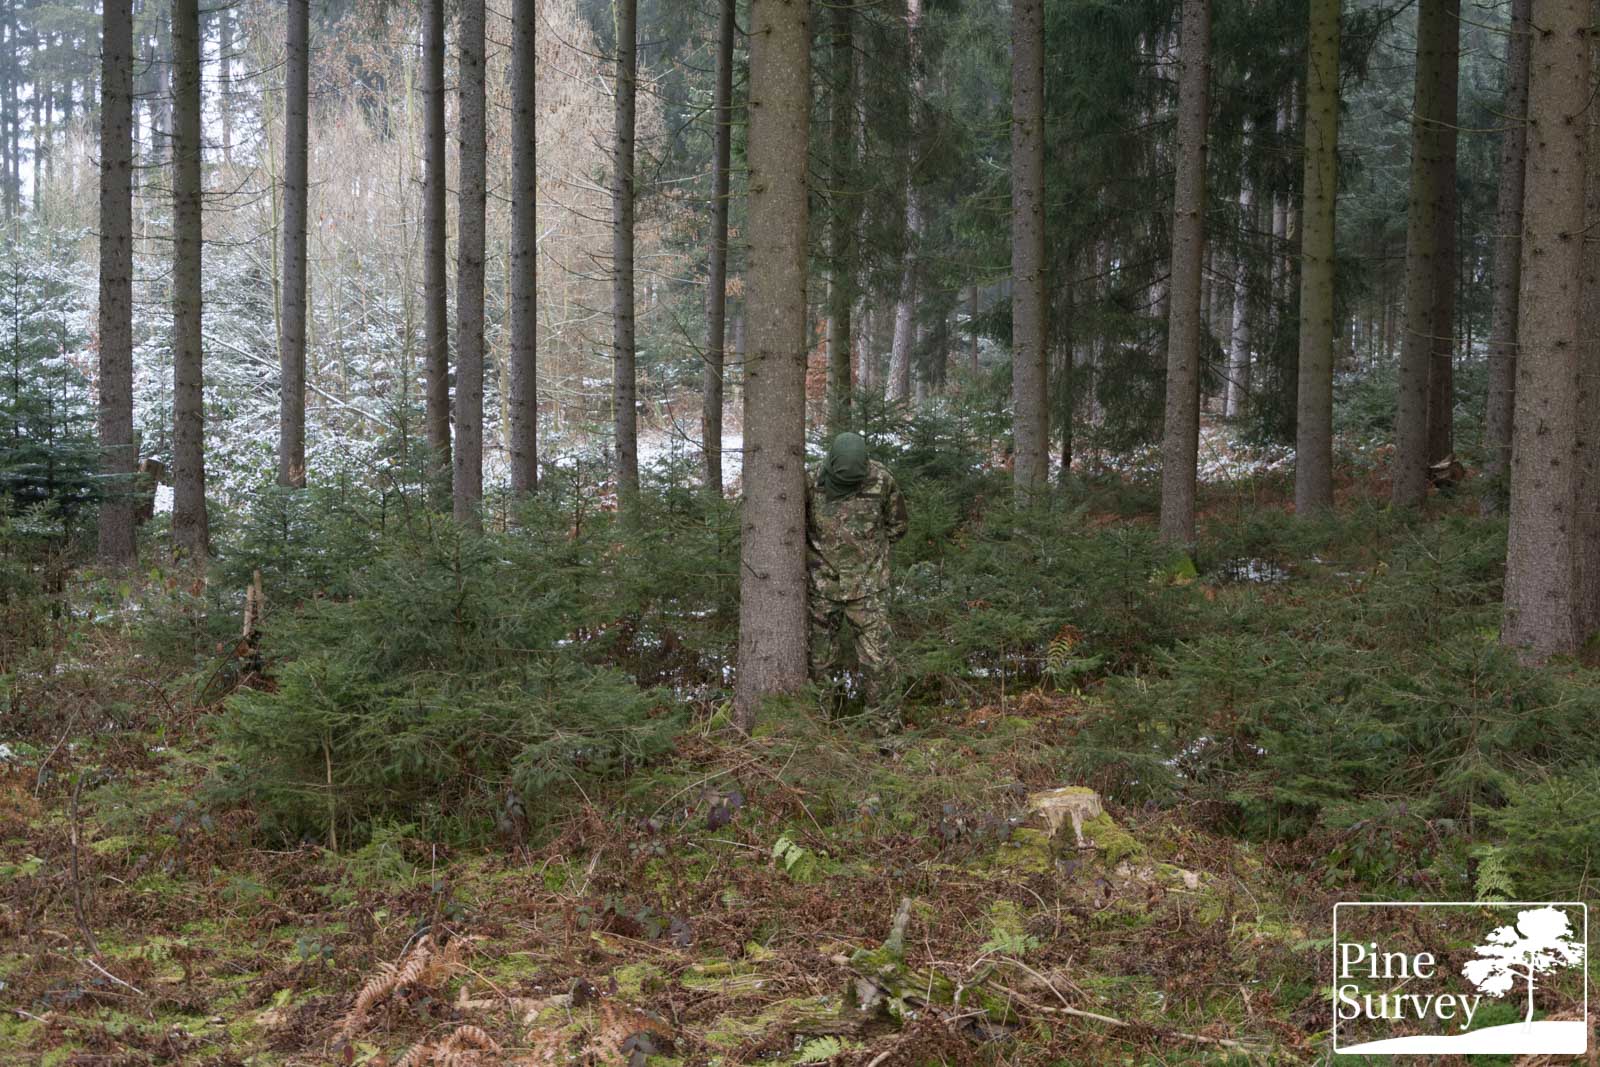
Wide angle shot – kneeling
Standing is one thing, but as you know, kneeling down and minimizing the human shape drastically increases concealment. In doing so, the more obvious silhouette disappears, giving the camouflage pattern an advantage to do the rest of the work. The above stated remarks apply. Colours and pattern break up the human shape and help blend into the surroundings.

Location 1 – wide angle, kneeling
35mm, showing the actual distance – kneeling
If you look at this setting again with the 35mm zoom, you can actually see that the more obvious giveaways are only the folds in the fabric. The uniform itself, breaks up and blends into the surroundings.
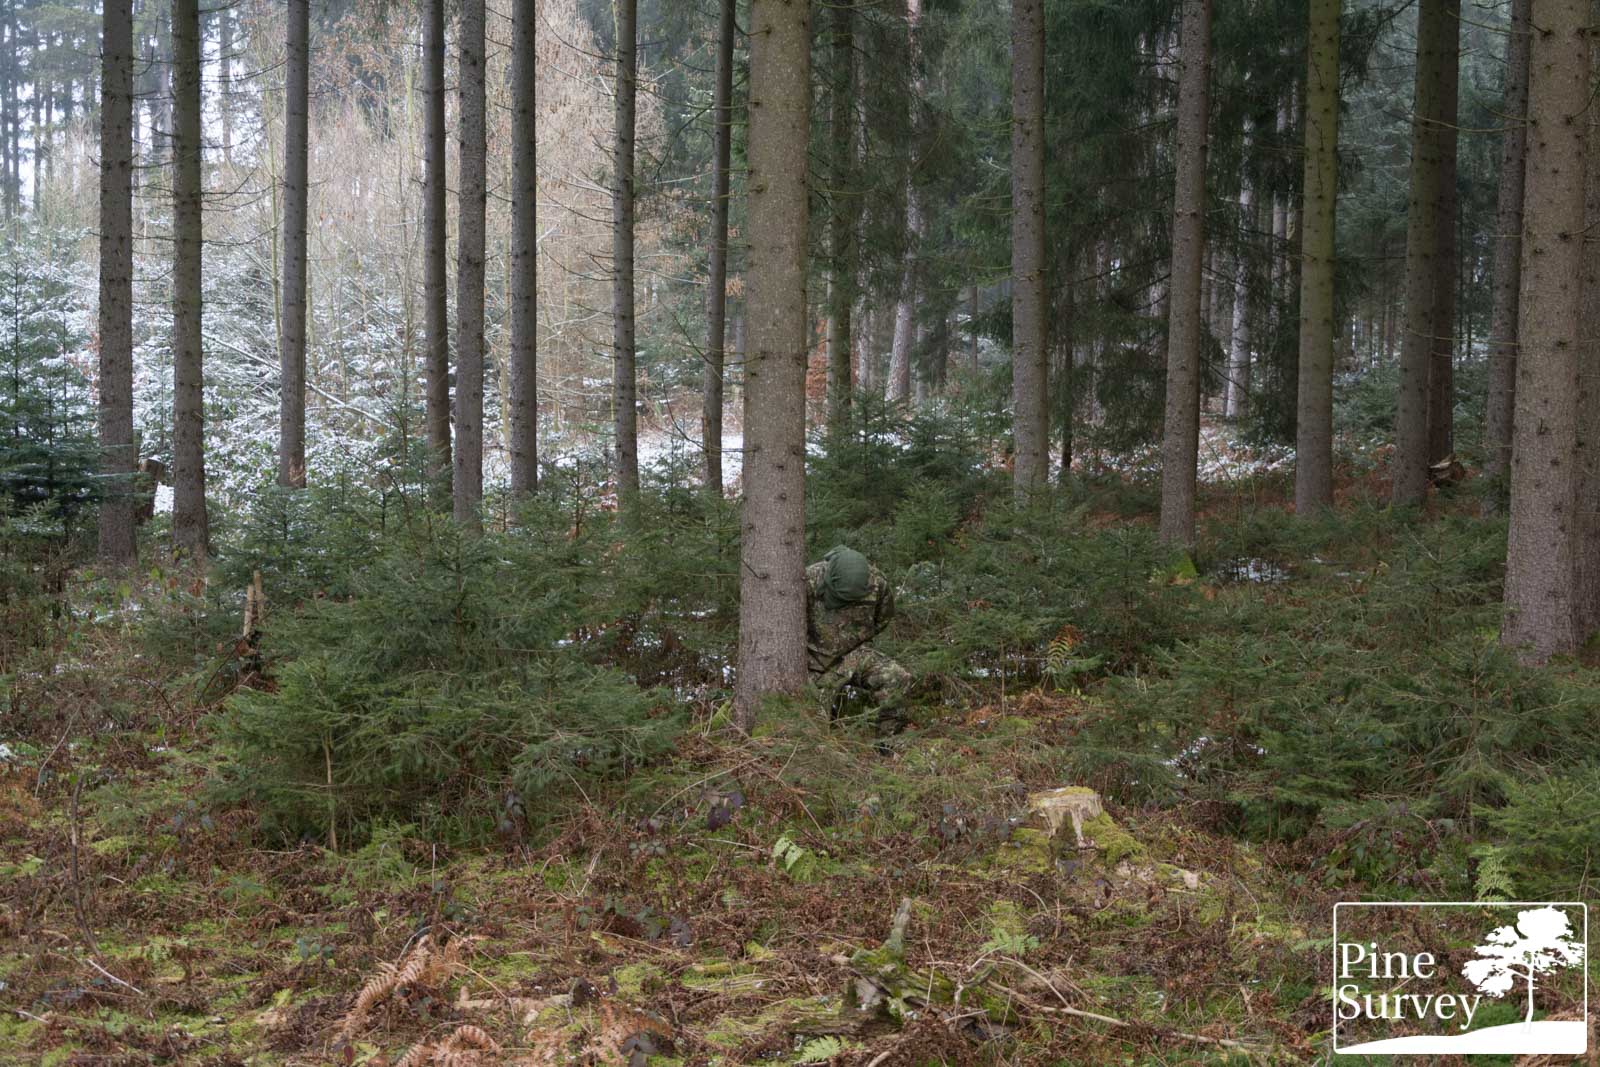
Location 1 – 35mm, kneeling
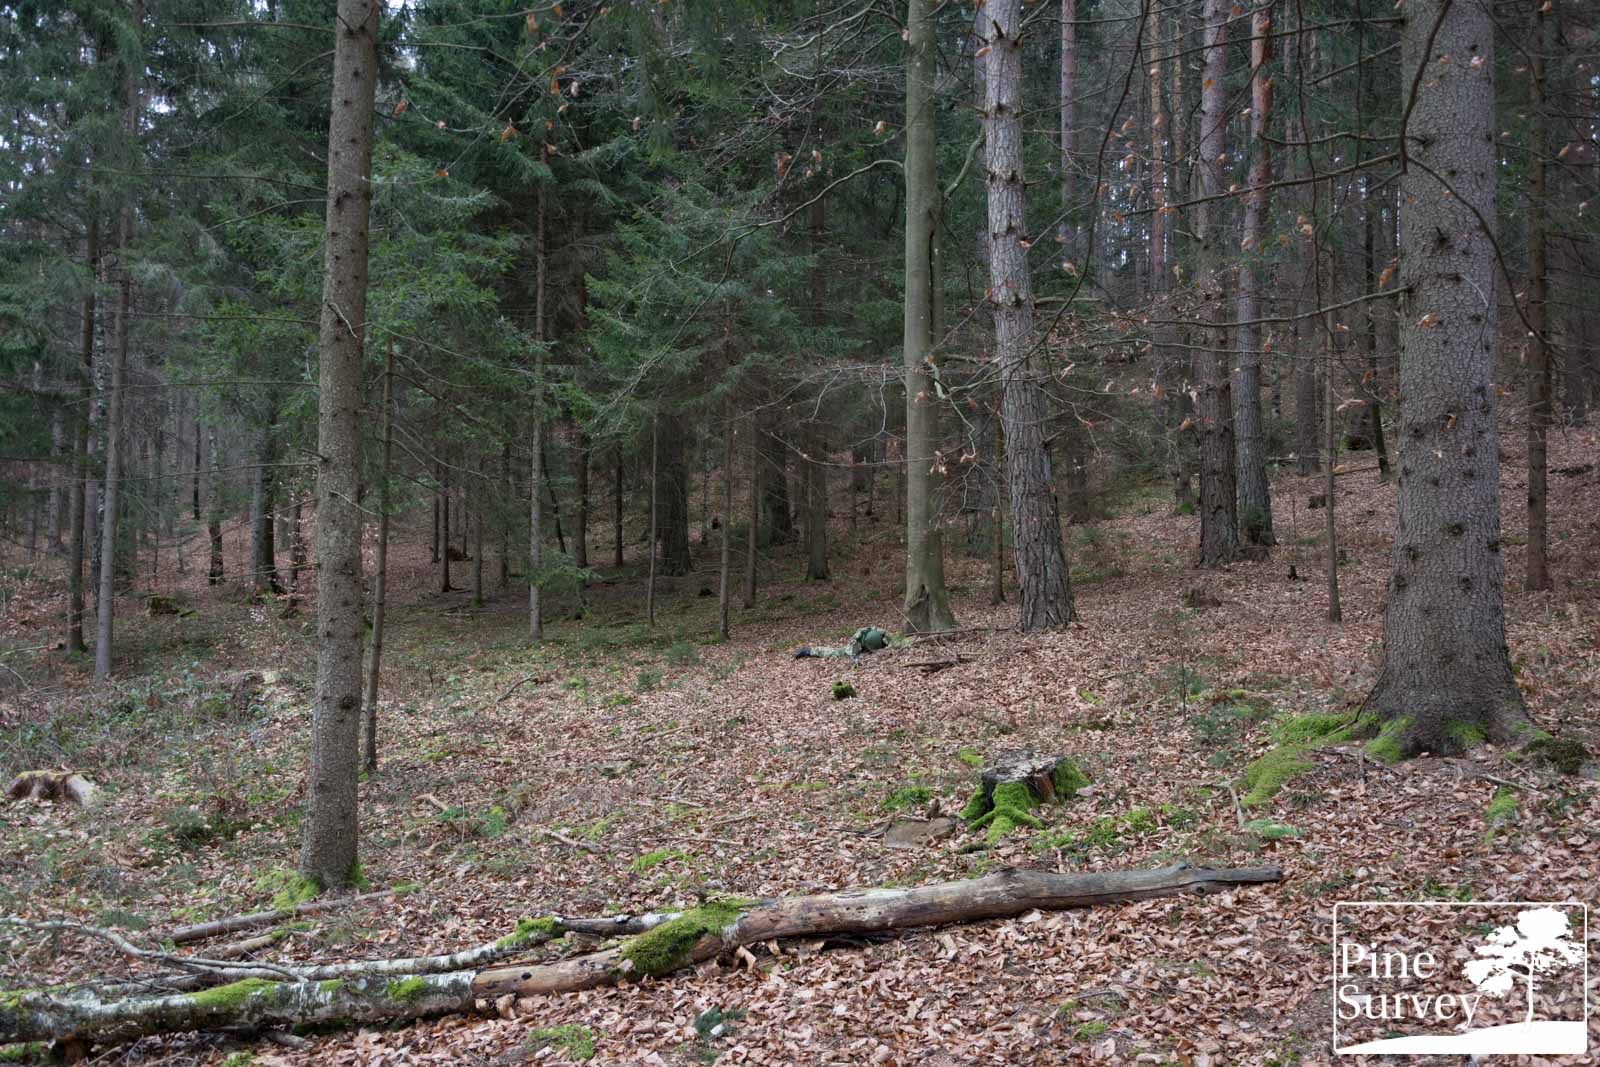
Wide angle shot – prone
The prone always makes the human body disappear in this location, especially with the fern undergrowth. I will add the picture however for the sake of completeness.
Location 1 – wide angle, prone
35mm, showing the actual distance – prone
The above remarks apply here as well. The only giveaway in this picture is my green sniper veil, which has a bit of an unnatural tone in this setting.

Location 1 – 35mm, prone
Location 2 – Autumn/Winter
The second location should be familiar from the first ConCamo field test. It is a more deciduous type of setting, even though it is still in a mixed forest. However, this is a nice spot to test ConCamo right underneath a European beech tree. There is hardly undergrowth, so the field of view is quite open.
Distance from the camera is roughly 15m.
Wide angle shot – standing
Standing in the open like this, with no other undergrowth to distract, the human shape is easily identifiable. The colours however, represent the surroundings with the result of the silhouette standing out not too much. At higher distance the pattern elements are not really visible. A more apparent macro element in the pattern would be needed here.

Location 2 – wide angle, standing
35mm, showing the actual distance – standing
With the 35mm zoom, and the natural point of view, the pattern elements become more apparent. Although the silhouette is clearly visible because of the open space, the pattern and colours of ConCamo blend into the surroundings rather well.
Location 2 – 35mm, standing
Wide angle shot – kneeling
Minimizing the human shape results in the same effect as before. The pattern and colours blend in more easily, even in the open space.
Location 2 – wide angle, kneeling
35mm, showing the actual distance – kneeling
The actual distance of 15m is a challenge for most camouflage patterns, especially in the open. Nevertheless, especially in the section of my legs, you can see how effectively the pattern blends into the surroundings. My posture with the resulting shadows in the folds make me stand out a bit more than usual.
Location 2 – 35mm, kneeling
Wide angle shot – prone
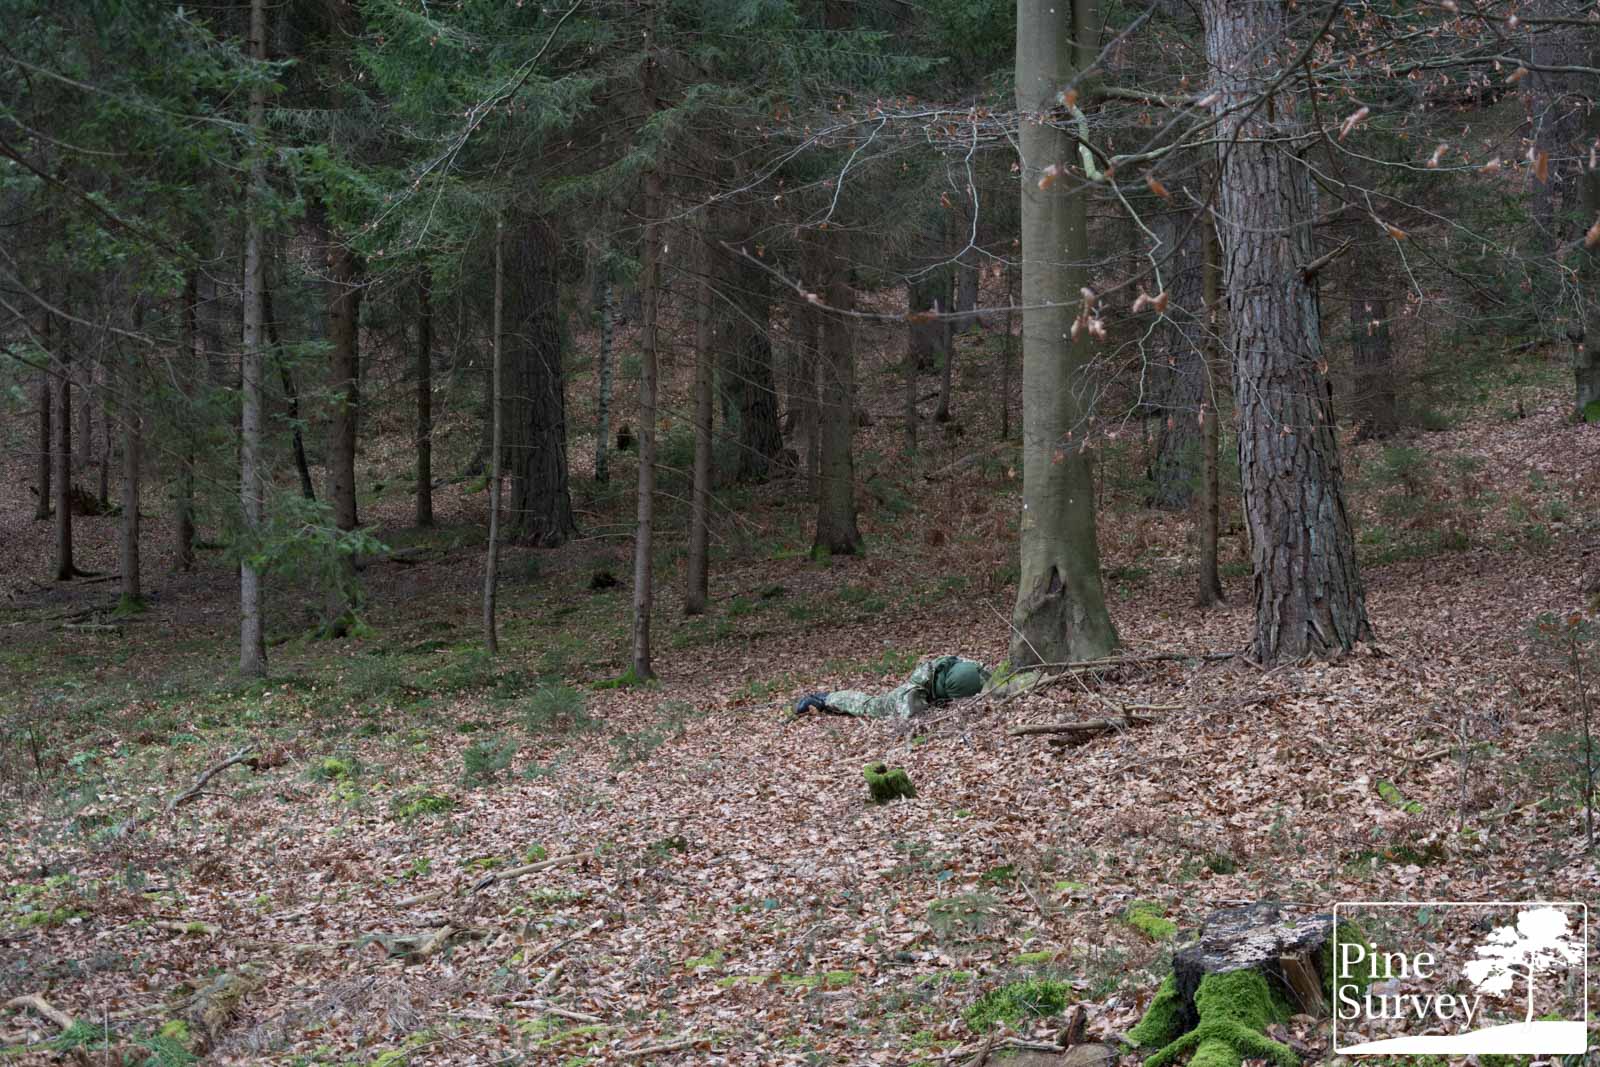
The prone in this setting gives you a good idea about the natural appearance of ConCamo. The combination of the 8 colours with the various micro and midi elements, make the body appear like a shape that belongs there: a tree log or something similar.
Location 2 – wide angle, prone
35mm, showing the actual distance – prone
Taking a look at the 35mm zoom, it becomes apparent that the only two giveaways are actually my boots and the sniper veil. The visible rest could be anything from a mossy tree log to stones. As always, the prone is the best choice to get concealment, even in the open with no undergrowth.
Location 2 – 35mm, prone
Location 3 – Autumn/Winter
The next location is only a few meters to the right of location 2, with a bit more undergrowth and more trees. Naturally everyone with a bit of training would choose a terrain with areas of more possible concealment. As a result, this location is a good way of showing ConCamo in a deciduous setting with more undergrowth.
Distance to the camera is roughly 15m.
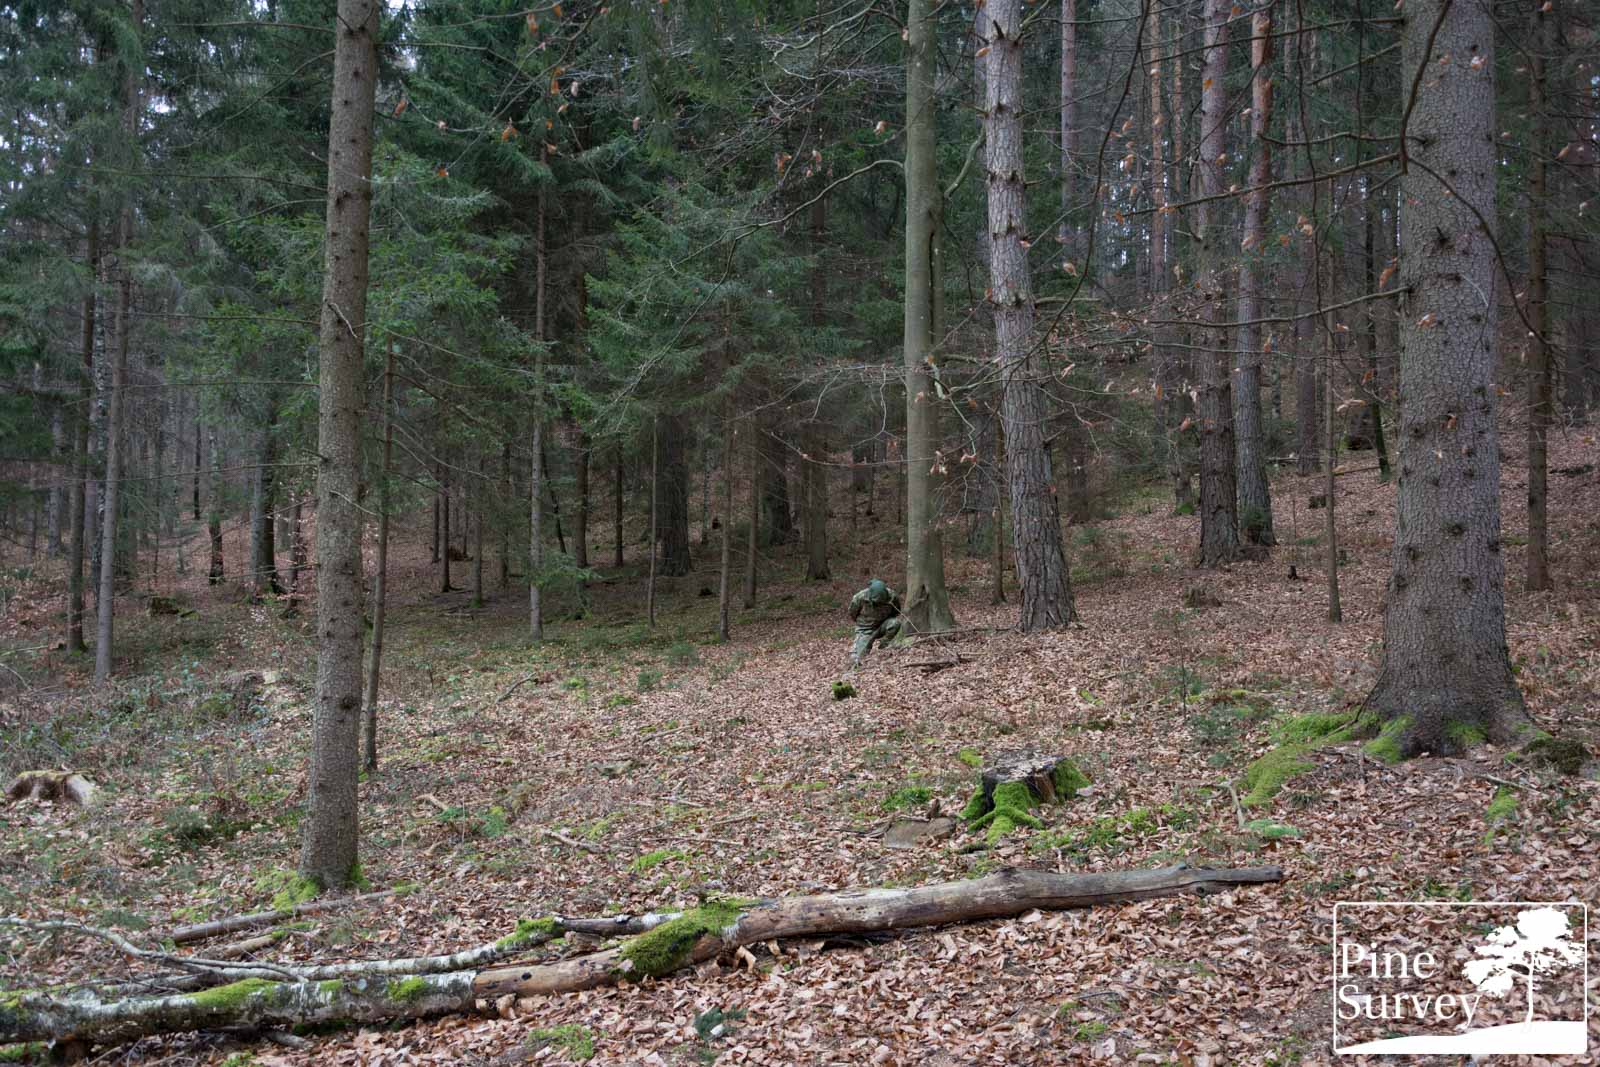
Wide angle shot – standing
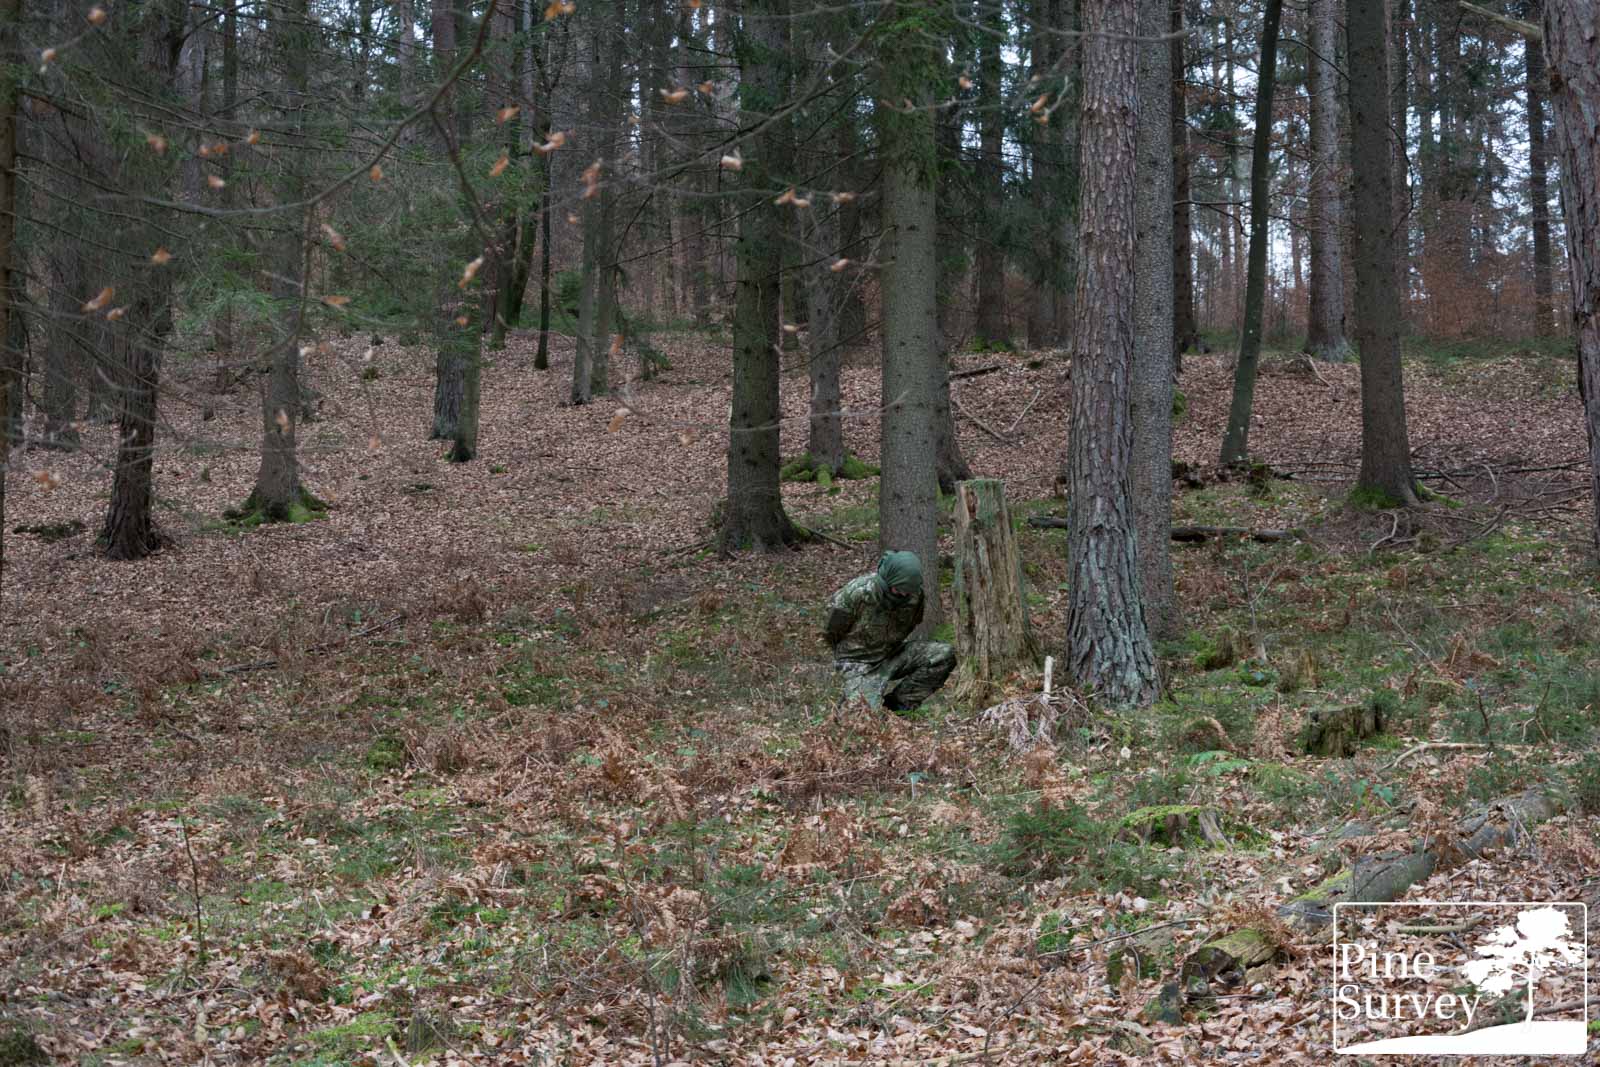
Starting again with the wide angle shot you can see how the colours of ConCamo blend into the immediate surroundings. Especially with the rotten tree trunk next to the human shape, a quick detection is prolonged sufficiently. The midi elements confuse the eye and break up the silhouette.
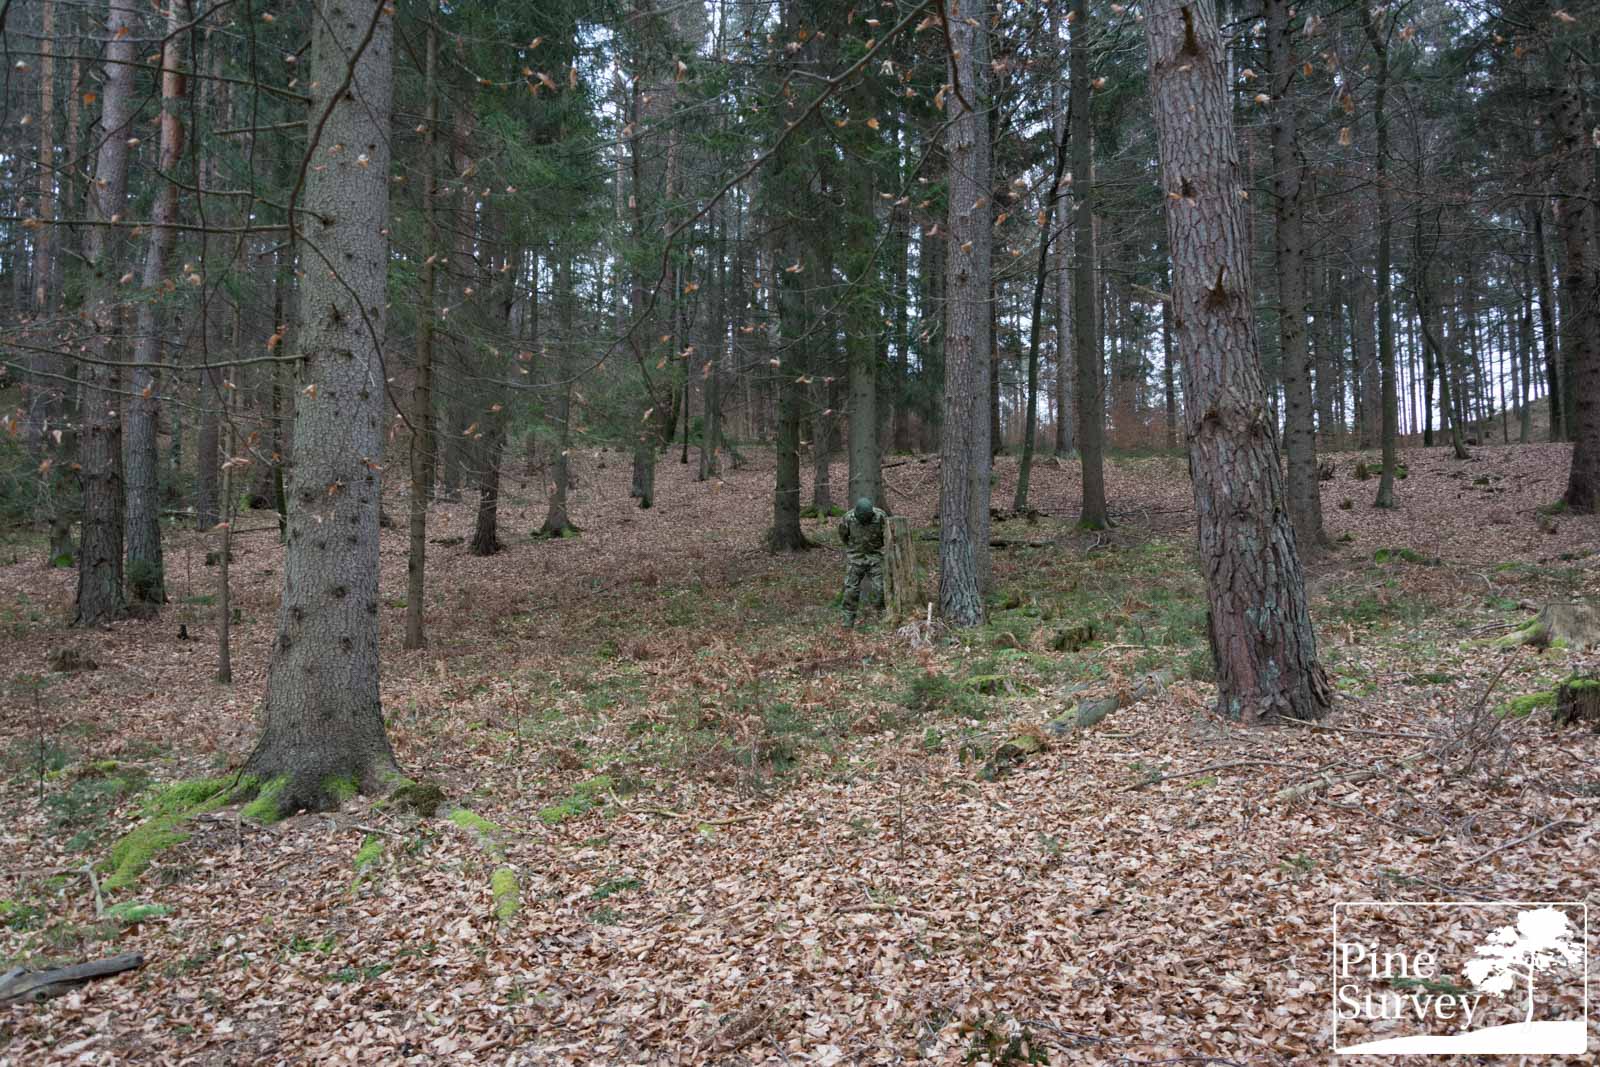
Location 3 – wide angle, standing
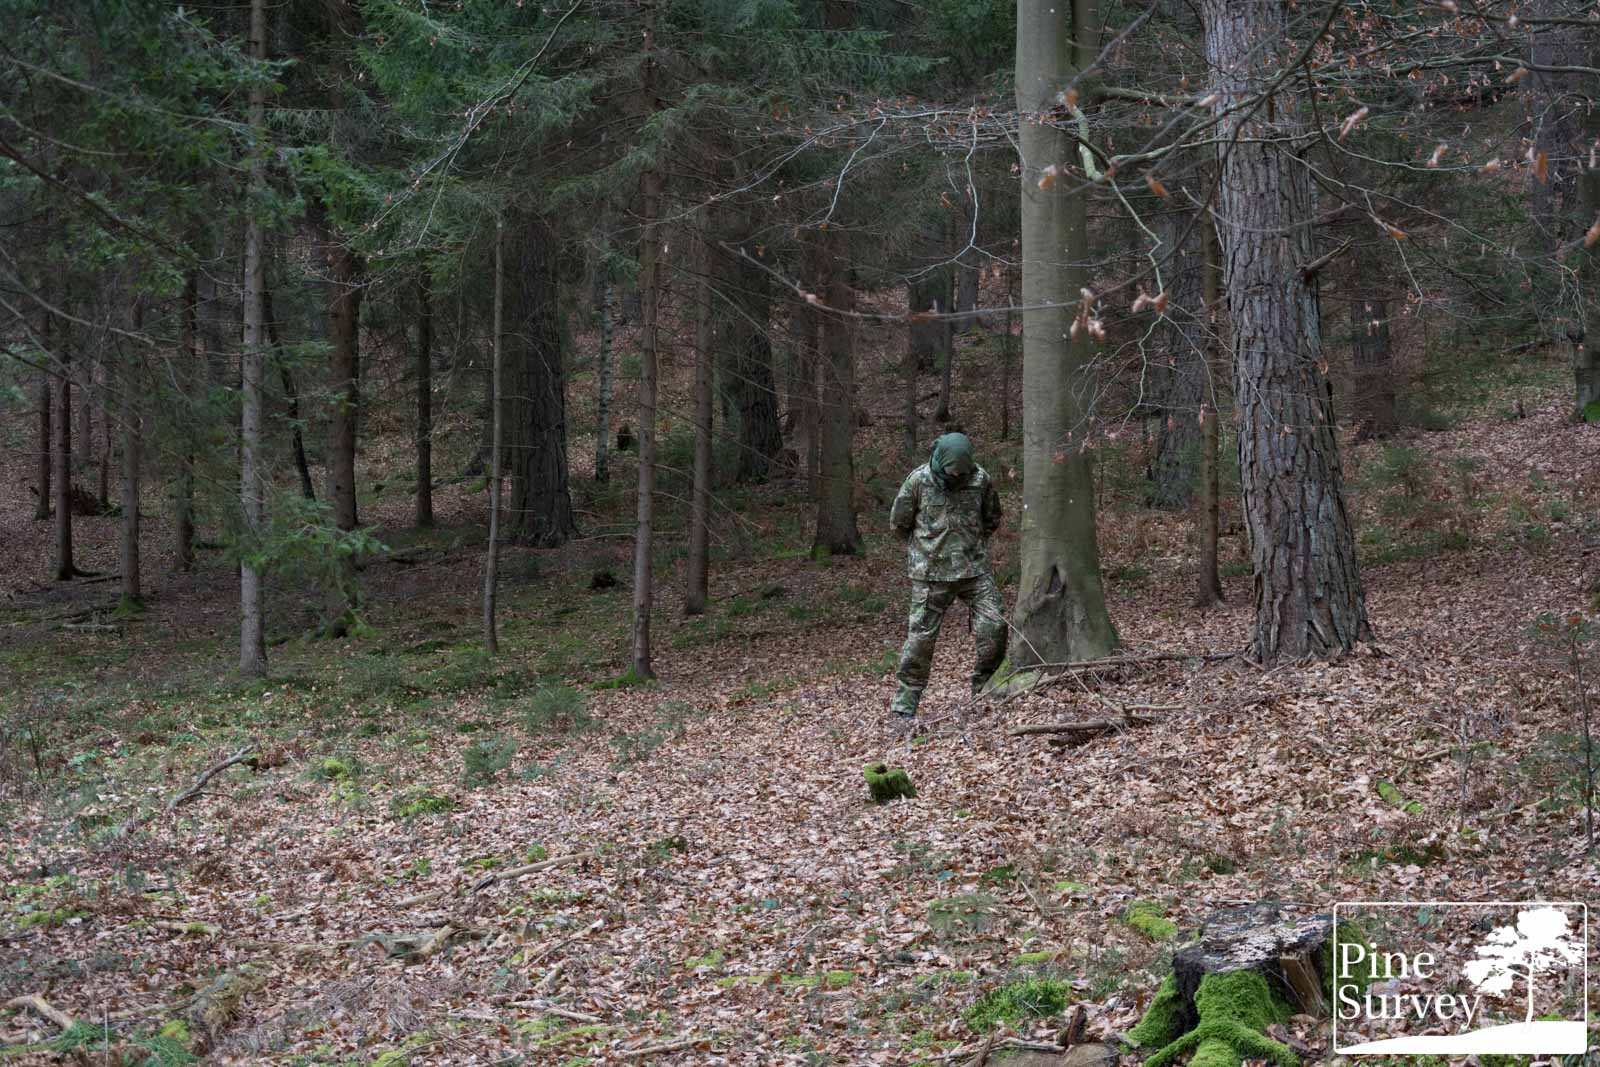
35mm, showing the actual distance – standing
Looking at this scene with a 35mm shot, you can clearly see the micro and midi elements at work. With the many levels created by the 8 colours, these elements help blend in a lot. A stark contrast is given by the solid colour sniper veil.

Location 3 – 35mm, standing
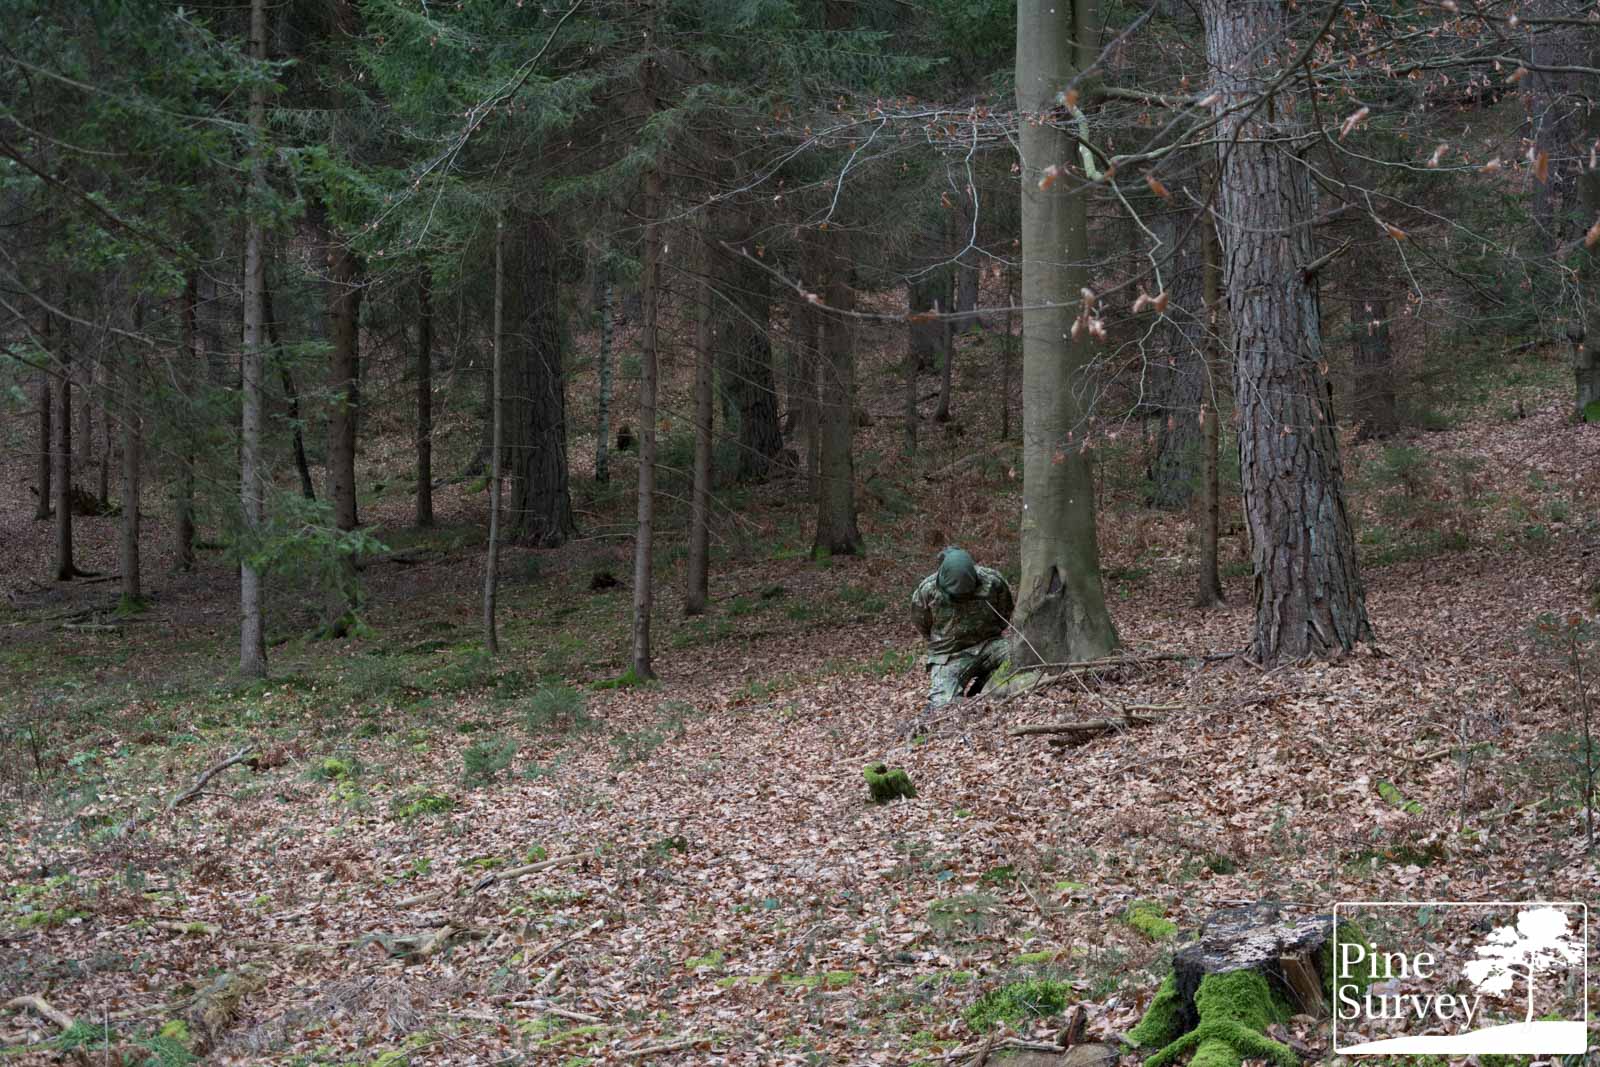
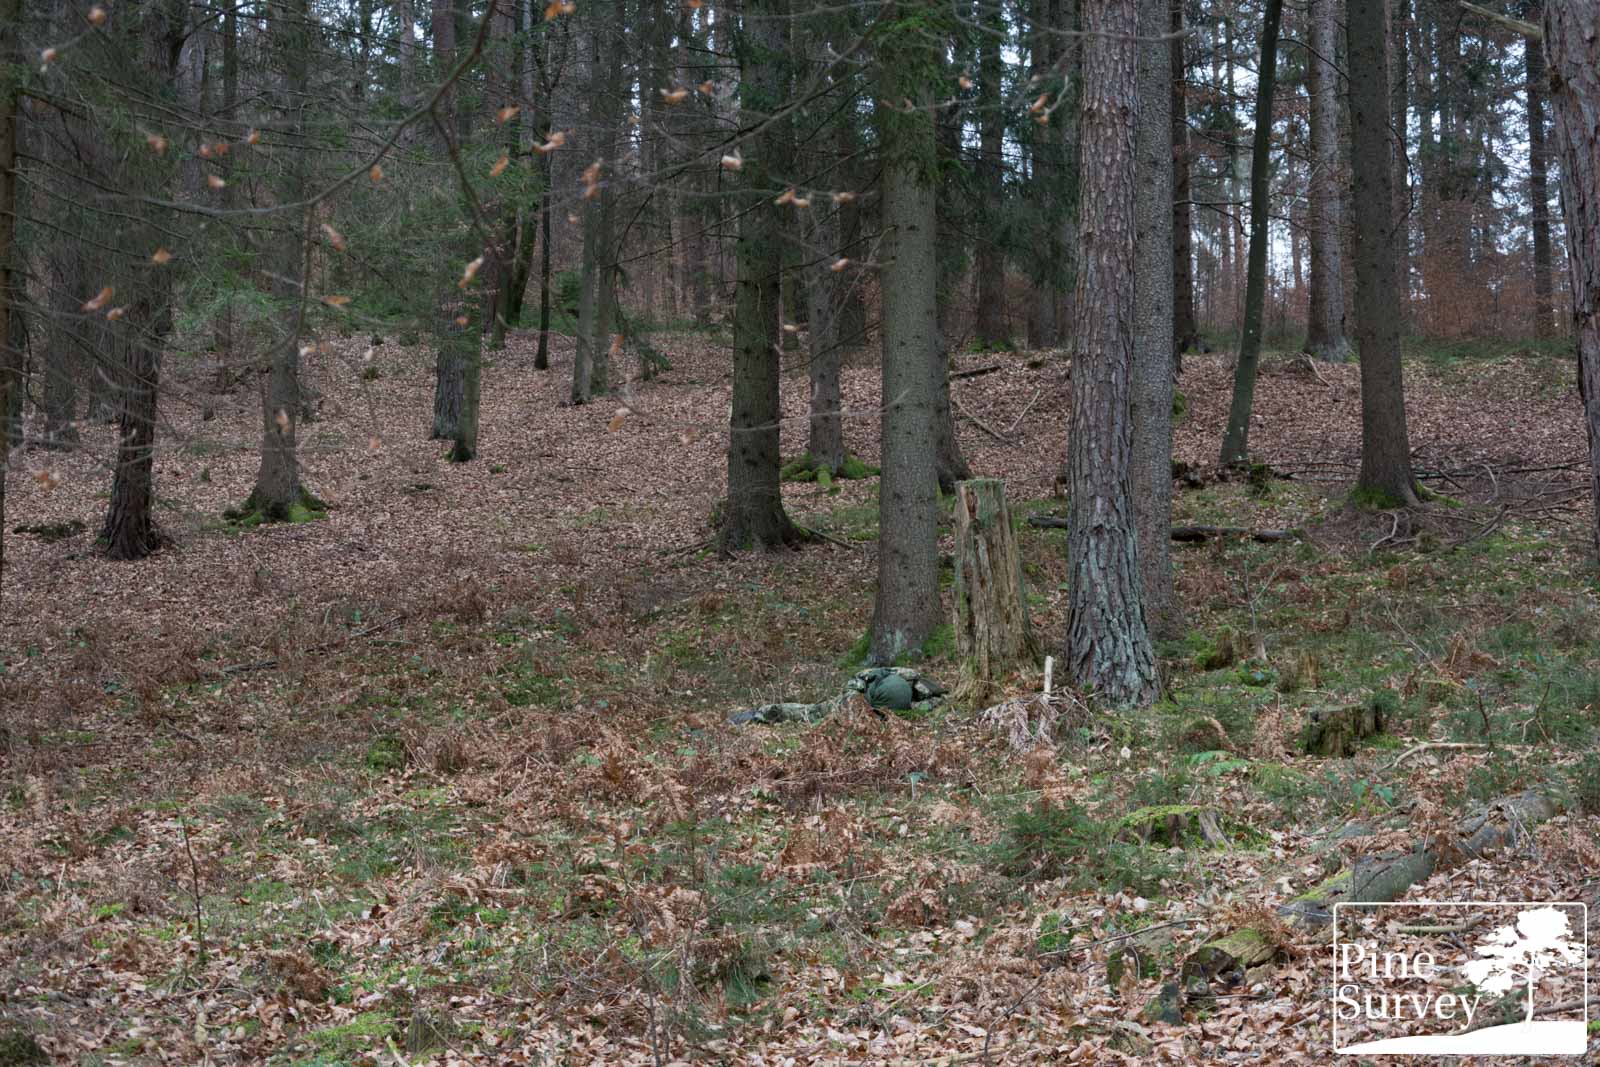
Wide angle shot – kneeling
Going into a kneeling position makes the legs completely blend into the undergrowth. The minimized human shape does the rest. The above mentioned remarks apply.
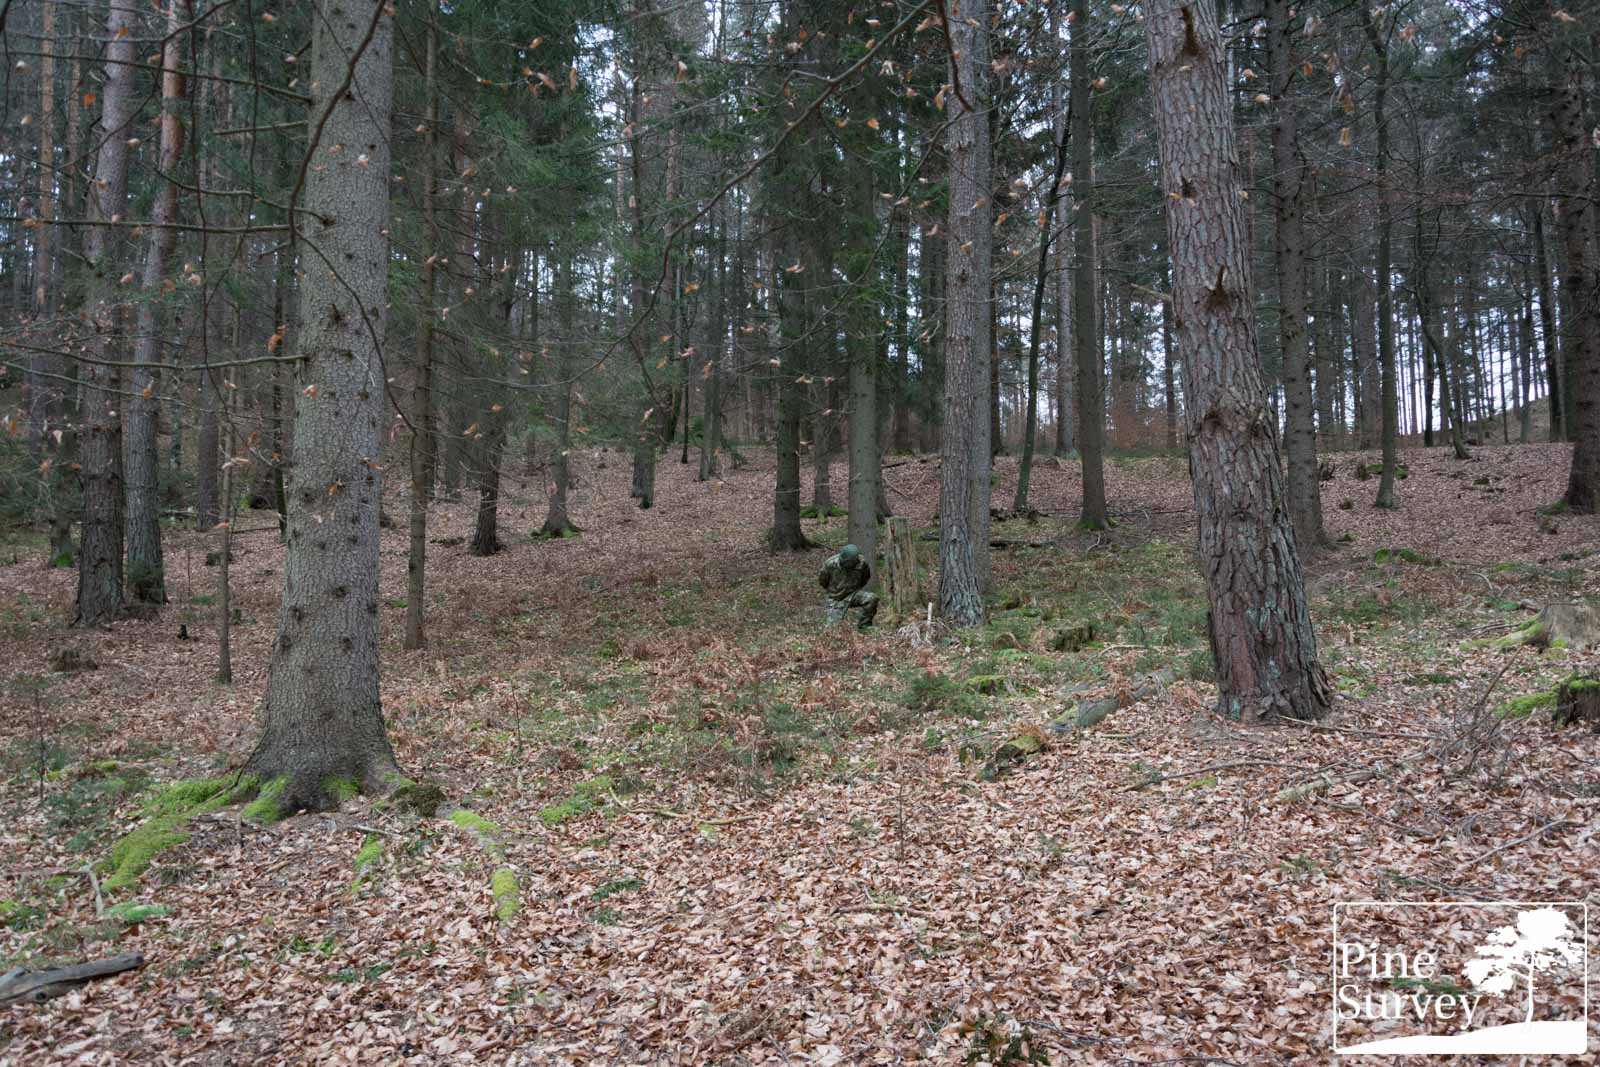
Location 3 – wide angle, kneeling
35mm, showing the actual distance – kneeling
Again, taking a closer look at the actual distance, you can see the difference between the solid colour sniper veil and the uniform with the pattern. While the camouflage set is blending in quite well, the veil stands out, especially with the tree in the background.
Location 3 – 35mm, kneeling
Wide angle shot – prone
The prone position presents an ideal setting. With the undergrowth and the surrounding environment as a wonderful match of the colours, ConCamo is blending in with its mix of midi elements and colour choice.
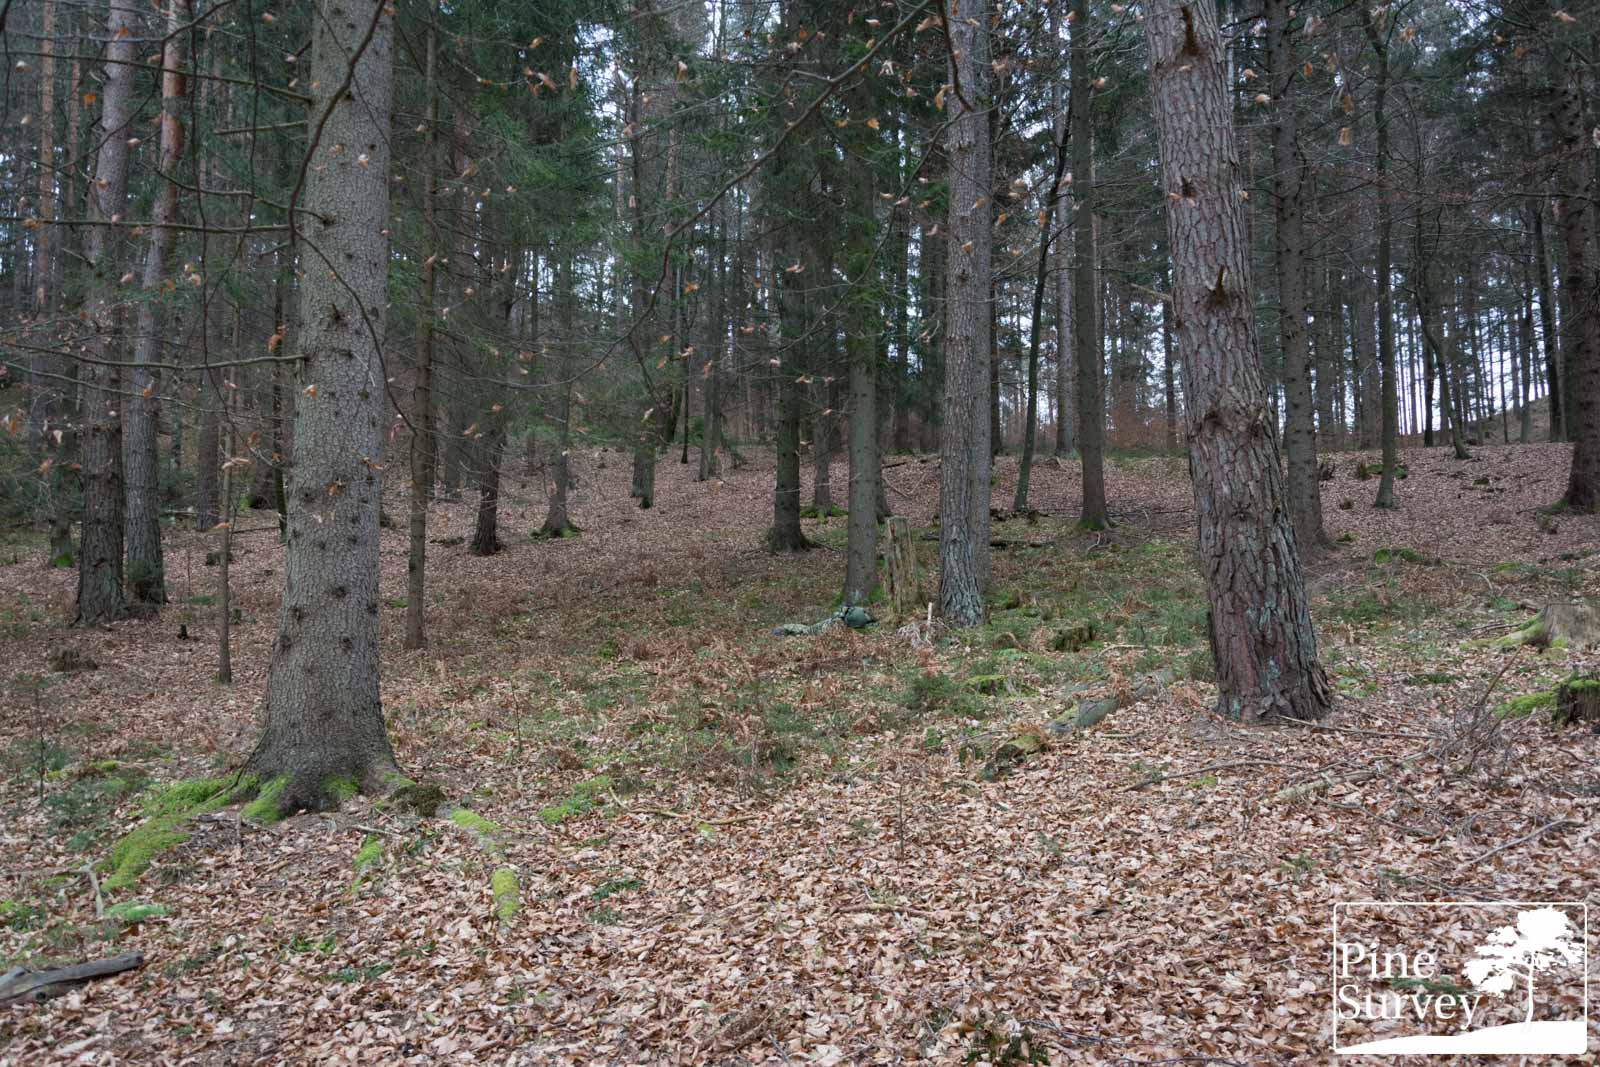
Location 3 – wide angle, prone
35mm, showing the actual distance – prone
This becomes more apparent when taking a closer look. Only the trained eye will identify the sniper veil and the velcro panels on the shirt. The rest of the human shape is broken up and blends in. You could look at a fallen branch, or tree log.
Location 3 – 35mm, prone
Location 4 – Autumn/Winter
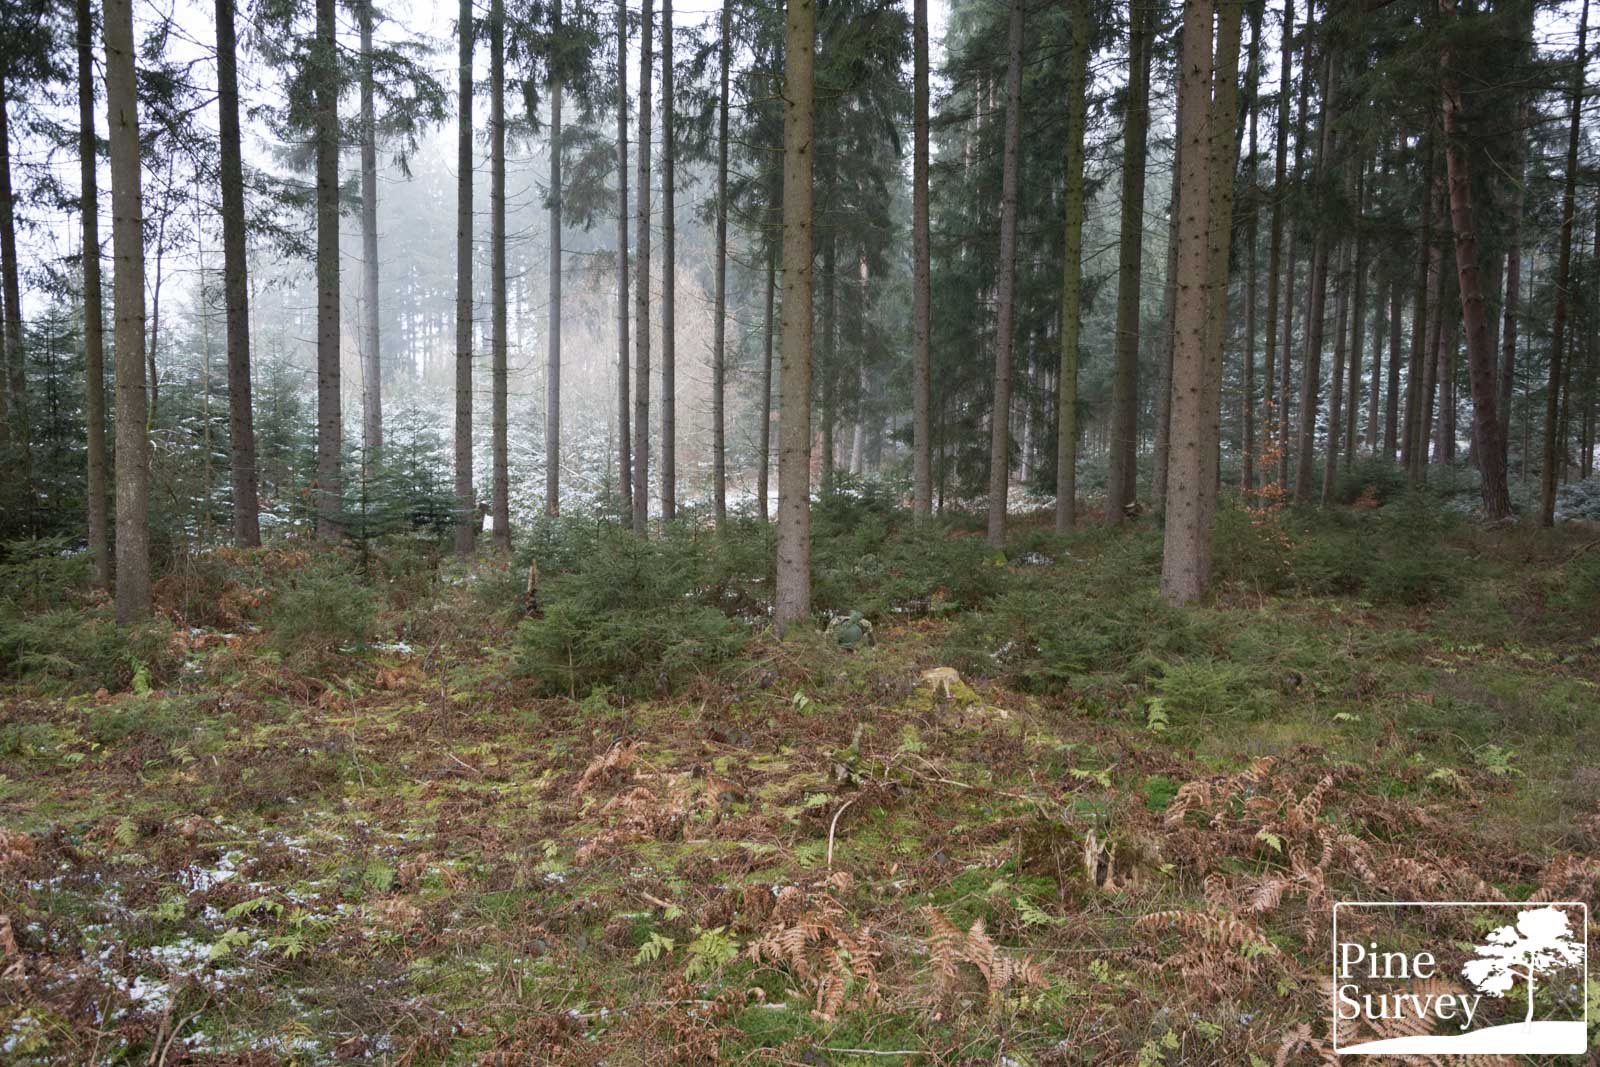
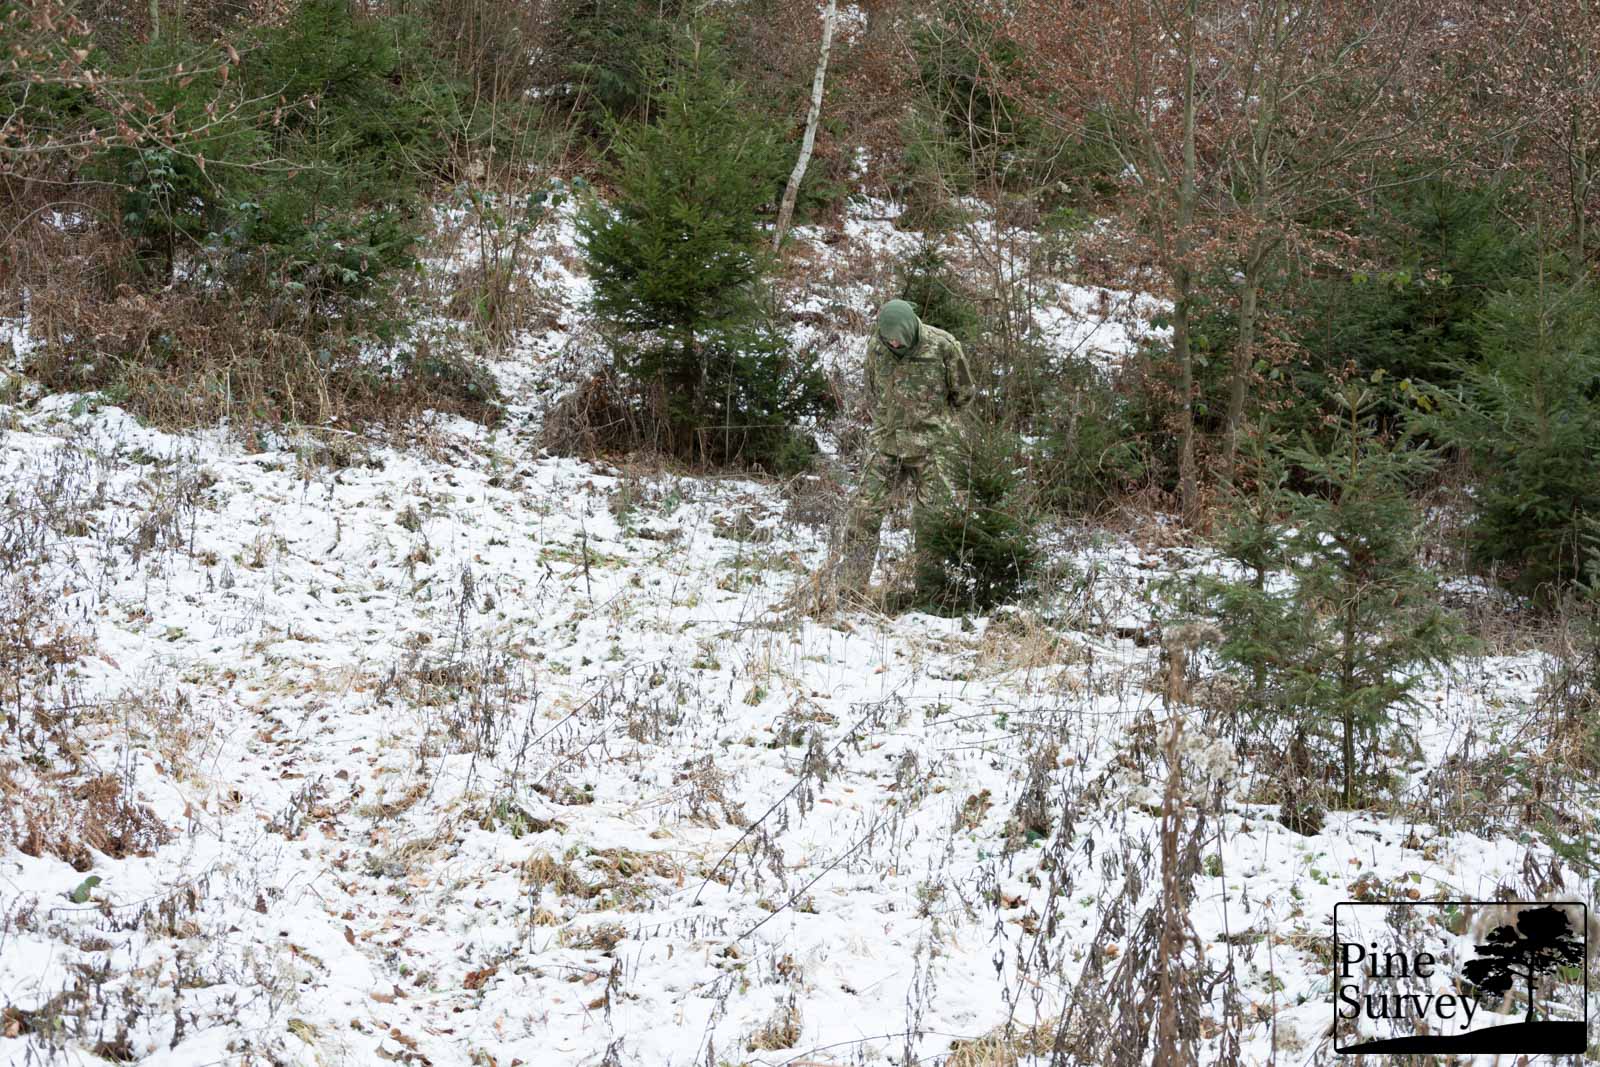
Adding a new location to the field test, you will see that the next spot resembles a quite diverse and complicated winter environment. While still in a mixed forest, you have a deciduous area in the far back, a quite busy main section under free sky, and a bright white snow cover, broken apart by thick undergrowth.
This is on the one hand a difficult environment to detect a camouflage pattern, but also a very challenging one for a pattern to work in on the other hand.
Distance to the camera is roughly 15m.
Wide angle shot – standing
In this bright environment, with the busy vegetation around, ConCamo manages to blend in effectively since the micro, midi and the few macro elements are more visible, while the 8 colours do the rest to blend in. The silhouette is broken up and melts into its surroundings. The bright spots in the pattern trick the eye to perceive it as the snowy environment. While the tiger stripe like elements interact with the nearby vegetation.
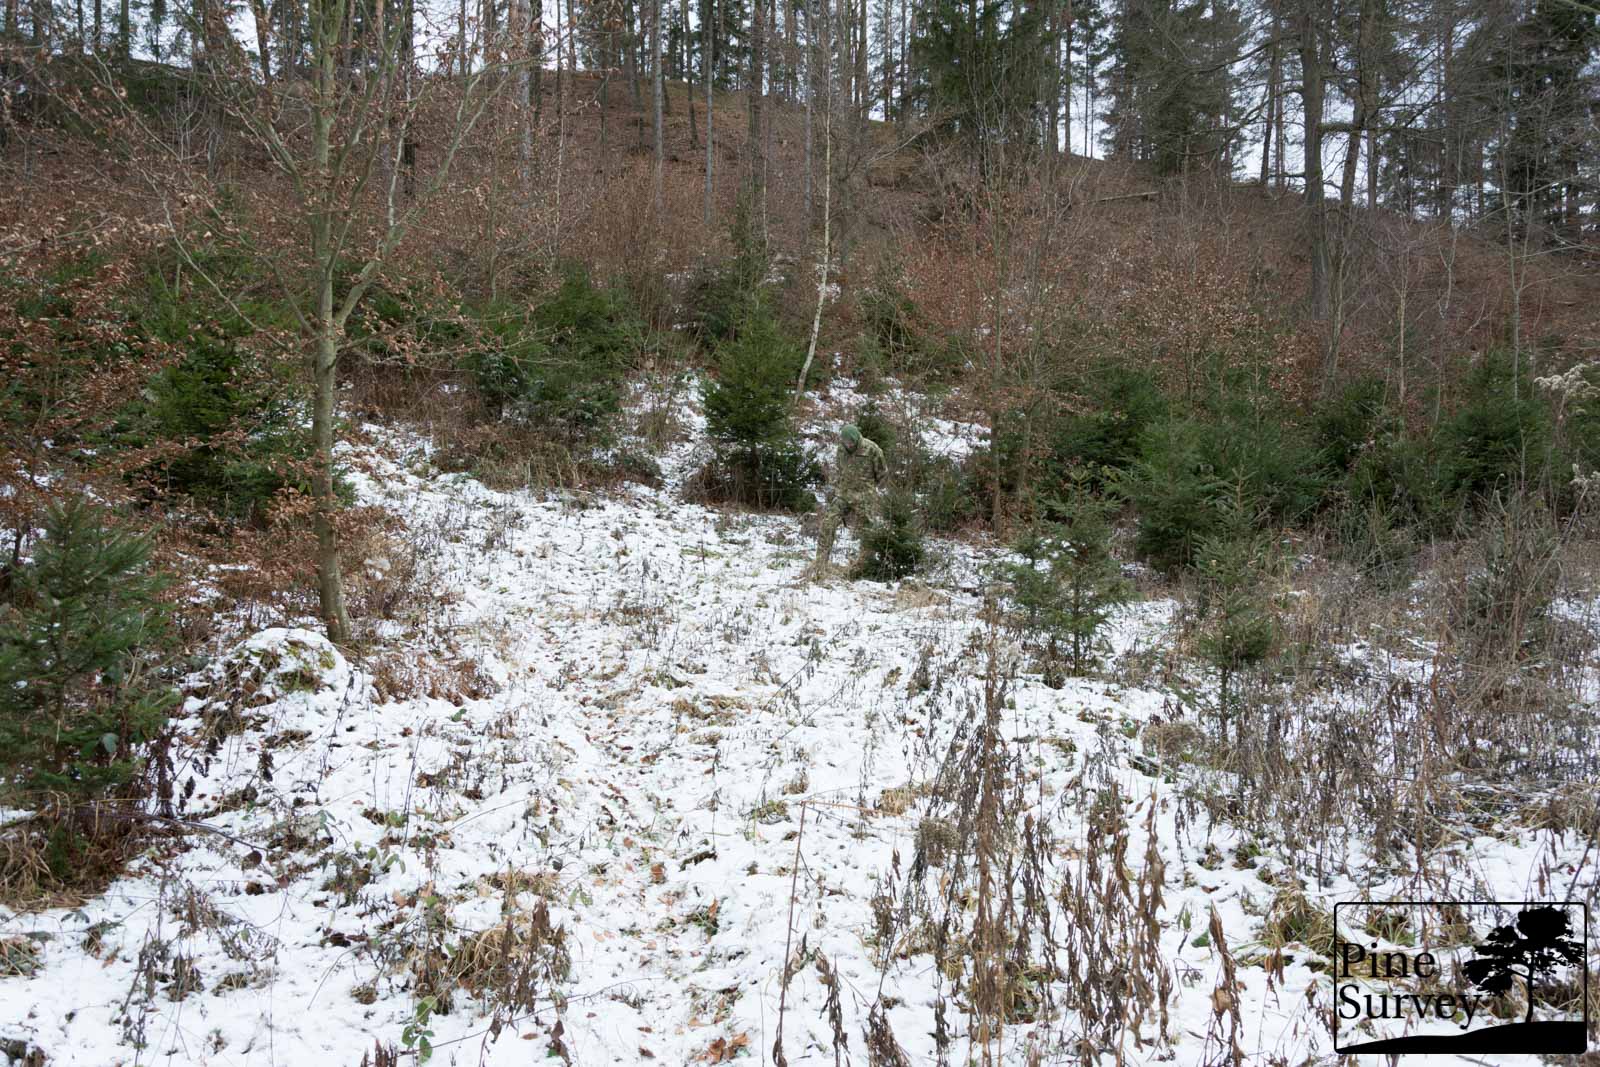
Location 4 – wide angle, standing
35mm, showing the actual distance – standing
This becomes more apparent when looking at the scene at the actual distance. The nearby tree and the ferns interact with the midi and macro elements of ConCamo. The brown macro elements appear like branches or leaves. All in all the combination of the patterns elements and the colours do the trick to effectively blend in.
Location 4 – 35mm, standing
Wide angle shot – kneeling
Going into the kneeling position, the human shape nearly vanishes in this setting. In combination with minimal undergrowth, ConCamo manages to blend in completely. As in the previous pictures, the only giveaway is the OD coloured sniper veil.

Location 4 – wide angle, kneeling
35mm, showing the actual distance – kneeling
As mentioned above, ConCamo interacts quite nicely in this setting. The 35mm picture is showing the actual distance, and how the camouflage pattern works in this environment. The above mentioned remarks also apply here (by now I must sound repetitive).

Location 4 – 35mm, kneeling
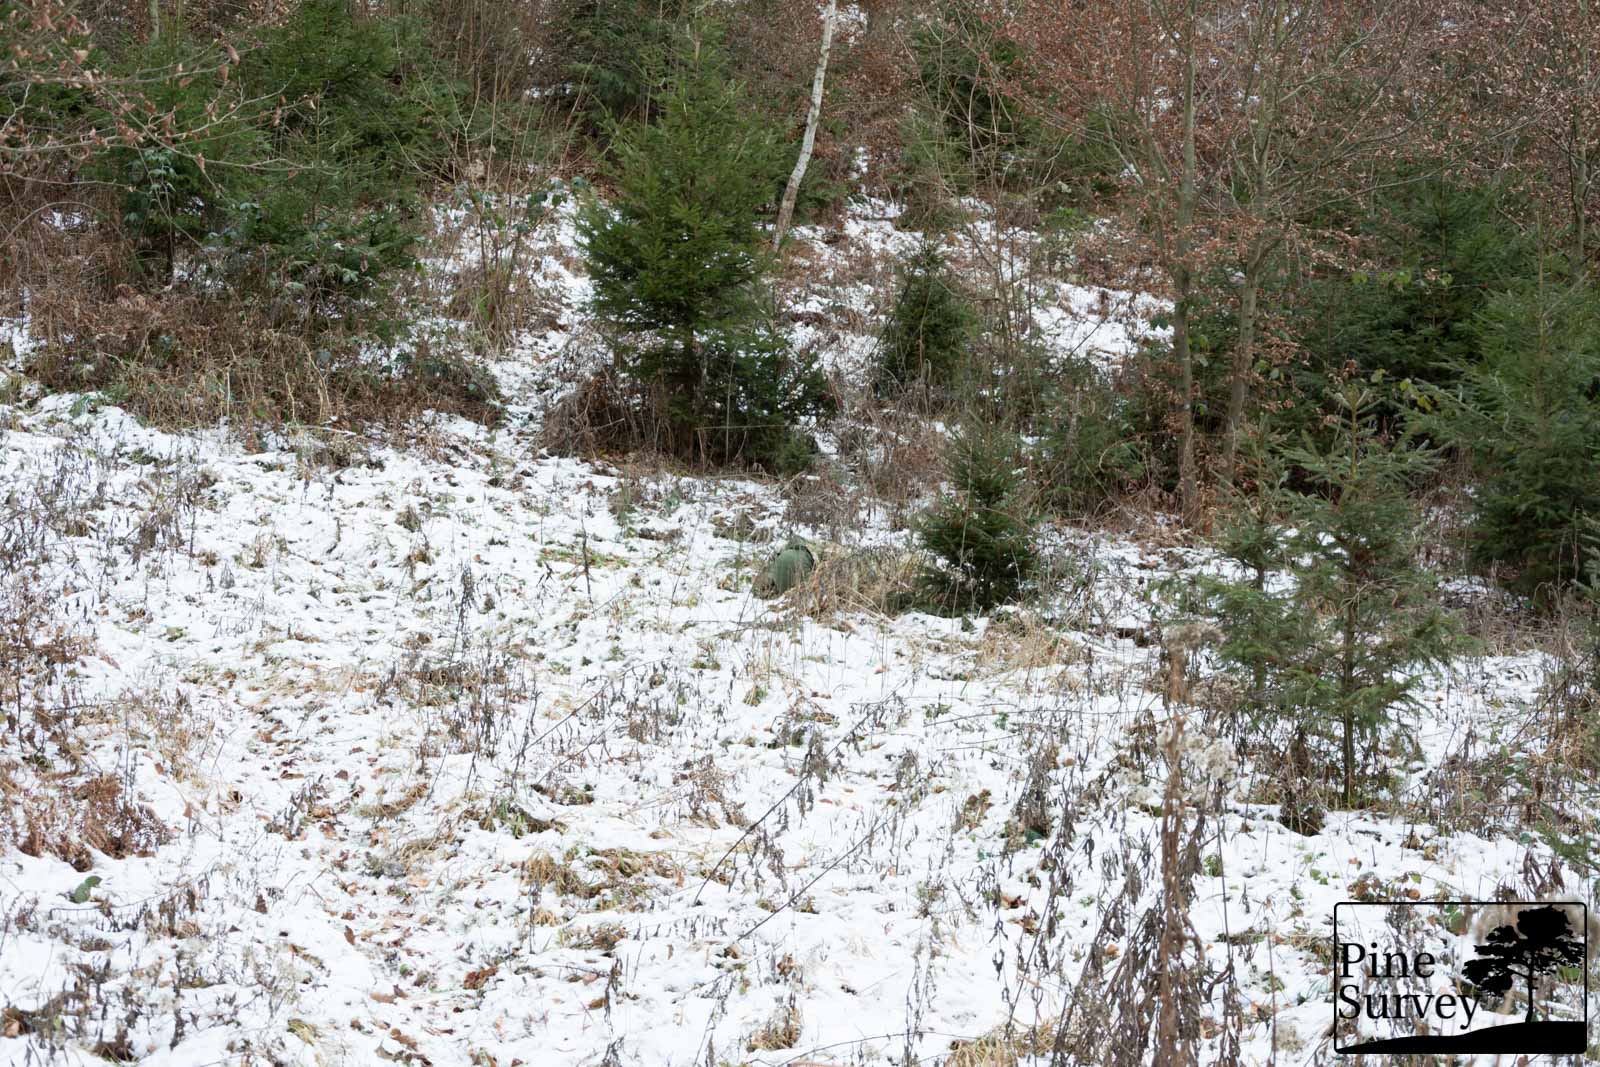
Wide angle shot – prone
Just like in other settings, the prone makes the human body disappear in this location, especially with the fern undergrowth. I will add the picture however for the sake of completeness.

Location 4 – wide angle, prone
35mm, showing the actual distance – prone
The above remarks apply here as well. The only giveaway in this picture is my green sniper veil, which has a bit of an unnatural tone in this setting.
Location 4 – 35mm, prone
Conclusion
Testing out ConCamo for several months now, I have come to the conclusion that it is quite the effective all around pattern. One could say it does what Multicam is supposed to do: to provide sufficient concealment in most environments. The only other pattern with this kind of all around versatility is SloCam, even though it is darker than ConCamo.
In this field test four different locations were presented, ranging from Autumn like mixed and deciduous forest, to open Winter environments. One can tell that ConCamo works best in Autumn and Winter, when the vegetation is more brownish. However, this does not mean it isn’t working in Spring or Summer. The last field test already proved ConCamo to be an effective pattern in this other seasons.
Coming to a conclusion, I have to say once more that ConCamo appears to be the better Multicam. It provides effective concealment in all seasons and knows to convince in the field. Given my vast tests with PenCott Greenzone, I have to say this is the only pattern at my disposal, which is able to compete with the PenCott family of patterns.
With more companies joining the production, this should get interesting: UF PRO is adding ConCamo in the first quarter of 2019, Gear is being produced now by 1-2 German companies and apparently even Tasmanian Tiger is trying their luck with another Camouflage pattern besides Multicam again.
Coming to an end I do hope I was able to give you another useful camouflage field test. Thank you for reading!
Take care!
No Comment
You can post first response comment.