Field Test: Desert Camouflage – Finnish M04 Camouflage
Introduction
Finnish M04 Desert Camo… Desert camouflage is a topic of it’s own, deserving a dedicated series. Those of you, who follow the blog will already know that I have taken a closer look at several desert camouflage patterns in a winter environment, as their arid coloring is also suitable for the dead vegetation of winter time.
That being said, it is high time to take these patterns and also look at their performance in a desert type environment. As good as it gets in Central Europe… So let’s keep that in mind, have a look at the methodics and get right to it.
Methodic Remarks regarding “desert” testing
As always there are several important aspects to point out beforehand. First of all, I do not claim any scientific standard with my camouflage comparisons. I also conduct them with my best knowledge and the available resources.
The pictures are taken at the same locations in order to make a comparison possible. As I am in a Central European Environment it is obviously not possible to do a desert test. The location is a huge gravel/sand pit and as a result the soil is different to that of a desert. Humidity is a big issue, as is rain. Earth is considerably browner than sand and so on. These are obvious facts, but I need to point them out so that one can make an educated assessment of the situation.
Before I start, please consider the following – as always:
I did not edit the pictures in any special way, except the following:
- Lens correction
- Watermark
- Blurred my face out if necessary
- .jpeg compression to make it web compliant
- I always do a proper white balance to make colors appear the way they are.
A short explanation to the the procedure:
Information about the various locations will be stated in the subsections. The pictures usually portray three different positions:
- Standing in the open (to get an idea of the pattern in this particular surroundings and if the colors match it).
- Kneeling.
- The prone position (to mimic basic, up to ideal concealment without using enhancements).
As always I photographed the pattern with a wide angle lens at first and then with 35mm focal length, which mimics the actual picture the human eye would perceive at this distance. Having in mind the three different positions mentioned before, I usually end up with 6 pictures of each location.
With that being said, let’s take a closer look at the pictures themselves.
Finnish M04 Desert Camouflage
I have already introduced Finnish M04 camouflage in an earlier post. For those of you who want to read that beforehand, here is a link.
Full disclosure: The Varusteleka Team was so kind and provided me with a full set to make these field tests with M04. If you are interested in such uniforms (and also if you want to show Varusteleka that it was worth their effort), follow these links – or let them know who sent you. This might help future field tests.
With that being said, I will let the pictures speak for themselves.
Location 1
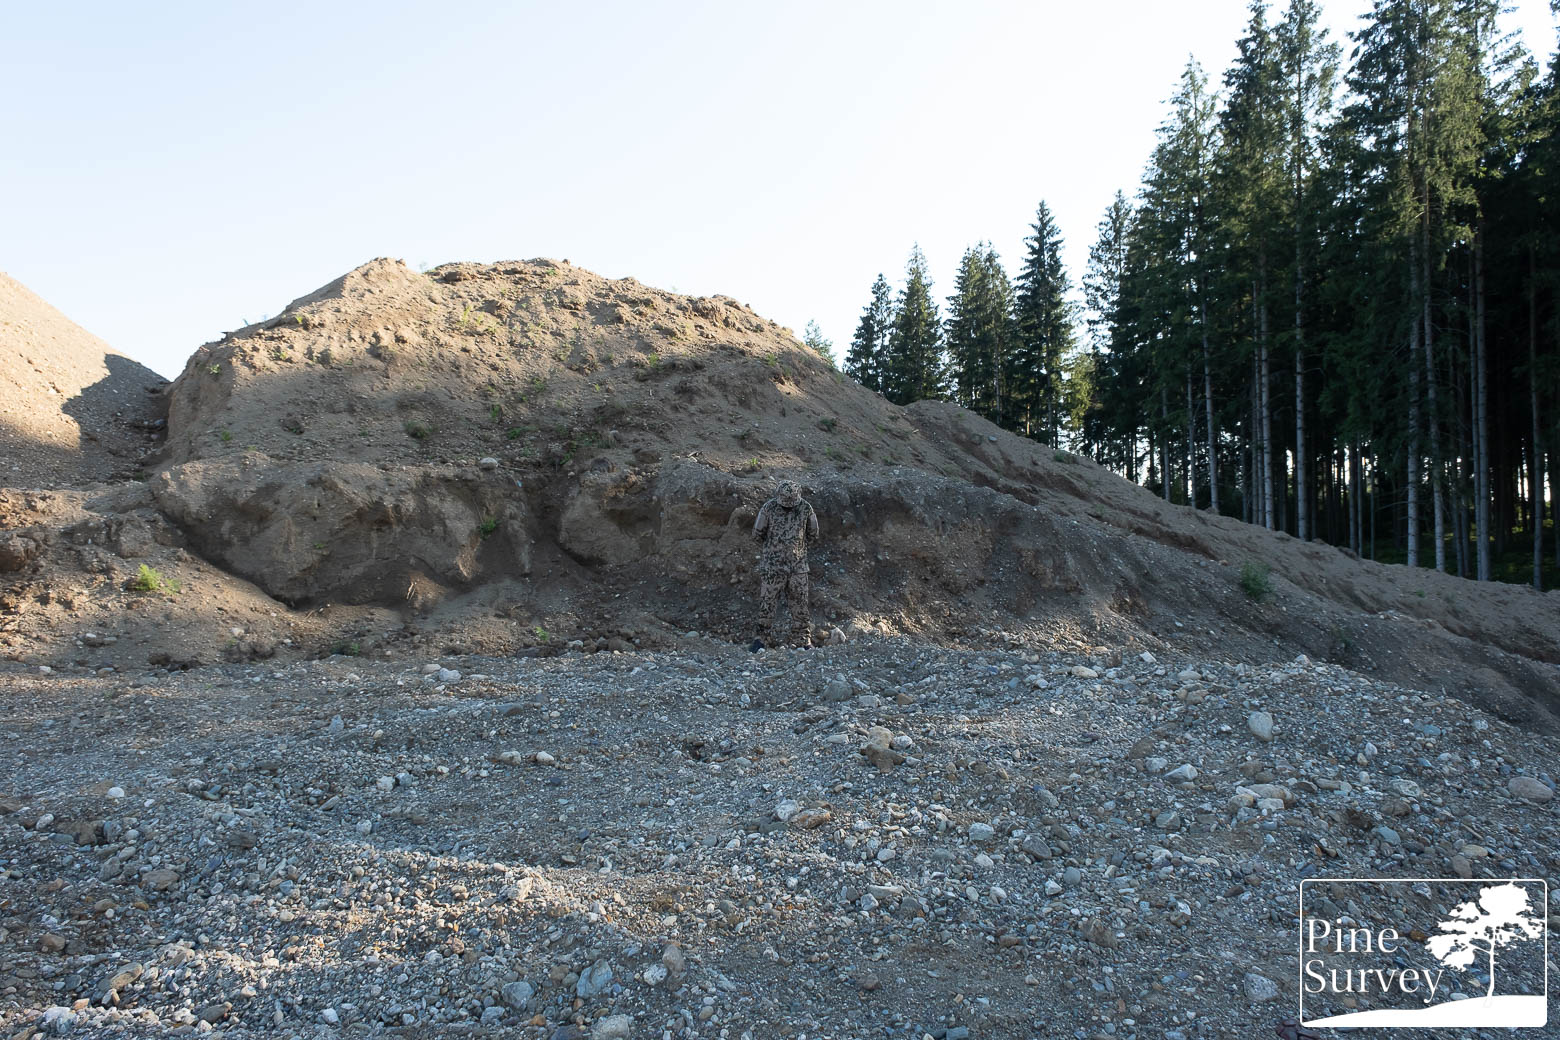
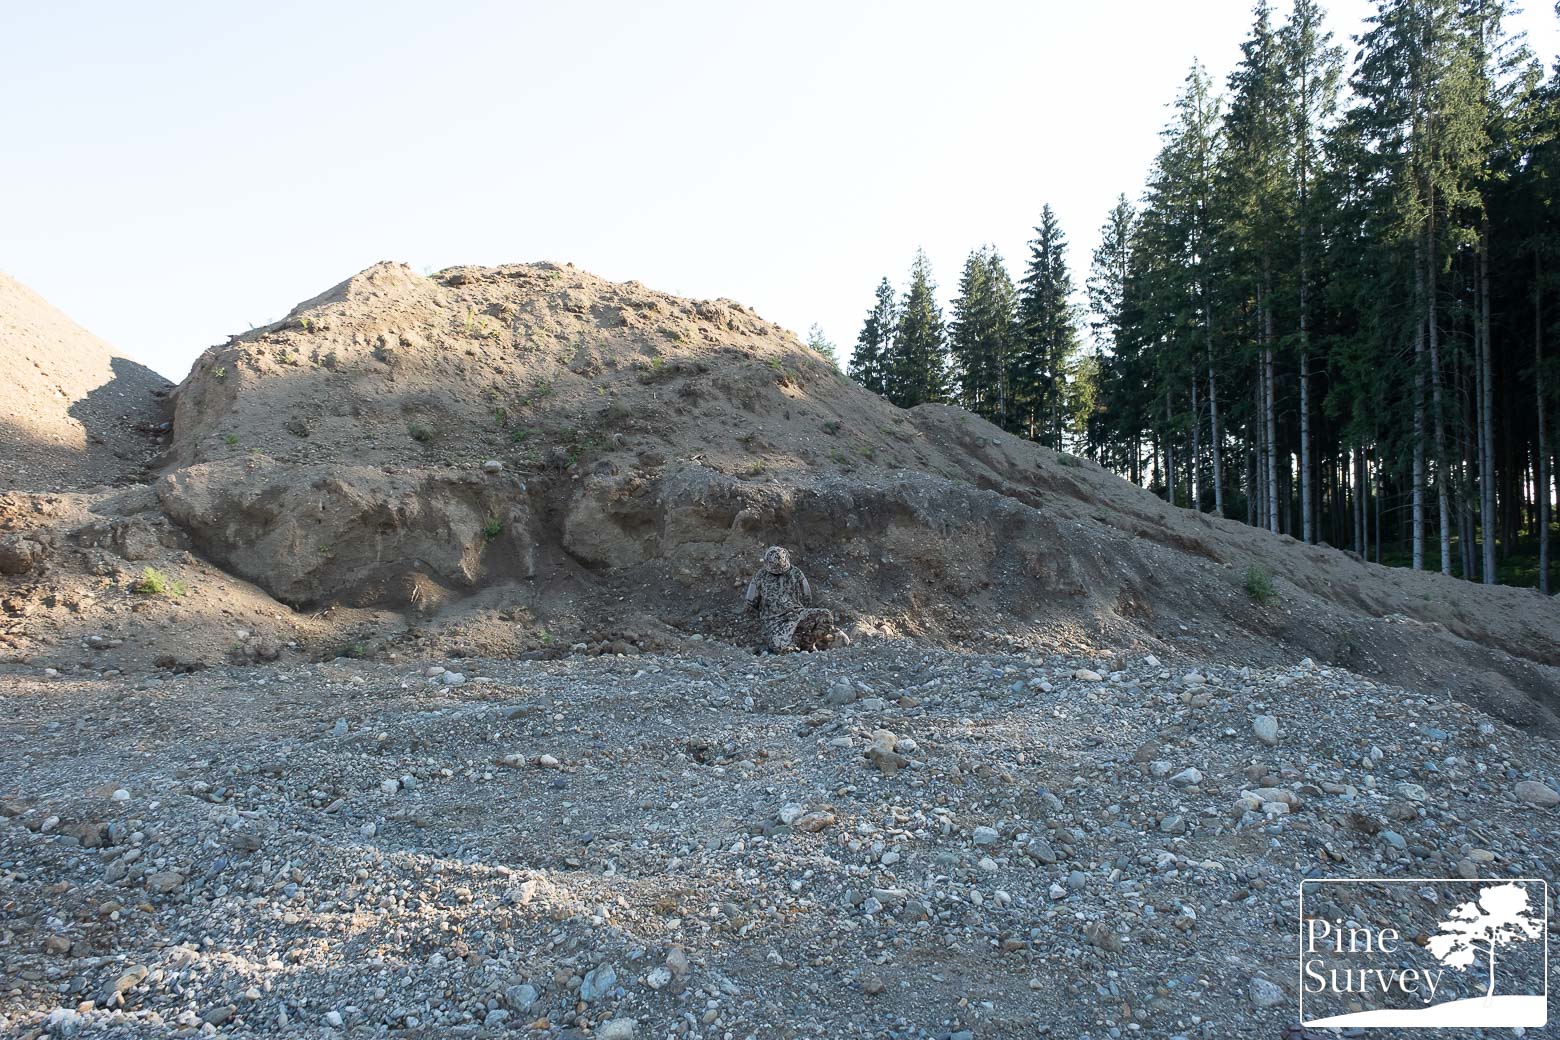
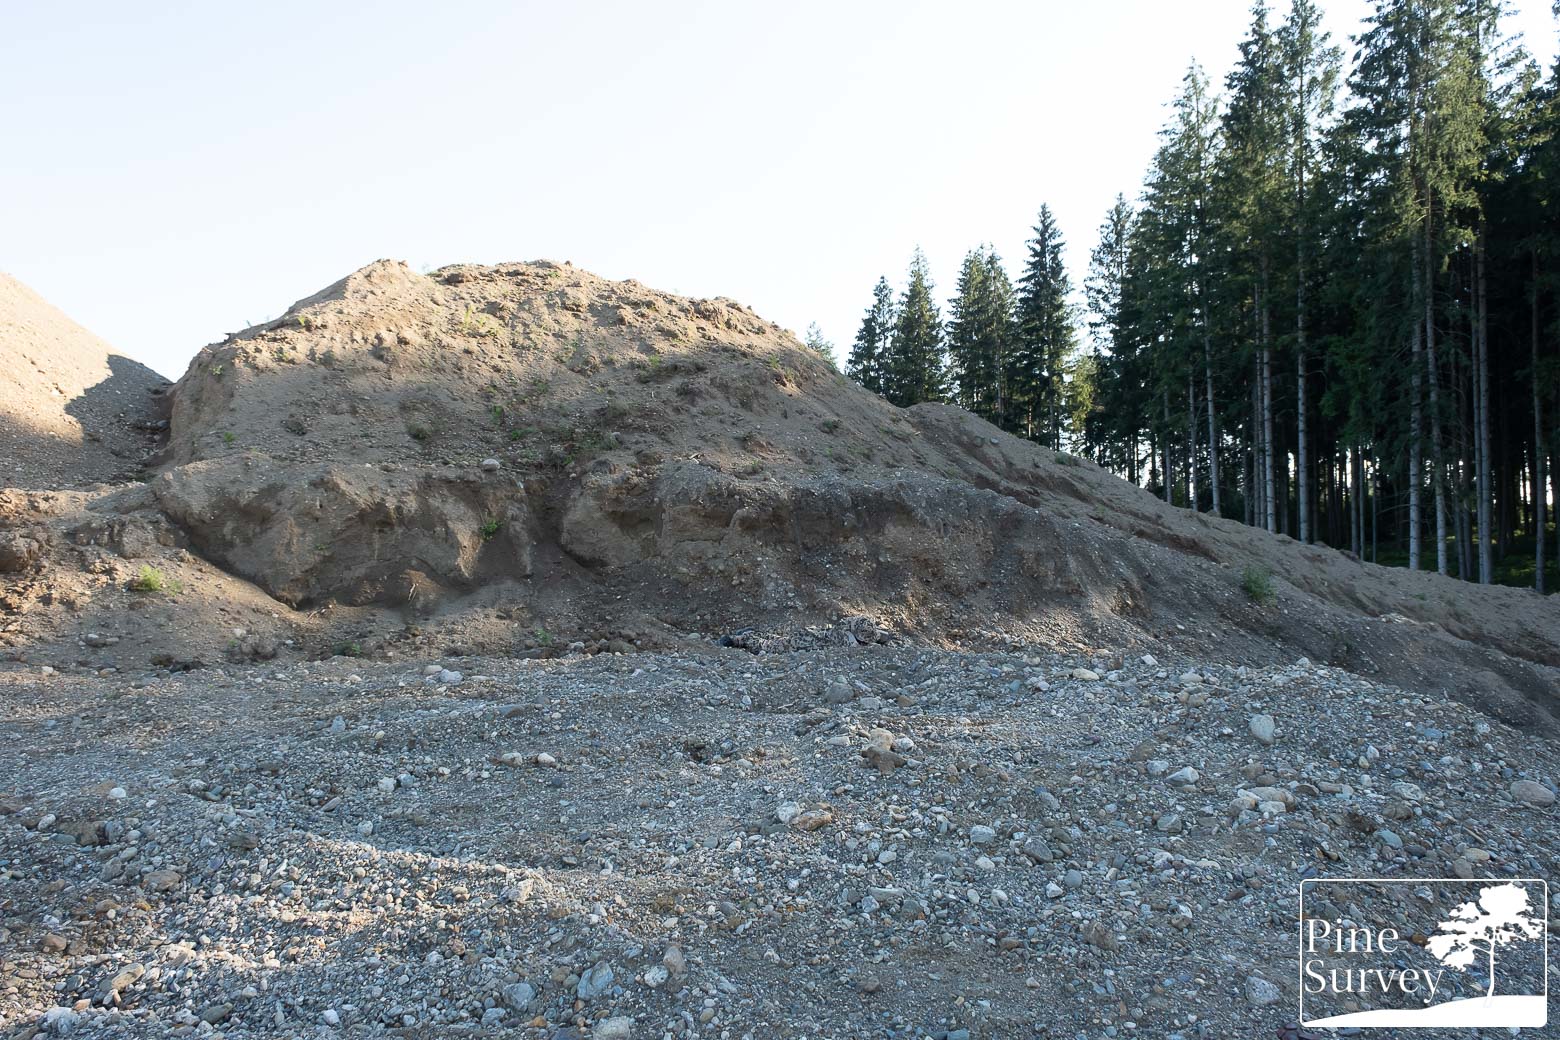
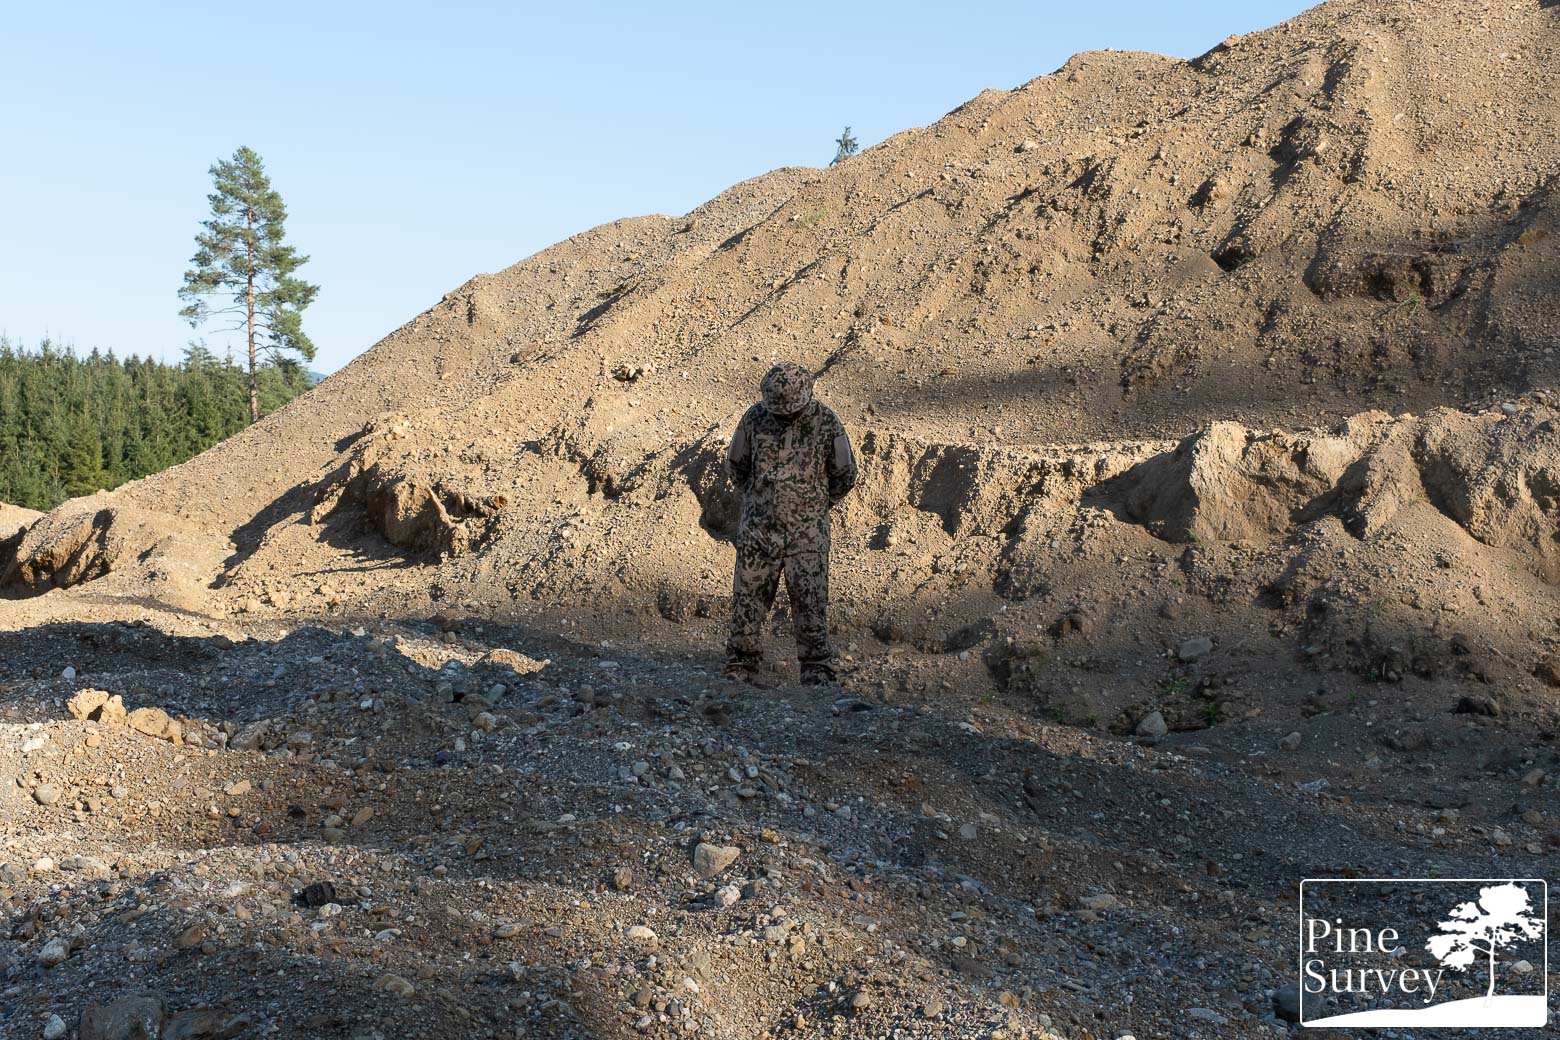
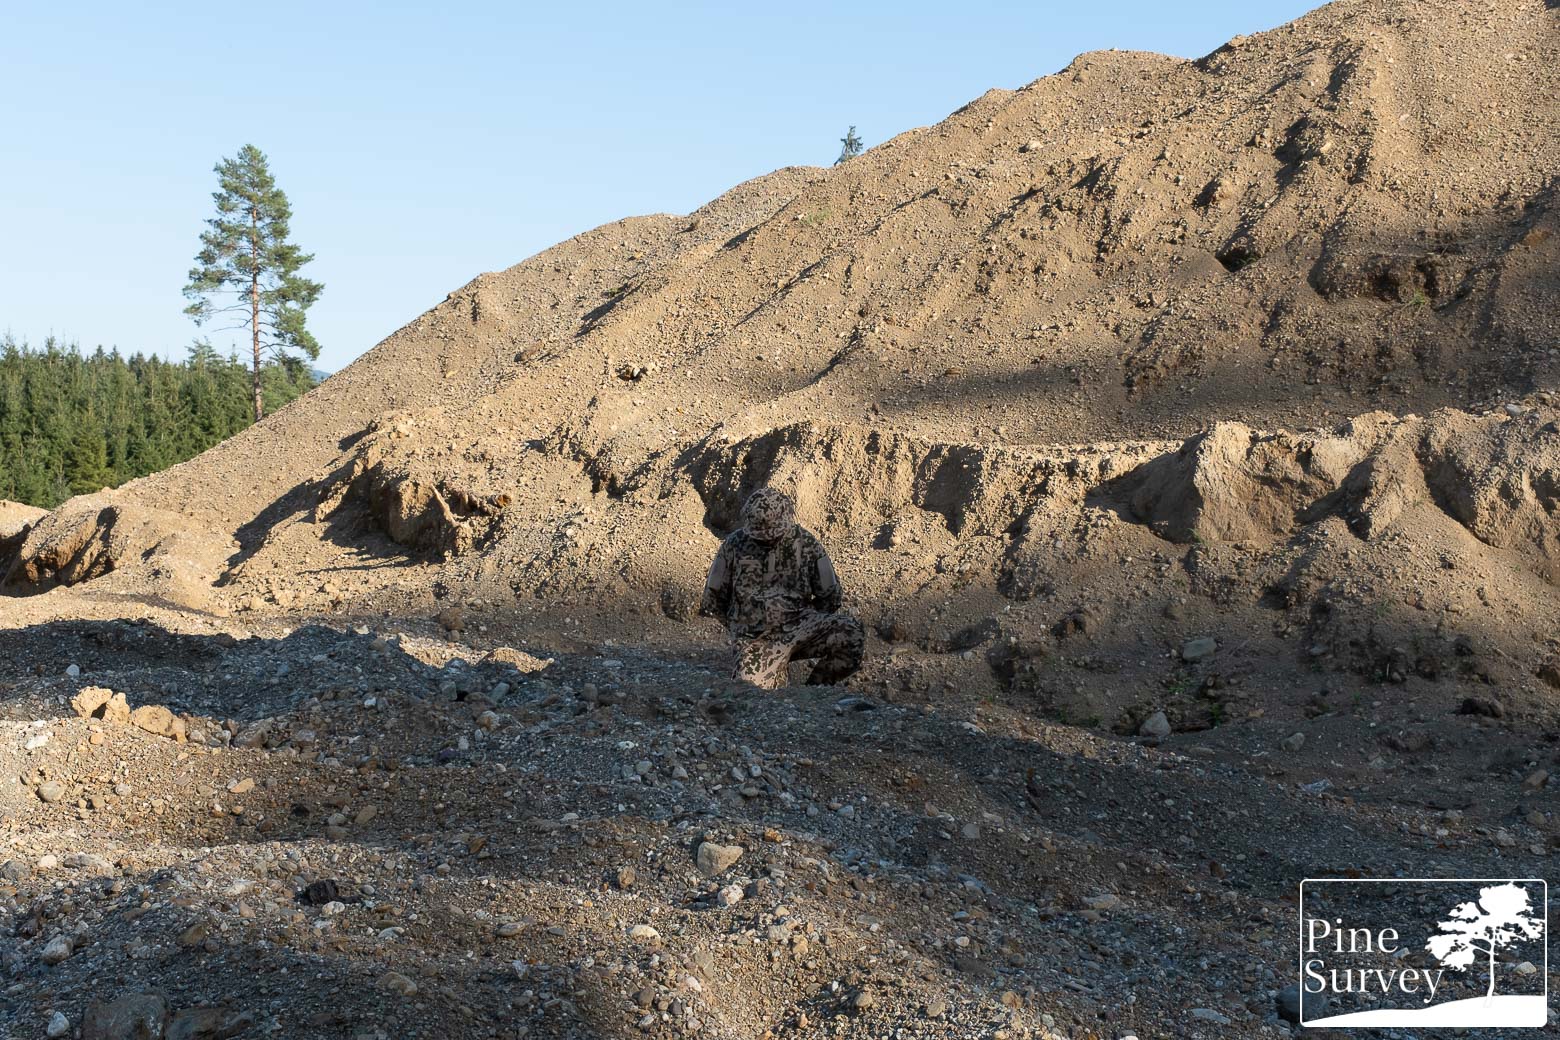
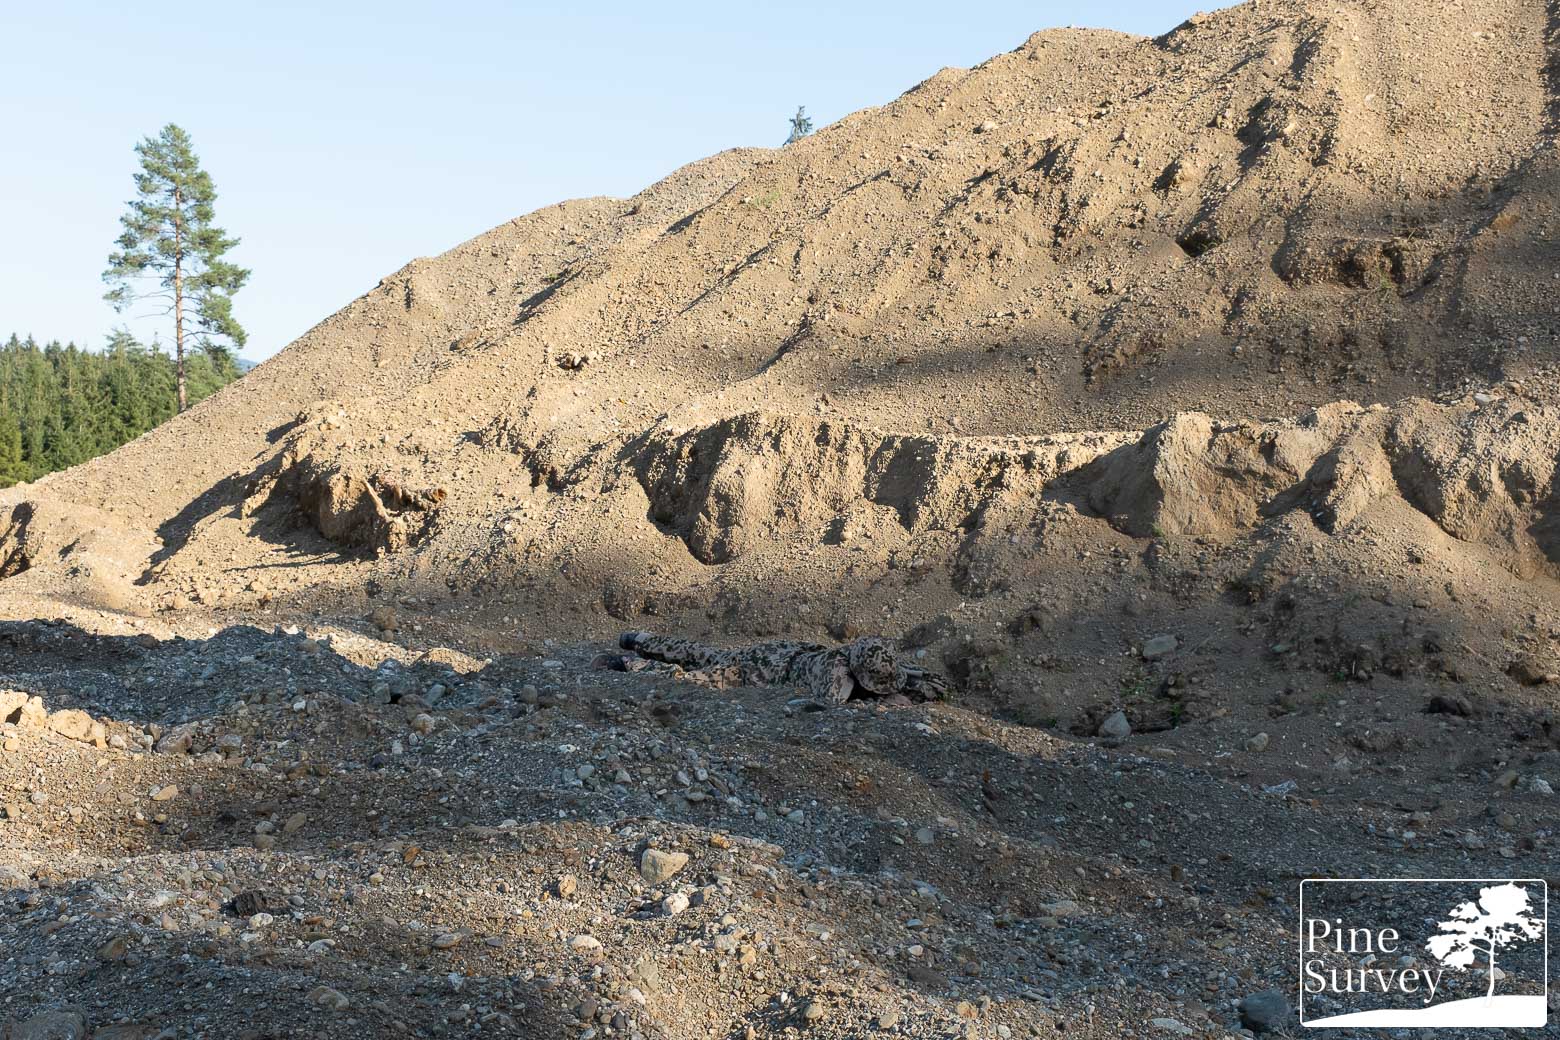
Location one is in front of a huge mound of earth and stone. The soil itself is partially humid and therefore considerably darker in those areas that see less sun. Different rocks disrupt the picture not only on the ground but also in the background.
Occasional spots of green can be found, where grass and some flowers fought their back through the dirt.
The weather was sunny, but in the late afternoon, during the golden hour, making everything appear more yellowish, as well as casting shadows through the trees, bordering the pit.
The camera is standing roughly 10m away from me.
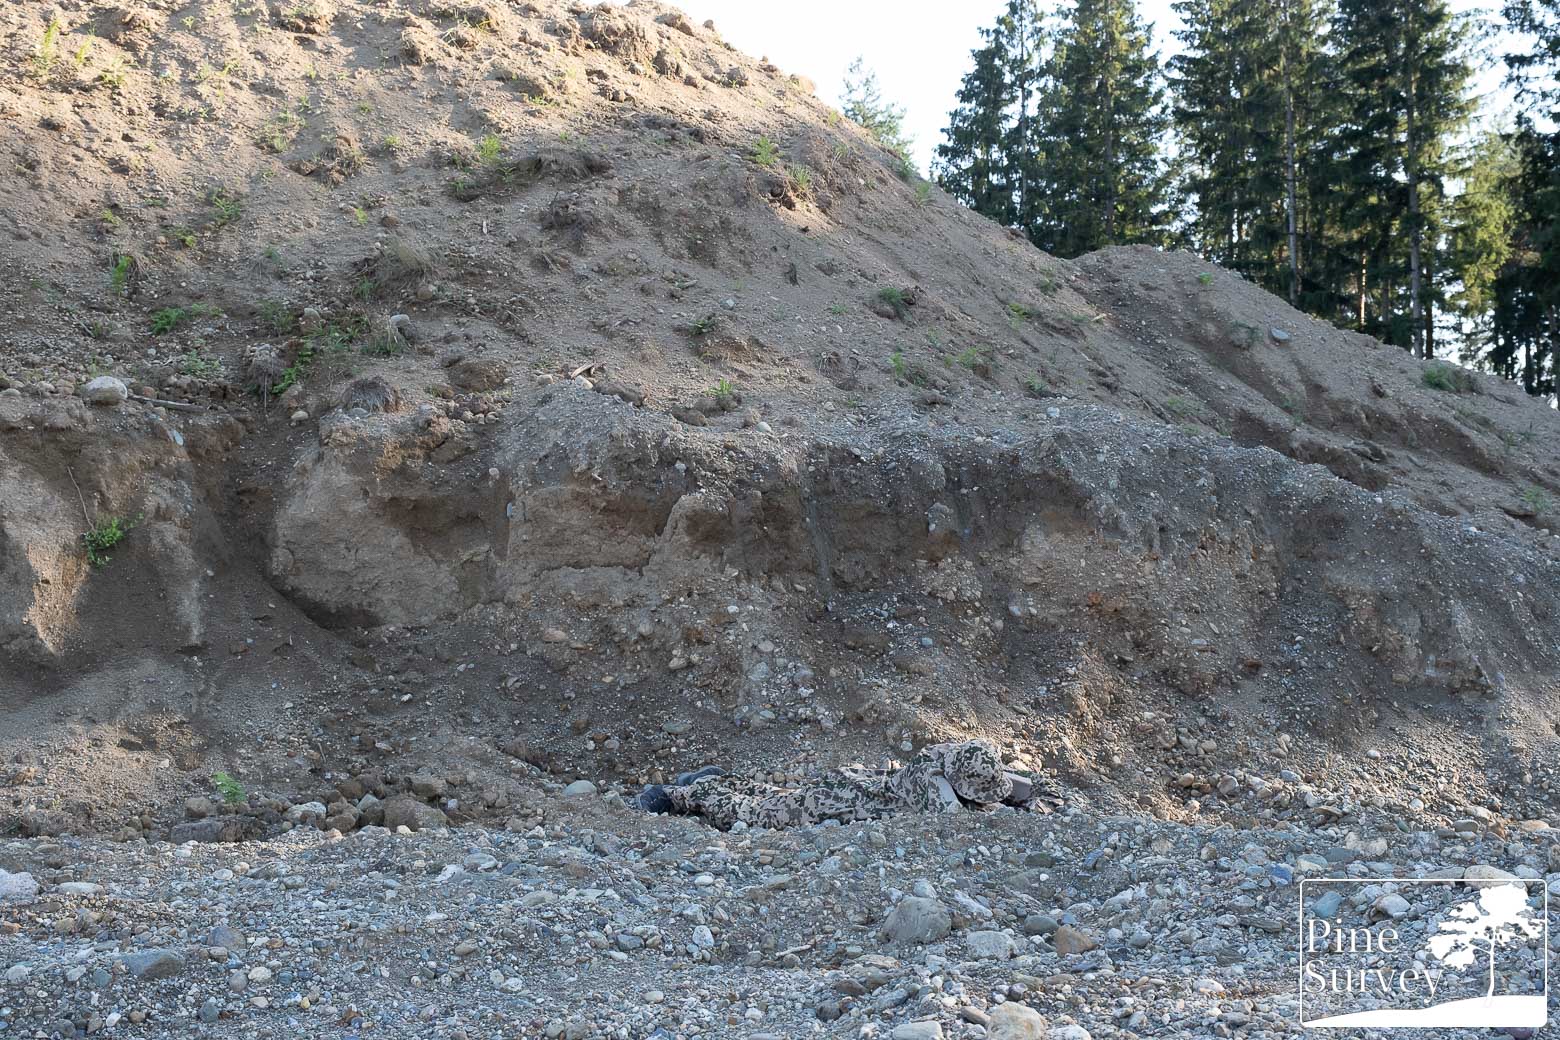
Observation – Location 1
The wide angle pictures always provide a feeling of a longer distance. At the perceived longer distance Finnish M04 desert camouflage literally melts into the background, even in the standing position. The tan backcolor of the pattern matches the surroundings quite well, while the various micro elements match the spotted nature of the dirt. When looking at the picture, one will see all kinds of different shades of rocks, evenly distributed. The fractals of M04 interact with that “noise” of the rocks and natural forms, adding disruption to the blending effect.
When kneeling down, the human silhouette becomes less obvious. The change in light makes the pattern work better, as the tan base color is providing a stronger contrast to the darker micro elements.
The noisy nature of the M04 pattern, as well as the contrasting colors become even more effective when lying down. While completely being in the open, and offering the full length of the body from the side, the pattern conceals the human silhouette.
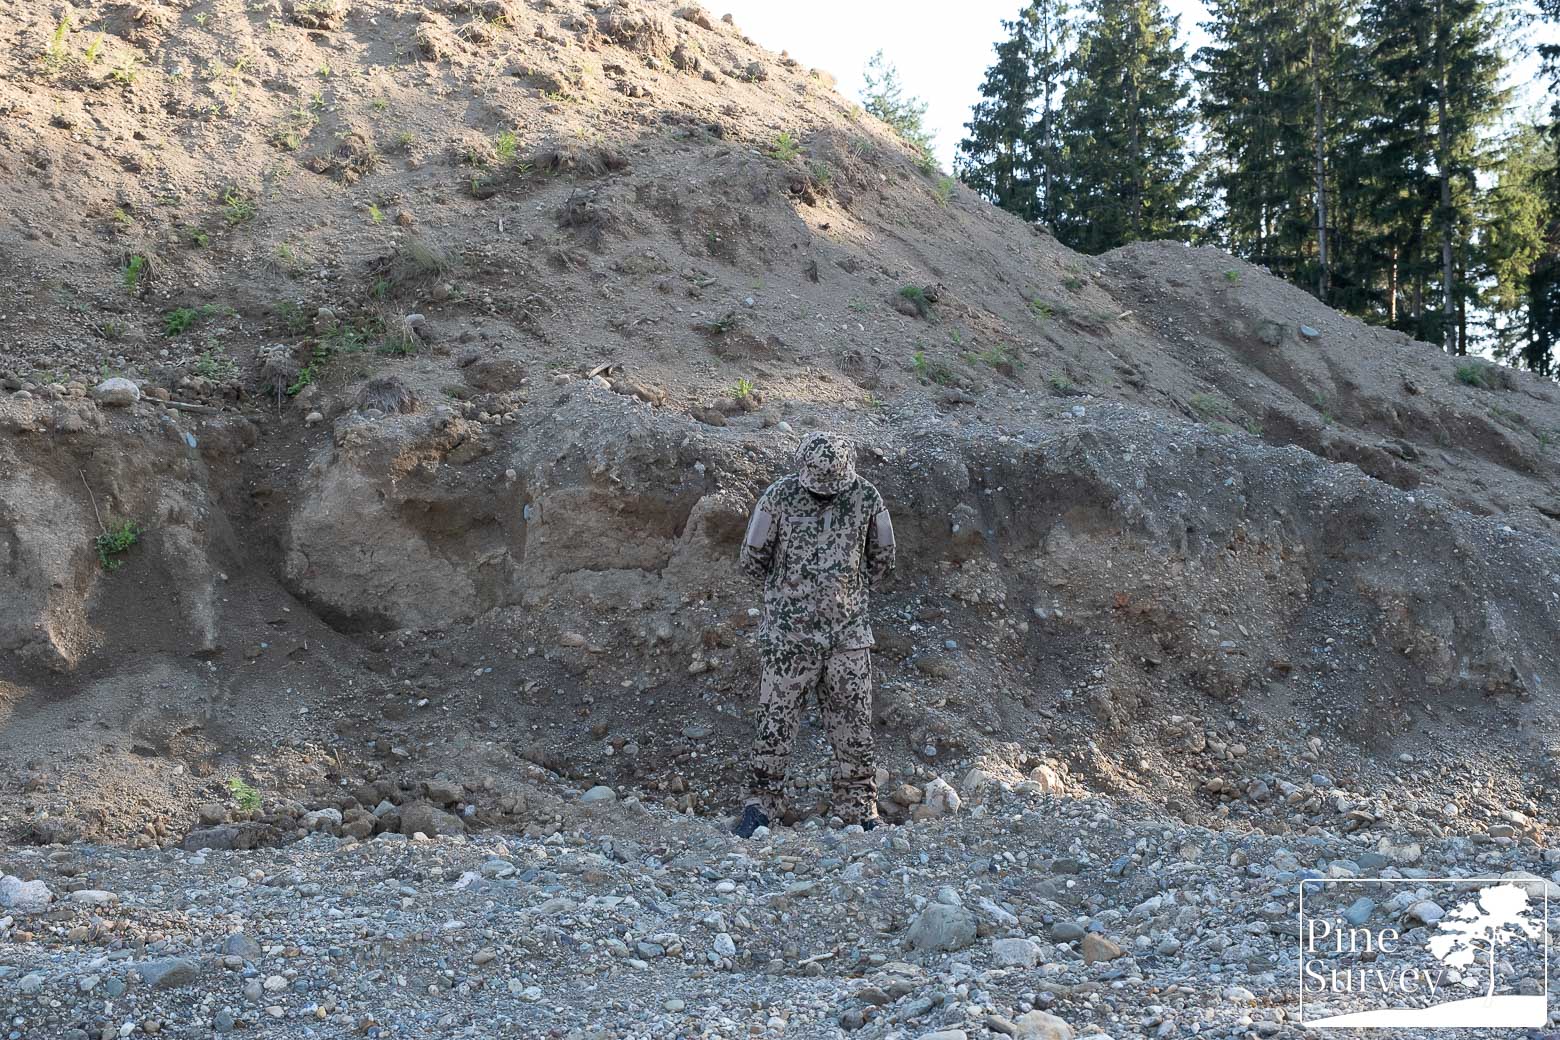
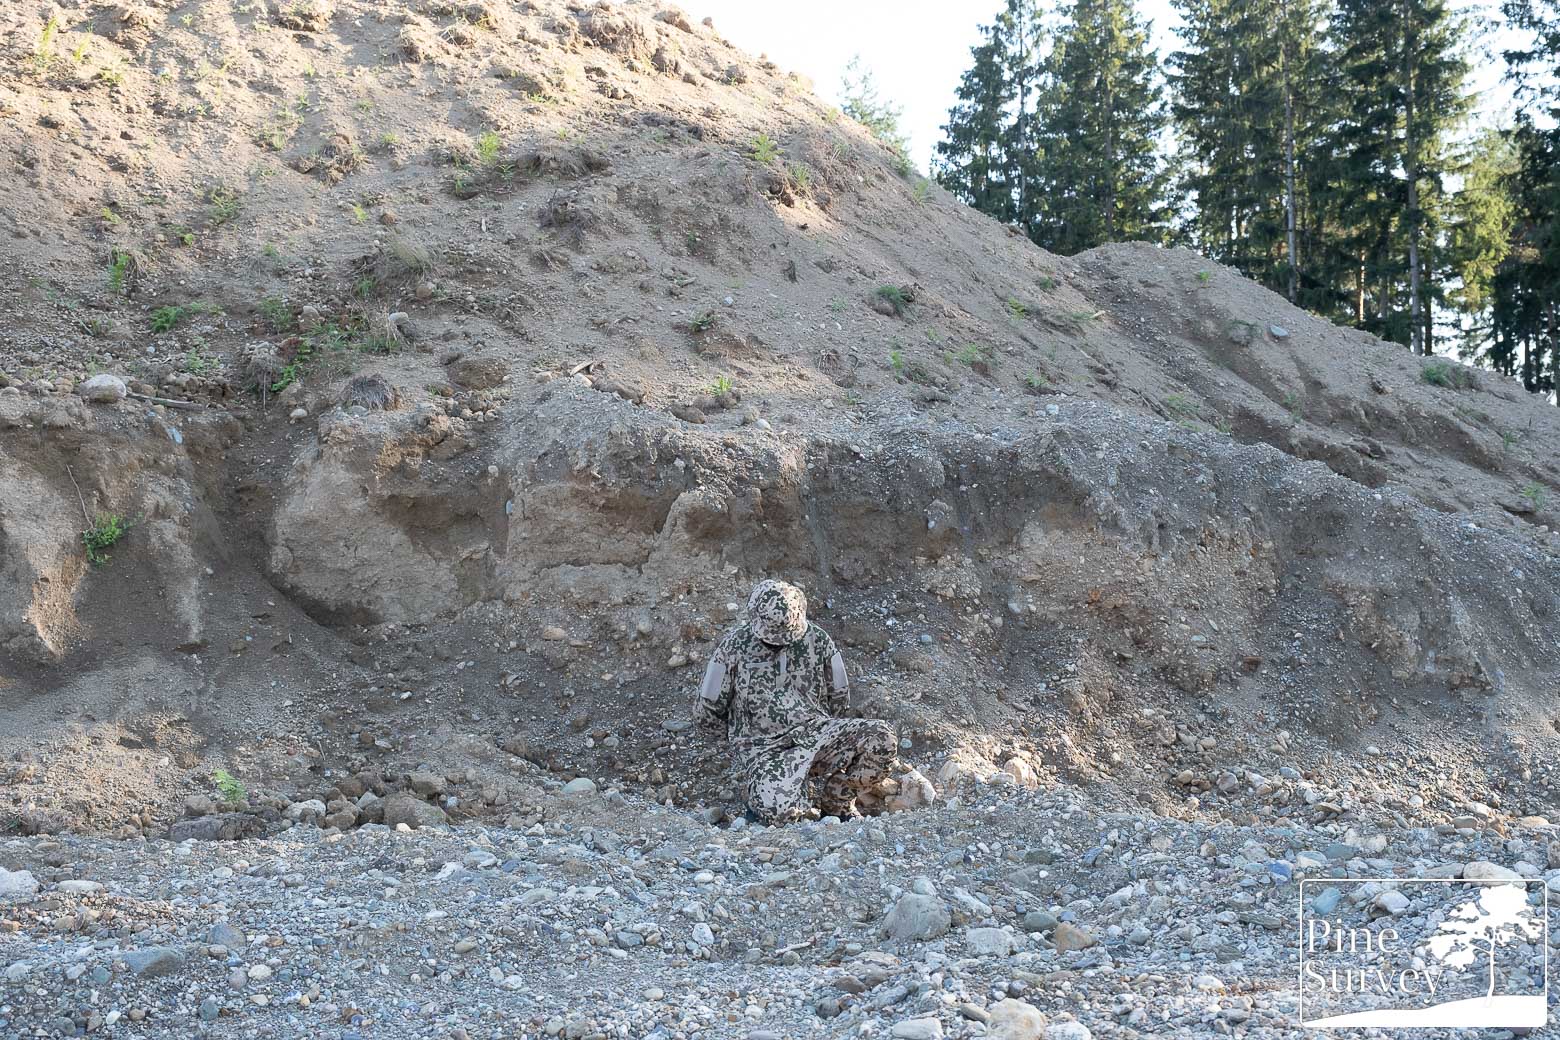
Looking at the pictures in 35mm focal length, one gets a better idea of the pattern at work. The lighting changes, thus showing a clearer picture of the base color at work, as well as the disruptive effect of the micro and midi fractals. The organic placement of the elements fits into the surrounding environment. It is worth noting that the brown, gray and green elements are hard to distinguish from each other. That being said, they perform excellently.
Kneeling down changes the area exposed to the light again, making the base color appear brighter. That being said, the performance of the M04 desert camouflage pattern is excellent.
the picture of the prone position shows once more, how well the pattern fits into this particular environment of stones and dry earth. The disturbed ground, with all the various colors and noise is blending into the pattern.
Location 2
The second location is at the same spot towards a different direction. The mound of earth in the background is finer and less stoney, while the ground is of the same rough and chaotic stone character as in Location 1. The sun shines from the side, creating a variety of shadows and also backlight, as it reflects from the surrounding walls, while the person is positioned in the front in the shadows.
The camera is roughly 10-15m away.
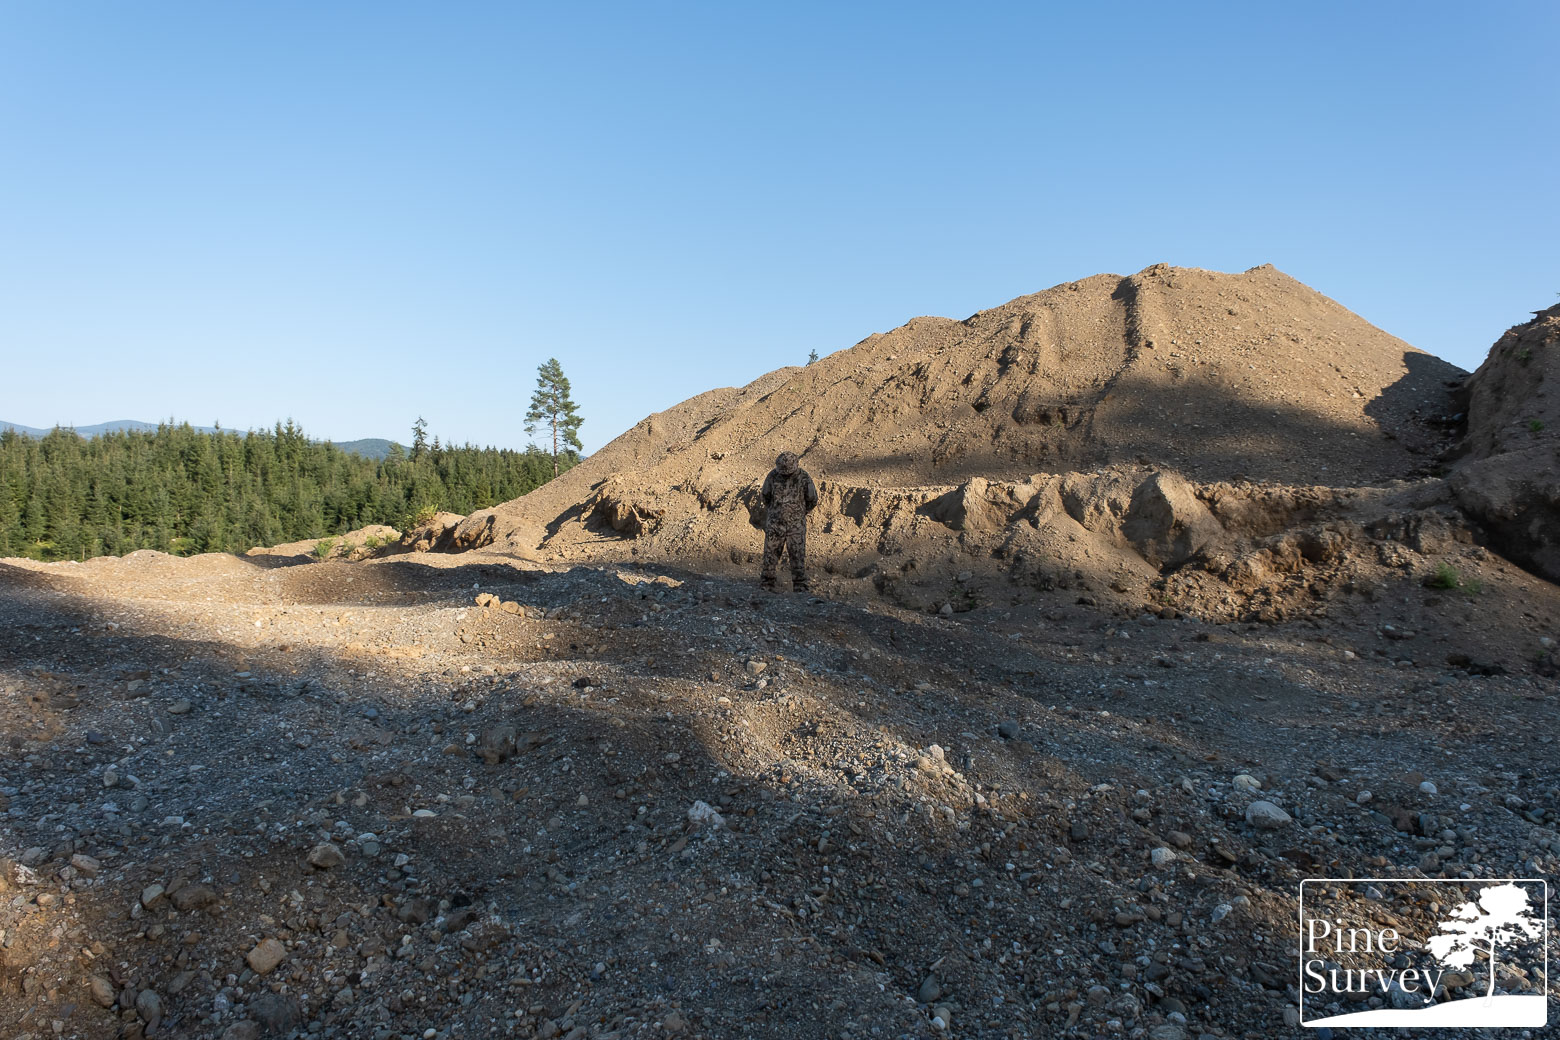
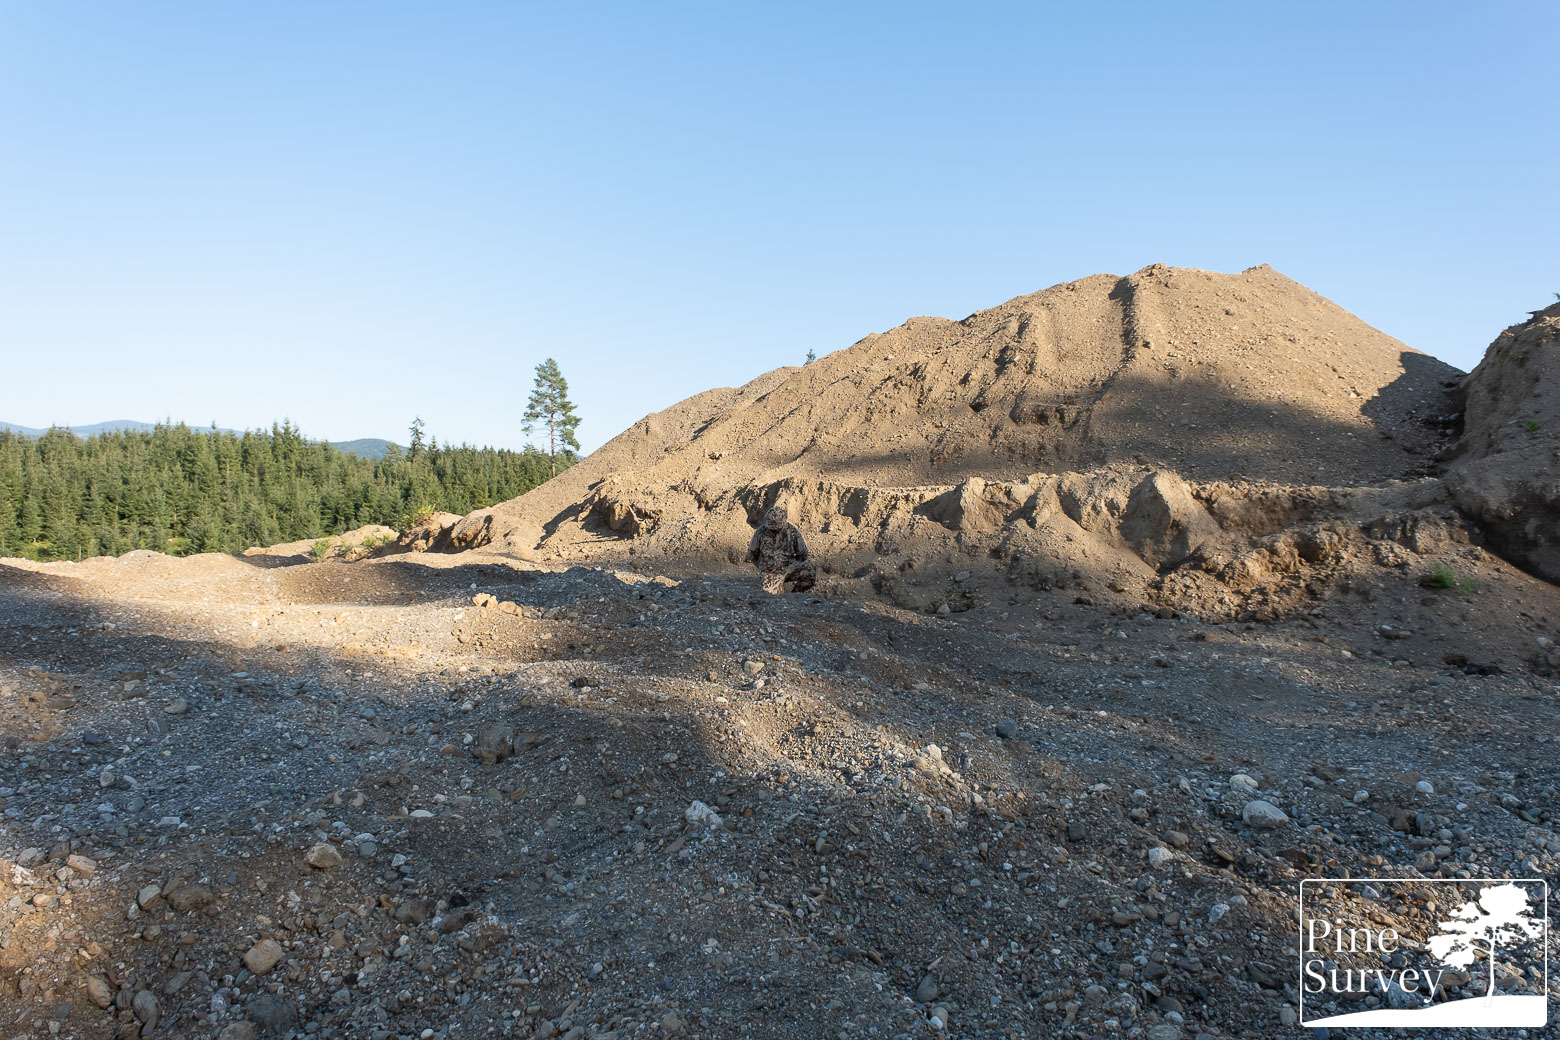
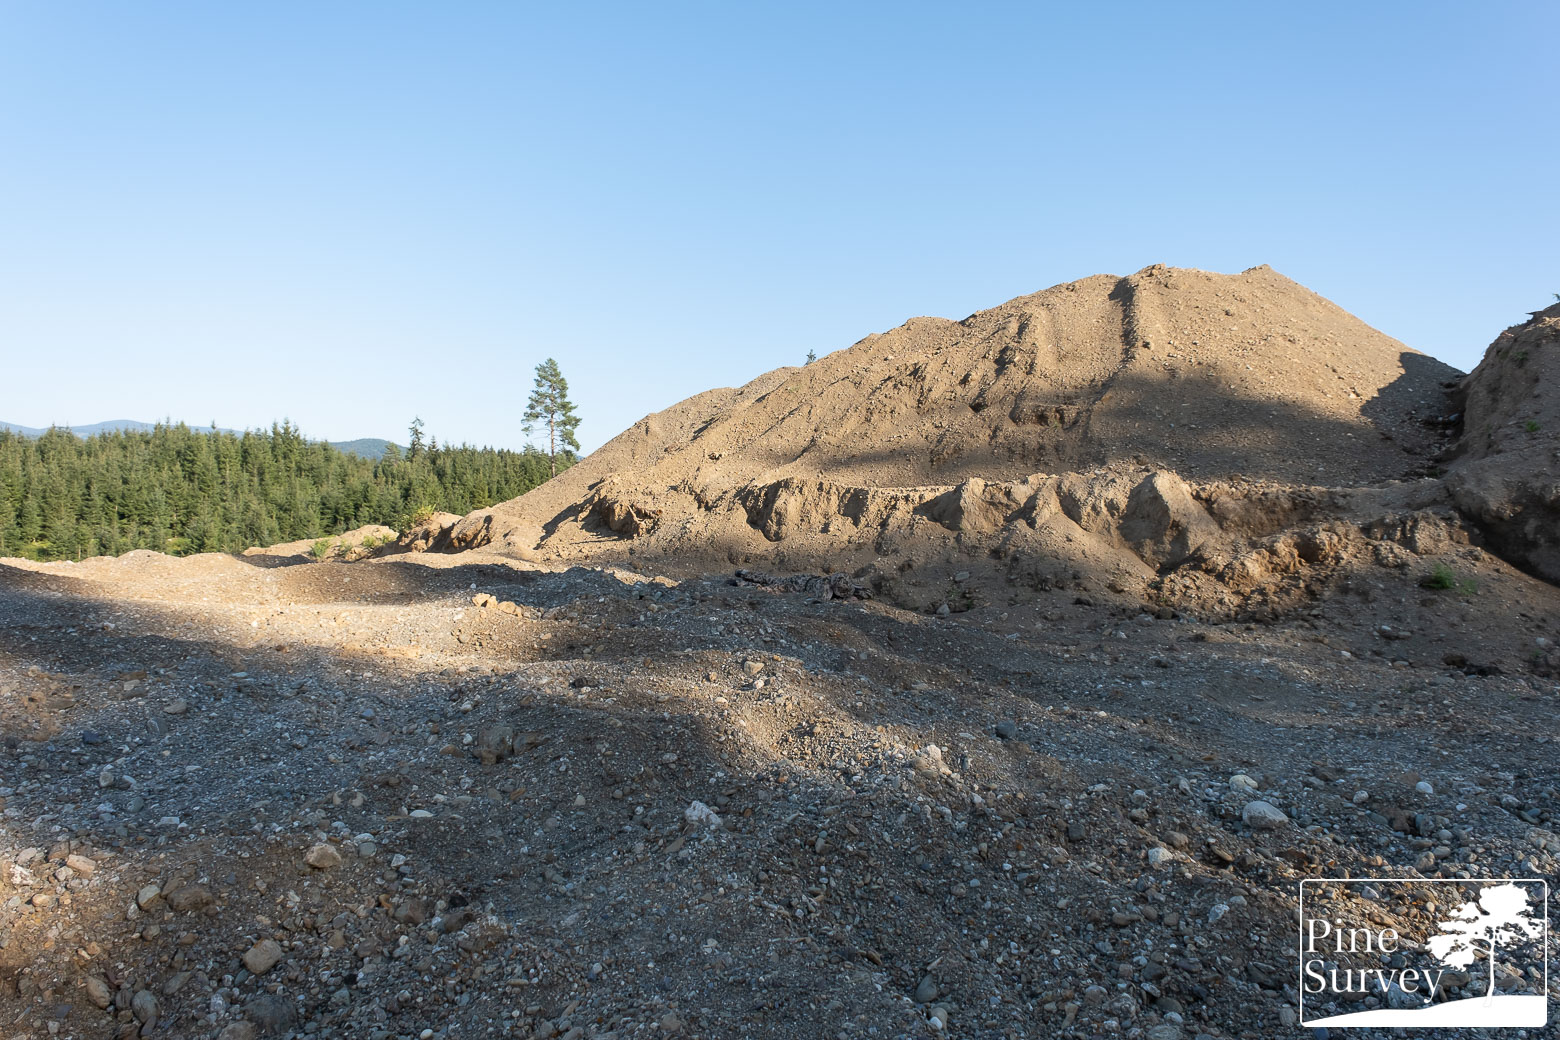
Observation – Location 2
Having in mind the lit background, the pictures in this location are more revealing. While the M04 desert camouflage pattern matches the colors of the surrounding environment, the backlit silhouette obviously stands out while standing.
This changes when kneeling down, as the silhouette becomes less apparent and the combination of blending and disrupting comes into play. While the actual pattern of the M04 camouflage is not as discernible, one can see the contrasts to the base color. And said base color is blending effectively.
Going into the prone is showing again, how effective the pattern can work. On the ground and way from the backlight, it blends seamlessly into the surroundings, matching both colors and structure.
Looking closer, using 35mm focal length, gives us a better idea of the above statements. Especially the standing position, with its dilemma of having a bright background to which the silhouette contrasts, while still matching the colors. Then the sudden change in performance as soon as the position is lowered. The blending effect becomes more effective while the backlight issue is still at hand in this particular situation.
When looking at the prone position it is once more a clear statement of the excellent performance of M04 desert camouflage. Base color as well as the fractals are ideal for this type of environment.
Conclusion
Finnish M04 is an excellent desert camouflage pattern. While its appearance is close to German 3ft Flecktarn, it certainly has its own character, using unique pixelated micro and midi elements.
Just like during the winter field test, it performed excellently because of the blending effect of the bright base color and its contrast to the midi and micro elements in dark brown and green color. The overall arid appearance perfectly blended with the torn up earth of the sand pit.
With that being said, I want to thank Varusteleka once more for the support! And to you guys/gals – thank you for reading!
Take care!

